A warm welcome to all my visitors,

Thank you for taking the time to come and look at my blog, I really do appreciate it. I would love you to leave me a comment, even if it’s just to say Hi. It means I can come visit you!

All my designs are original, so copyrighted to me. If I have been inspired by someone elses work, I have named them in the post, and where able, I have provided a link.

Please feel free to use my designs for inspiration, I just ask you to credit me, and provide a link back to my blog.

Thanks, Shaz XX

Showing posts with label Fusible fibres. Show all posts

Saturday, 10 August 2013

Mulberry Paper & Dragonflies

 A card using up some of my mountain of Mulberry Paper, and an image I'd got already stamped up. A lesson in not overbuying, just because something is the new must-have. I think I cornered the world market in Mulberry Paper. It does produce a nice effect though,when torn to leave soft, fuzzy edges. The trick to that is to drag a wet paintbrush, or a waterbrush along the edge of a ruler, then tease the damp fibres apart.


As my stamped piece was on a blue/pink/purple oil pastel background, I used blue & purple mulberry paper for the background mat.


 I tore two squares of each colour, and used a scrap of card to stick them to, using DST. The scrap won't show beneath the stamped piece.
That bit done, I mounted the image with DST onto the squares, then onto a square white card blank. Next, a Dragonfly made from Angelina fibres was added over the one in the image with some silicone glue.
 The row of flowers along the bottom is one of the ones I received from Deeyl, Queen Lightwell, in the ATC swap!
   Onto a scrap of the same oil pastel card I stamped the saying in Black Versafine, and trimmed it to a tag shape. Added an eyelet & some fibres and mounted it with silicone glue again.


Supplies:
 Dragonfly Post stamp, Crafty Individuals 001
Mulberry paper
Oil pastels & white card for the background
Sentiment stamp, mine came from Life Sentiments, Kaiserkraft
Embellishments
 Black Versafine

Saturday, 11 May 2013

Dragonfly Collage card


Still plodding away, using images I've had stamped up for ages. This one is a Crafty Individuals stamp again. Its stamped onto an oil pastel background, for how I did that, see here. For stamping onto oil pastel, Staz-on is the better ink to use, I think. Versafine, Memento & Archival I have found all need to be sprayed with an Artist Sealant.
As the background featured blues, pinks & purples, I used blue & purple Mulberry paper to matt the image onto. 
I cut a thin scrap of card, and ran a strip of DST along it for starters.

The angel hair paper was cut down so that four strips would be a little wider than the image. To cut it down, and keep the 'fluffy' look to it, take either a paintbrush dipped in water,(or a waterbrush) & a ruler. Run the brush along the edge of the ruler, letting the water soak into the paper. Then just pull the two edges away from each other, and you'll be left with a nice feathery edge.
I stuck these, alternating the colours, onto the DST.

IMG_7887 w
IMG_7886 w


IMG_7889 w
   The strips are all different lengths,  so I levelled them off using the ruler & waterbrush method.
 
 
IMG_7890 w


Now all the same length, I  mounted the stamped panel on top…….. IMG_7891 w


IMG_7892 w


……..then trimmed off the card strip so it wasn’t visible beyond the edge of the image.I added a layer of a darker purple Mulberry paper, then mounted onto the card front.
IMG_8062


To finish off, I stamped a Happy Birthday sentiment onto a scrap of the oil pastel background, and trimmed with fancy scissors.
A dragonfly made from Angelina Fibres (fusible fibres) was added to the bottom of the image.
Supplies:
Crafty Individuals CI-001, Dragonfly Collage
Mulberry paper
Oil Pastels The Works.
Fusible fibres


Saturday, 26 January 2013

A Bee Tag


Looking at the assortment of tags I'd coloured, the orange one said 'Bee' to me, and I do have a Bee stamp or three about.The first stamp is an old Aspects of Design stamp, (the Stamp Man),called Bee Botanical, and much to my surprise, when I went to have a look, they are still available. There is also a Butterfly and a Dragonfly, in the same style. Tempting, lol. They also have 3 sizes of unmounted Bee and the smallest of those I used to stamp in a few places with Versamark, then dust with Mica powder.
The main image was stamped in Versafine Onyx Black, by the way.  I made a hole in the tag and threaded & knotted some fibres, then set about making my Bee.

The stamp I used for this is by Judikins.It is still available in this years catalogue, and there are a few up on E-bay, wood mounted.  One of the Aspects Of Design Bees is the same size, I just preferred the wings on this one.

I was going to make the bee from Fusible Fibres,so

the Bee was inked with black Staz-on,and I used a mix of a shimmery white for the wings, gold for the body and some dark midnight blue roughly placed where his legs and anthers would be.When I had that on, I just put a sheet of greaseproof paper over it, and ironed it for a few seconds. You know you're done when the image shows up through the paper, I find.

So I peeled him off, and trimmed down.


 Cleaned my stamp with Staz-on cleaner. The reason I'm showing you this, is the block the stamp is on. For quite a few years, I wondered why my blocks were going cloudy/ crackled. Then I found out it was the Staz-on cleaner causing it. So I've gradually bought some new ones, and the damaged ones I keep for cleaning Staz-on off my stamps. They still work fine, and if its a large, or mounted stamp, its not a problem. But if I'm using a clear stamp, then you can't see what you are doing.


The Bee is mounted with some silicone glue blobs. I thought it needed something, then remembered I have some sheets of beeswax, so broke off a small piece, and added that below the bee with another blob of silicone.


Sunday, 30 September 2012

Easel Birthdays


All three of these were for the same person, so it was hard work making them all as different as possible! Two feature the Tim Holtz Tattered Florals,and I love the fact that they will cut pretty much any material- I've been using up a lot of fancy papers that I have collected, and some of the flowers I really love- the green & gold in the bottom card is a particular favourite. That one also has a four panel image of the Penny Black stamp 'Aspire', matted onto gold & wrapped with a narrow gold organza ribbon. Nesties Labels 7 was used for the sentiment here.
 The top left card features a Chocolate Baroque stamp, Harlequin Rose, which is part of an A4 sheet.The image was stamped in black, mica powders smudged onto the background and chalks & micas used to colour the Rose & leaves.The background is an embossing folder, Creative Expressions' Lattice'. Wrapped with silver & black ribbon and embellished with Black & White Tattered Florals. I have to say that Black & White really is my favourite go-to theme. Nesties Labels 4 was used on this one.
 Top right, the background is another sheet of fancy paper, a vellum panel punched with Doily Dots and some Tim Holtz Rosettes, cut from black & white vellum. The Butterfly panel was made with Fusible Fibres, and I cut out a second set of butterflies to mount on top with silicone glue. the stamp itself is available from two places, Tanda Stamps, Far East Set 1, either as a plate along with other oriental themed stamps, or individually. It is also available from  De Stempelwinkel, as a Non Sequiteur Plate, Samurai Plate. The sentiment is on Nesties Petite Scalloped Ovals Large. On all the cards, the foil printed background paper on the bottom is from Craft Creations.

Tuesday, 1 November 2011

Halloween Pumpkin for 2011.

     Here's this years Halloween Pumpkin-Dougs annual  carving task.

 
Whilst he was doing this, I was busy playing with my tags again,so here is another effort. This one is the part finished one in the previous post, to show you the masks I made.


As you can see, I added the words from the Tim Holtz set, then a Dragonfly made from Fusible Fibres. The flourish was sponged using Distress inks, as was the tag.


Saturday, 30 April 2011

Crafty Individuals Butterfly Square

This card features all Crafty Individuals stamps and paper. The background sheet comes from one of their pads of 6x6 background papers, Book 4, Trees. This was overstamped, using Adirondack Denim ink, with CI 021, which is a mixed words stamp. I can't find this exact stamp on their site now, so possibly it is retired, although there is a very similar one, CI 012. The base card is dark blue, scored & folded, then cut down to 15cm square.
 I cut down the sheet to fit the front of the card, and matted it onto black card. A length of Navy Blue ribbon was wrapped around this panel, then knotted , placing the knot towards the bottom. I mounted this centrally
 on the card front.
The Butterfly Square, CI 135, was stamped in Memento Tuxedo Black, then heat embossed. The image was coloured using Promarkers, then cut out & matted onto Dark Brown cardstock.I mounted this at an angle in the lower right of the panel.
 A Blue butterfly was made from the same stamp using fusible fibres, and I attached this with silicone glue, which also secures the wire anthers.
He is actually a little difficult to see in the main picture, he looks like a patch of blue background colour!, so here he is on his own,lol. Oddly, the butterfly looks bluer in this picture than it does on the card- I was not exactly pleased with how it came out. I have 3 or 4 shades of blue fusible fibres, but they all seem to develop a green tinge when the fibres are heated.

Wednesday, 9 March 2011

WOYWW #92

 Happy Whats on your Workdesk Wednesday to everyone, if you have found this at random, pop over to the Stamping  Ground to see what its all about, and maybe join in.

 The first of the items on my desk this week is a Mothers Day card, made with an Elusive Images plate, Morning Glory.It was stamped in Memento Tuxedo Black onto an alcohol ink background, then coloured with Promarkers.The base card was covered with paper from the Papermania Antique Cream pad, the image matted onto dark blue card, then layered with foam tabs. Purple dotted organza ribbon tied around the spine. The sentiment was computer printed onto vellum, heat embossed, then
attached to blue card with heart brads.


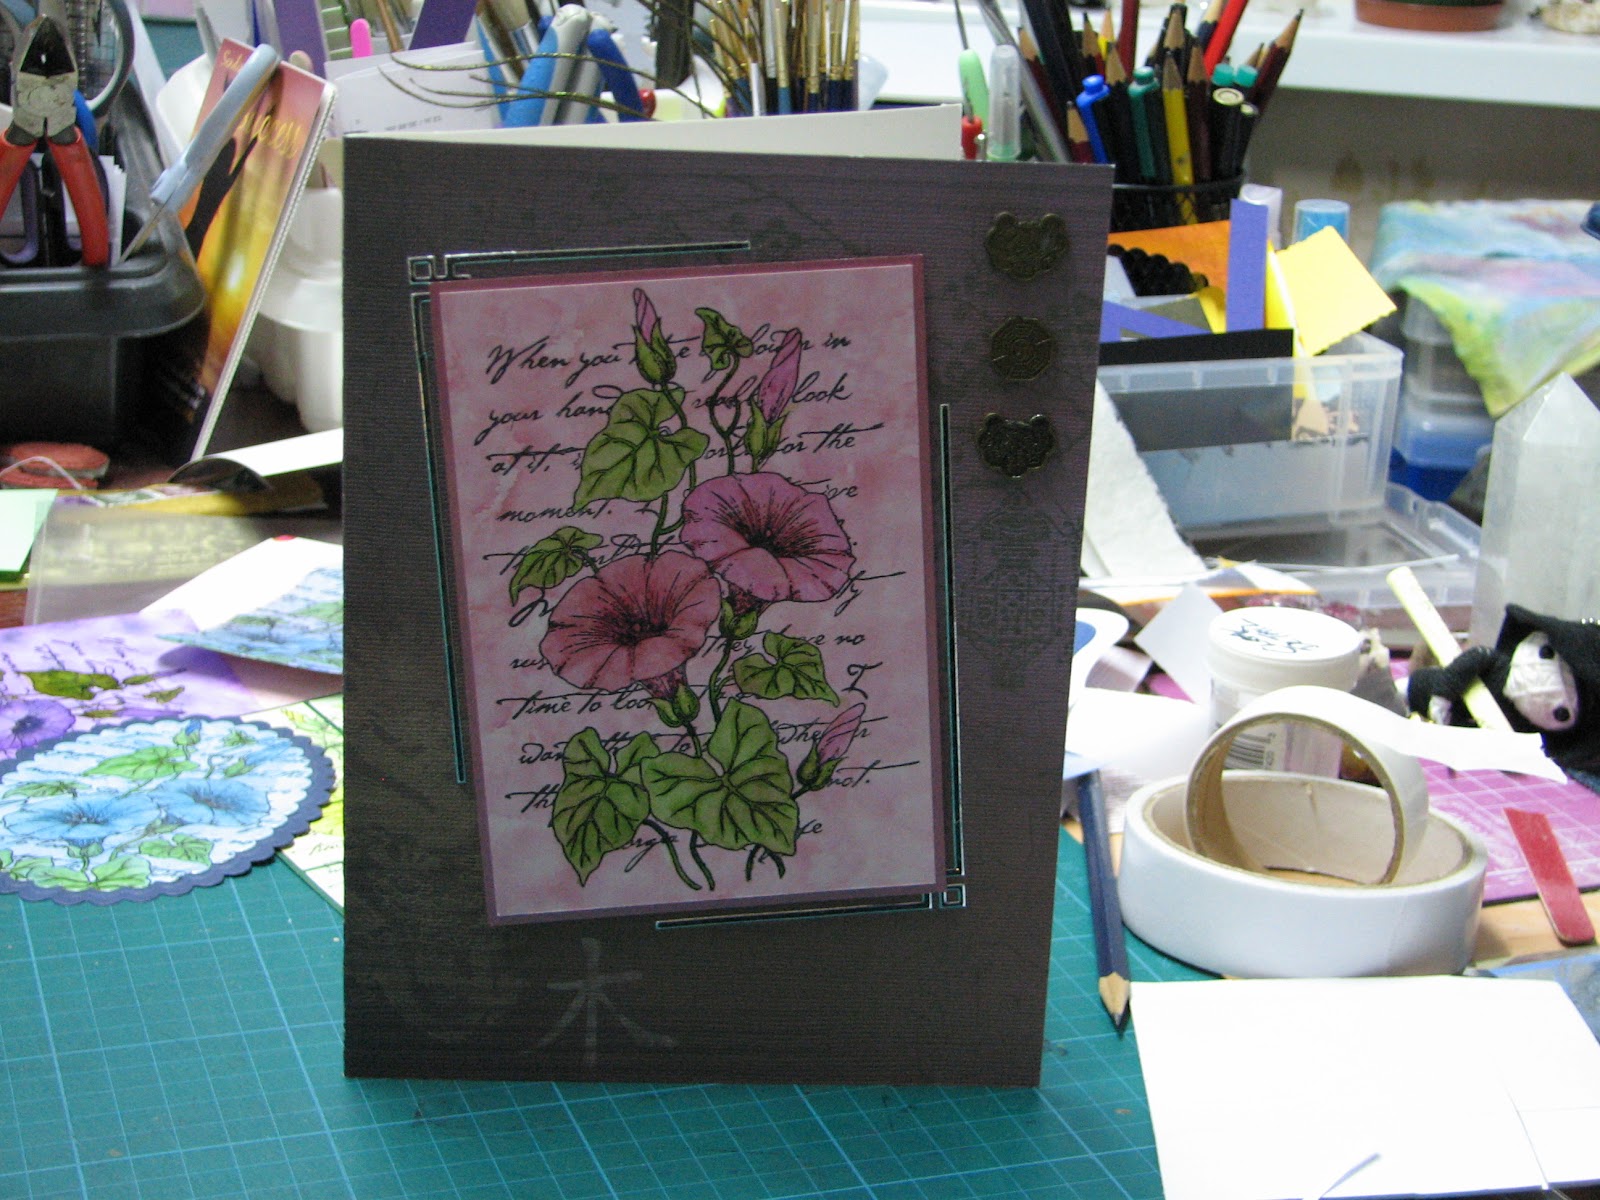
The second card using the same stamp, this time onto a pink alcohol ink background, matted onto pink pearlescent card. A sheet from The Far East paper pad was used to cover the base card.I used black peel-offs to create the line frame around the panel, and 3 small chinese coins added to the top right corner.


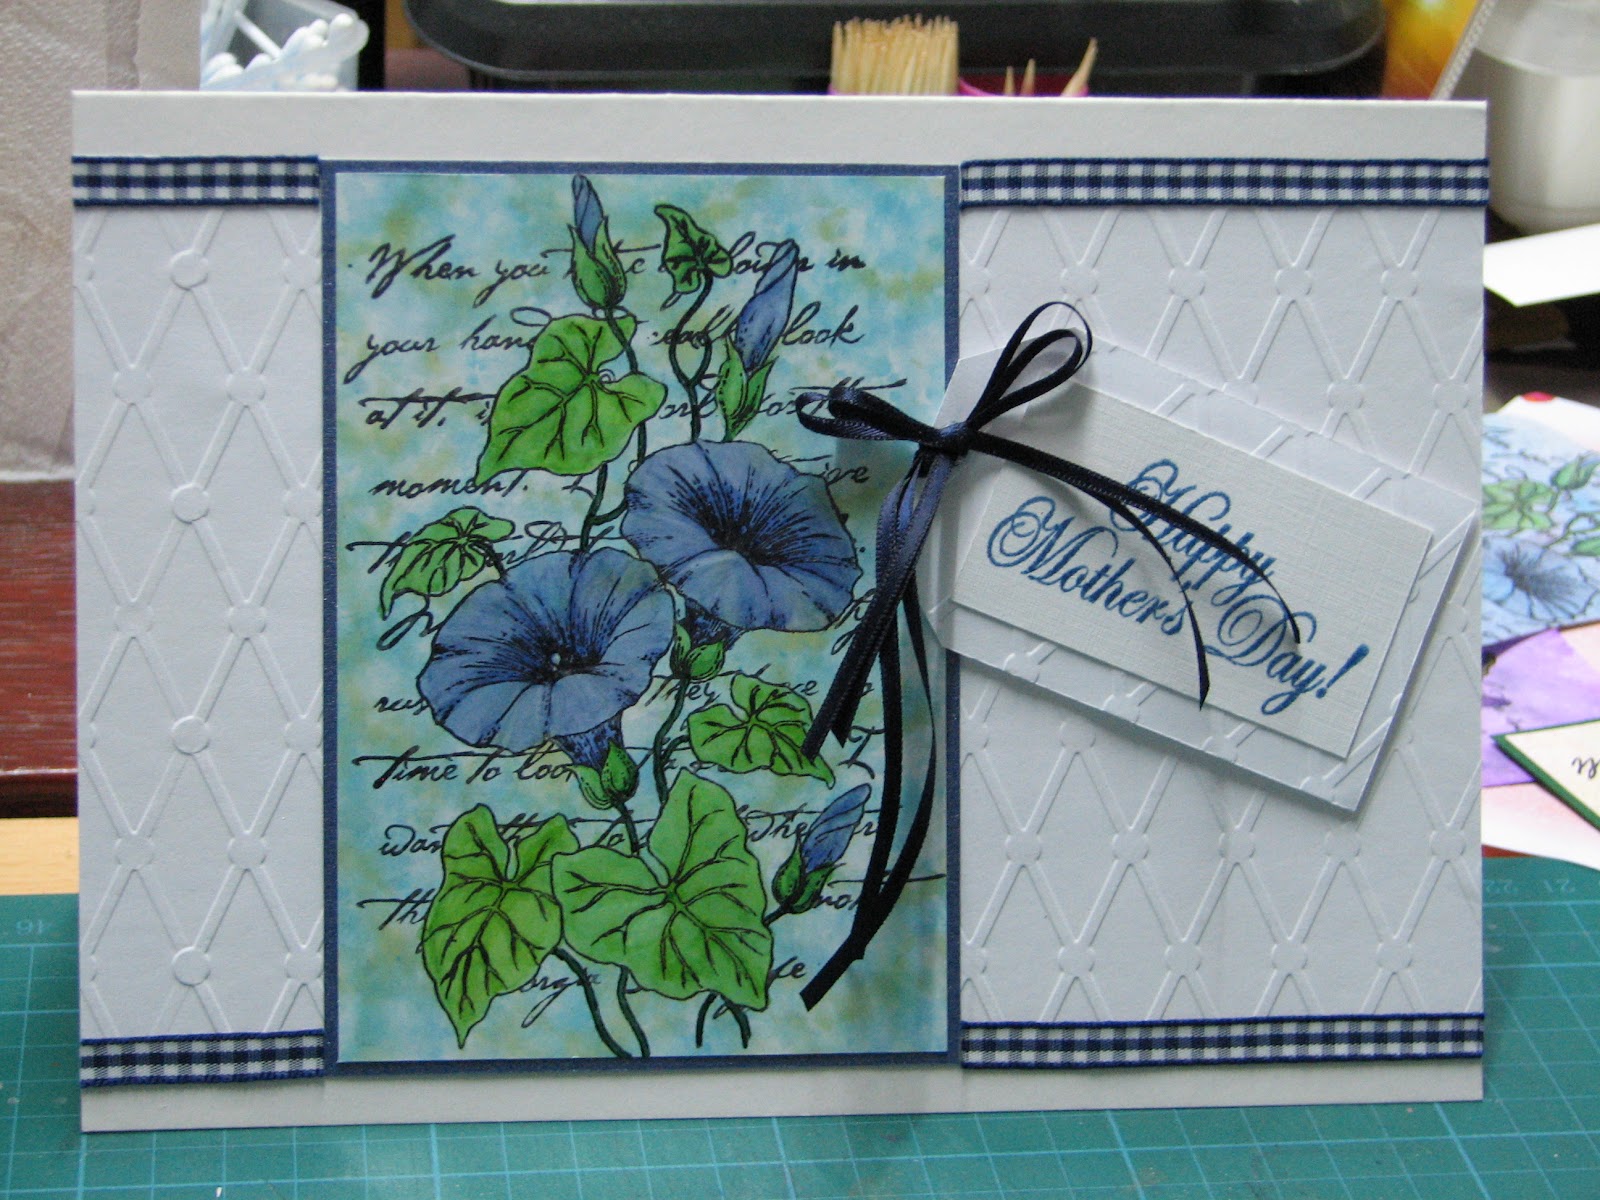
The third card, this time on blue/green alcohol inks. Matted onto dark blue card.The embossed background is a Quickutz embossing folder, Diamonds & Dots, which I embossed to the width of the card by putting the folder through the 'bug sideways.Dark blue gingham ribbon added, a sentiment stamped and matted onto an offcut of the lattice background, which was cut to a tag shape.I added some narrow blue ribbon tails, and a bow.


This is the card from last week with two of the fibre butterflies added. They were given anthers made from mizhuiki cord, with a tiny bead on the ends. I added a peeloff oriental sentiment, as all the stamps I have were just a little too big for the space.


The last thing I want to share with you, will probably have lots of you rushing off to your nearest branch of The Works!
I found these in there last week- tiny canvases with easel, as you can see, 99p each! The canvas measures 3 1/2 in (9cm)  x1 3/4 in(7cm), and is 1 cm thick. I have a couple of projects in mind for these, for a birthday gift later in the year. Though I shall probably get a few more, 'just in case', lol.

Wednesday, 2 March 2011

WOYWW #91

This is a semi- finished project on my desk this week, using the Butterfly panel I have used before, but this time done entirely with Angelina fusible fibres. The panel was matted onto black card to give it a little stability. I also wanted to create a shoji screen type panel, and had had in my mind for a while now to do this with mulberry paper and heat embossing. I didn't take into account the fibrous nature of the paper, which attracted, and held on to, all the embossing powder! So I had to resort to peel-off lines, as I wanted the shiny look of embossing. I then decided the panel looked too plain, so added some flowers in black peel-off in, and spreading over, some of the squares. To add colour I used ordinary pencil crayons, as anything wet, like Promarkers/inks etc, spreads in the fibres. I think I shall try this again, next time using giftwrap type tissue paper- I should be able to emboss that without difficulty.
The various textures give a lovely tactile element to this card.


I also made myself a handful of extra butterflys using the fusible fibres.


Last thing on my desk for this week is a few Inchie
squares, punched from spare pieces of the panel I used in the Birthday card below, covered in Anitas 3D Clear Gloss, with a few Accent beads scattered into the wet medium. I found using an old document pocket to work on made the squares easy to remove - the gel doesn't stick to it.

Wednesday, 16 February 2011

WOYWW #89


Two cards on my desk this week, both using Crafty Individuals stamps.The card on the left uses the 4 Birds stamp, CI 184, and Owl Postage, CI 225. Both were stamped onto an oil pastel background made with yellows and browns, using Staz-on black. I cut the four birds into individual images, and trimmed the owl stamp down to the postage stamp edge. I matted this onto gold card, and trimmed down to leave a border, using a stamp edge blade.  I then cut a sheet of gold card to size slightly smaller than the card front, which is an A4 sheet of cream linen card scored & folded, and used landscape format. I cut the gold card into four sections and added some matching paper from the Papermania Earthtones pack. Two panels had very narrow brown ribbon wrapped around, then all the images were put in place, sticky tabs used on the two bird images that overlap the owl. A small greeting was added to the final blank section.
The card on the right  uses CI 001, dragonfly postal stamped onto an oil pastel background made with blues & greens. A sheet from Papermanias ' Antique Cream' paper pack was used to cover the front of the card, then I tore 8 strips from toning mulberry papers, and attached these in a wave across the front of the card. The stamped image was matted onto a scrap of dark blue card, and trimmed down to leave a very narrow border. Two dragonflies were made using Fusible Fibres and the dragonfly on the stamp. These were attached with silicone glue.8 small flowers were punched from pearl paper, in toning colours, and paired up, overlapping the petals, and secured with a yellow brad, again attached with silicone glue.
How to make the oil pastel backgrounds is shown on one of my pages.


I thought this may be of interest to anyone with a Tesco nearby. I went in earlier this week, and in their £1 promotion area, I found this pack of 10 DL size storage wallets, like the sort sold for storing peel-offs. I thought they would be really useful for scraps and offcuts of paper/ spare stamped images/etc, and ten for a quid is a real bargain! So much so, I think I will be getting another couple of packs when I go in again- you can never have too much storage, can you?


And talking of storage, here is how I store my brass stencils- photo albums intended for 7 x5 photos, they cost me around £2.50each, again they came from Tesco, in one of their end of line sales, I think. I have adapted some of the pockets, dividing them down the middle with a row of staples, or in some a row across the centre, then cutting a slot in the side, depending on the size/shape of the stencils.

Sunday, 16 January 2011

Easel Card 1


This is the first of the Easel cards made with some of the stuff off my desk for WOYWW this week. I thought I would have a go at easels, and they are really very easy & effective. I have put a short tutorial on a page HERE for the folds and construction. The stamped panel was brayered with Adirondack Sandal, Lemonade and Citrus then left to dry. The image is called Aspire by Penny Black, and was stamped three times across the panel. I inked up the stems using Distress Forest Moss, and added the flower colour using Cats Eye Terracotta then the flowers had sparkly embossing powder added and heated. The panel was then cut into three, with the centre one being slightly larger, and matted onto dark red card. I cut my base card to the width of my stamped image, then scored and folded to create the easel.The part the card will stand on was covered in a dark green paper. I trimmed down the offcut from my card to make the panel that is the stopper.A piece of clear vellum was embossed with the D'vine Swirls Embossing Folder, cut down to slightly larger than the card panel, then edge punched with a Fiskars Heart Border punch. I added this to the panel with a small piece of DST in the centre only, where it will be hidden by the sentiment.The sentiment was stamped & heat embossed onto an offcut of the red card, then onto an offcut of the dark green paper. A silver Heart brad was added at either end. The lacy panel was adhered to the card base with foam pads, then the sentiment added to this with silicone glue, so I could angle it upwards slightly. The image panel was then added to the card 'front' with DST, and a butterfly made from Fusible Fibres was stuck down with silicone glue.

   TIP: to emboss vellum successfully in a cuttlebug folder, either use a very thick vellum, as it is available in different weights just like card/paper, and PDA card & paper (link in the sidebar) do a nice thick one that works well, OR if your vellum is thinner, use two/three sheets in the folder at the same time- this helps prevent the vellum from tearing, as it does not stretch in the same way card or paper will.

Saturday, 8 January 2011

Oriental Butterflies


Two versions of the same stamp,which is available as part of a sheet from a couple of suppliers: Tanda Stamps,Far East set 1,where it is also available as a single stamp,and in both rubber or clear polymer, or from Non Sequiteur, Plate 67, Samurai Plate. Apart from the Butterfly block, both plates have different stamps on them. For both cards, the butterfly block was stamped in black ink, then heat embossed, onto alcohol ink backgrounds. The butterflies, flowers and leaves were all painted with H2O's.For the black & red card, the design was then cut into 8 tiles then remounted onto black card, trimmed then matted onto a second sheet of inked card. The sentiment was stamped onto a scrap, matted onto black card and fixed with foam pads.The butterfly embellishment was made using fusible fibres over the butterflies on the block, then cut out and mounted with silicone glue. An Oriental coin had a length of black/gold mizhuiki cord threaded through it, and was attached with silicone glue in the opposite corner.
This card is an example of how a card can change as you are constructing it, and of the benefits of putting it aside if you aren't happy- coming back to it later often helps. This one was originally cut into 4 horizontal panels, then re-matted onto black card. I wasn't sure about it, so left it and completed the blue one.When I looked at it again, I thought the 8 squares would work better, maybe because it seems to mimic the oriental Shoji panels?
For the blue card, the background is printed from a Joanna Sheen cd,Tales of the Orient.The kanji strip on the left was done in triple embossing, using black ink as the base. The sentiment was stamped onto a scrap of inked card, and small black brads added in the corners.

Thursday, 16 September 2010

Dragonfly, Butterfly, Bee

The stamp is #90349,Dragonfly, Butterfly, Bee, The Tapestry Studio Collection, from Stamps Happen. I stamped the image first on a brayered background, then used fusible fibres to make each of the images.These were cut out and mounted onto the three panels with silicone glue.The base card was covered in paper from the Papermania 'Simply Elegant' paper pack. The sentiment is from an Elusive Images themeplate, stamped onto a little of the brayered background and an eyelet added for threading. Eyelash wool was wrapped around the card and crossed on the front, the sentiment threaded on, and also a butterfly charm.

An End of an era

An end of an era

I write this with a broken heart, that only time can heal My beautiful, wonderful wifelet Shaz (Silverwolf) passed away peacefully in the ea...