As promised yesterday, here is the blog post on the Butterfly cards.
I saw a You Tube video a couple of nights ago making these cards, and I'm sorry but I forgot to make a note of the name of the crafter, and trying to search You Tube using key words brought up masses of similar cards!
The lady used plain vellum behind the Butterfly, and added colour using markers.
But it reminded me I have some vellum sheets that are multicoloured, and thought I'd use up some scraps to do these.
You could also use plain vellum and blend ink over it, or I reckon you could also use acetate and Alcohol inks, or Alcohol markers.
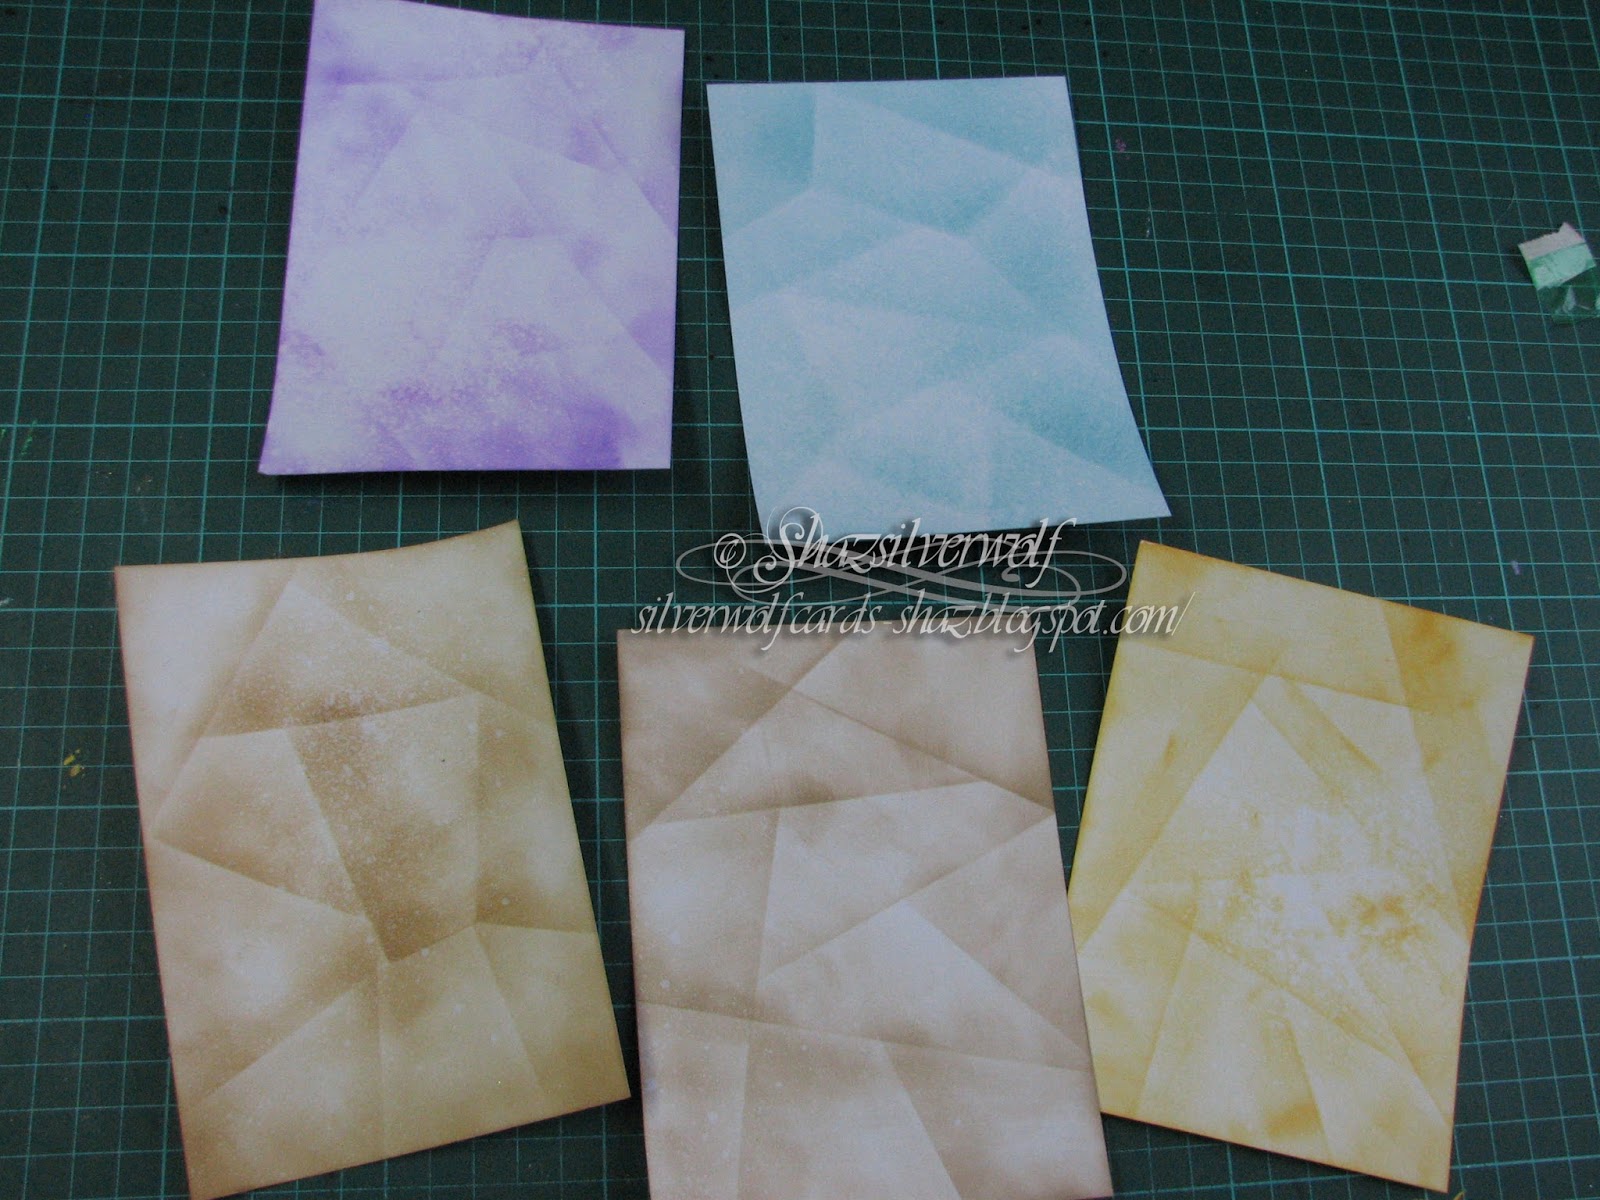
The Butterfly die is a Tim Holtz/Sizzix Thinlets set:


You get the base Butterfly, and the Wings overlay, which is the part used to cut out the cards.
Base are the top pair, overlay is the bottom ones.

The card bases themselves are White Pearl cardstock,topfold, and made by cutting an A4 sheet in half lengthways. It's better to use white as a base, as darker card will not show the pattern on the vellum very well.
4 pieces of black cardstock for the fronts, I've used two Black Linen card, and two plain card so I can run them through an embossing folder. They are trimmed to leave around a 1/4" border all round.

The two folders I chose are a Cuttlebug one, called Forest Branches, and the stone wall effect one was bought at a Craft fair, and I have no idea of the brand!
Both are slightly too small to fill the card front in one go- I think they made them based on the standard US card sizes, thank heaven they are getting larger these days!
Anyway, there is a way to resolve this without leaving a harsh line where you joined it.

I ran the Forest Branches through the 'Bug, and as you can see it doesn't quite extend all the way to the bottom.
Now, for the fix.
Line up your cardstock so it extends out of the bottom of the folder,and allowing the pattern to continue down. Like so:
Now, lay your top plate in place, BUT line up the edge of the B plate with the very edge of the Embossing Folder, not past it. This looks odd in my picture, but that's because the B plate is a bit warped.😀
Now run through the machine again.


Result- a completely embossed piece, with no lines.
After both were embossed I started cutting out the four butterflies.
Also, be careful where you place the cut out. You'll need to add DST/tape runner later to matt the panel onto the card, and if it goes behind the vellum on the wings it will show. You can see bottom right I cut that one a bit close, so had to trim down a strip of tape for that bit.

Now for the vellum.
Having a look through my stash, I found these oddments.
Hard to believe how much vellum was a 'thing' back in the day. Rarely see it used now except for Parchment work.

I cut the vellum down to fit behind the butterfly cut out.
Used a Stix2 tape runner to attach it to the back.
It's a good idea to mark the top of the vellum, so you get the pattern you wanted.
Vellum all stuck down, ready to add the butterfly bodies.
I also cut out the bodies of the butterflies using scraps of glitter paper/card. You can skip this, or add Stickles/Pearls to the bodies.


Trimmed them to shape, and added to the body with Glossy Accents.

The next step was to fold up the wings slightly either side of the body, then attach to the respective panel with glue dots.
The panels added to the card base with DST.
Now for a sentiment. I chose some Text dies from
Crealies.
They are only small, so ideal for smaller cards. And not expensive either.


I went with Birthday, Sympathy and Get Well, and cut each sentiment 3 times, so I could layer them up for some dimension. I cut them from the same white pearl card as the bases.
I layered them up with Glossy Accents, and put an acrylic block on top to make sure they stuck well.
While those were sticking, I stamped inserts for the card.
The sentiments are from Phill Martin sets, Feel Better Soon and So Sorry for you loss from a set called Mini Baroque Occasions Sentiments, and Very Happy Birthday from the Butterfly Elegance set.
I added some random small butterflies of unknown origin to the edges, all stamped In Versafine Majestic Blue.
The sentiments were added using Glossy Accents again, and this was when I realised I hadn't actually kept the dot from the 'i' in Birthday.
Rectified that with a clear acrylic gem, from a pack of Anitas 2mm stones.