A warm welcome to all my visitors,

Thank you for taking the time to come and look at my blog, I really do appreciate it. I would love you to leave me a comment, even if it’s just to say Hi. It means I can come visit you!

All my designs are original, so copyrighted to me. If I have been inspired by someone elses work, I have named them in the post, and where able, I have provided a link.

Please feel free to use my designs for inspiration, I just ask you to credit me, and provide a link back to my blog.

Thanks, Shaz XX

Showing posts with label Brads. Show all posts

Sunday, 25 September 2016

Die Cut Baubles Christmas Cards #2

I posted some cards the other day, made with the 'negative' space from die cutting baubles. This half a dozen cards here use the 'positive' image that was cut out.
It made for some very easy cards, and also made a dent in the Christmas backing papers I have so much of. Just  a sheet of said backing paper onto the card base, and Baubles placed on top with Pop dots, and a ribbon bow added to each one. I'd also jazzed up the baubles a bit by adding some bling.


 First one on a 5"x5" square base, the card pack in use here is an Anita's one. Don't ask how many years old it is!


Then I switched to 5"x 7" bases.


The backing papers on these come from an old Dovecrafts pack called 'Christmas Blues'.


 On the left, the paper was from a sale pack in Hobbycrafts earlier in the year.


Final one, and this time I used some  printed vellum, attached with star brads in the corners.
 Two batches of cards from one die cutting session. What I call a win-win!


Sunday, 22 February 2015

Birthday Card with Indigo Blu stamp

So, I can blog this card, now its been handed out.
 I mentioned last week we were going down to Plymouth, for a friends 30th birthday meal, so a card was a necessity. The stamp used, by Indigo Blu is one of their 'Dinkie' range, it measures 3" x 2 1/4", and features a Penny Farthing, which seemed perfect, as Rob is a keen cyclist.


The card is based on samples I saw at Pink Tulip crafts quite a while ago, when I bought the stamp.


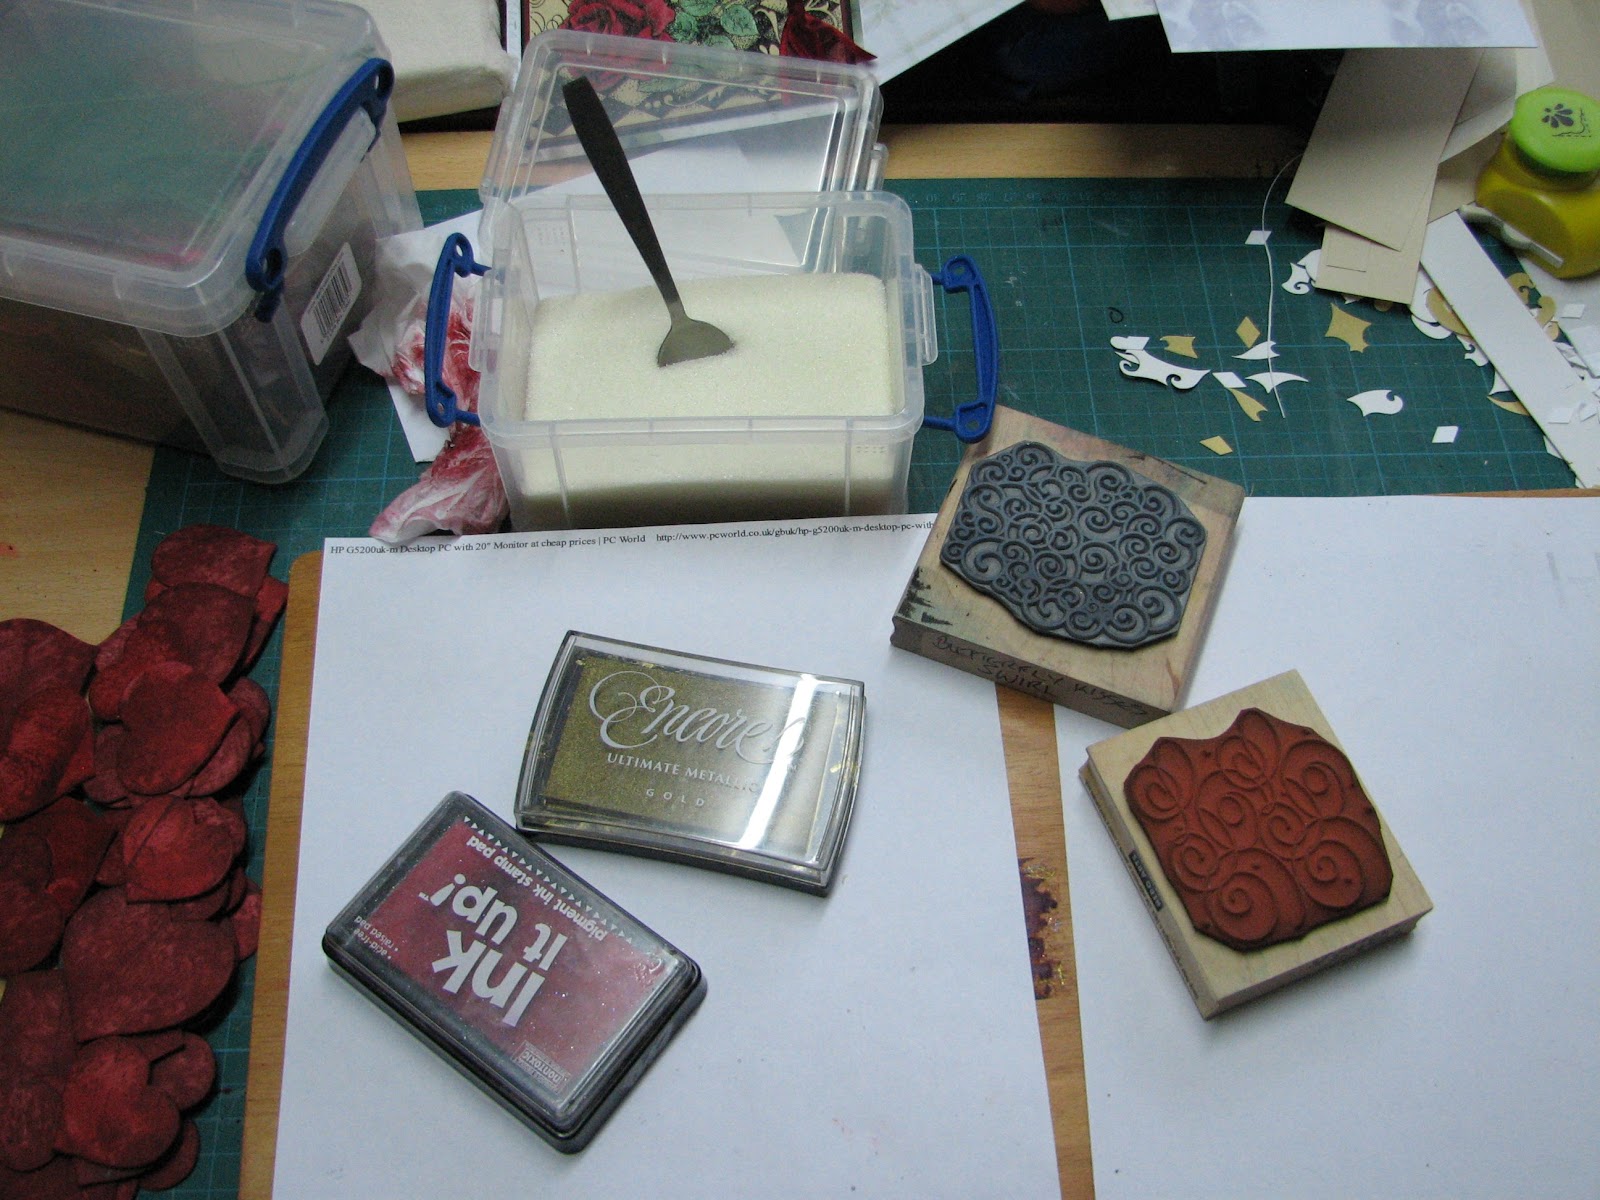
I must admit, I did a few colour variations, both in the stamping and the inking, until I found one I really liked.The stamping was all done in Archival, apart from the grey, which is Versafine.


Out came the trusty stamp positioner, as I cannot 'eyeball' this sort of thing, I'd never have got an even spread of the stamping. Its just 3 images stamped from one inking, so they gradually fade out.


I did one pretty much the same as the samples.
Then added DI in Tumbled Glass & Salty Ocean, Scattered Straw and Old Paper.


Same inks, but this time in bands across the cardstock.


Then I tried a sort of half and half.
Then the one I finally used.This one is again DI in Tumbled Glass and Salty Ocean, then Adirondack Sandal and Lemonade, with a little DI in Squeezed Lemonade also.


The corners were punch with a SW punch- can't remember when I last used that,and matted onto dark Blue cardstock.


Dark blue brads in the corners.


For the front of the card, I used some Tim Holtz paper from the Lost and Found paper pack, which features a bicycle themed sheet, in french.

The sentiment was stamped in the same Cobalt Blue Archival, onto an offcut sponged the same as the main image, then punched and matted to match.

The numerals for 30 are a set of stamps from Dimension, who used to be Dimension Fourth. I stamped them in the same ink onto offcuts of the backing paper, and attached them with Pinflair glue gel.


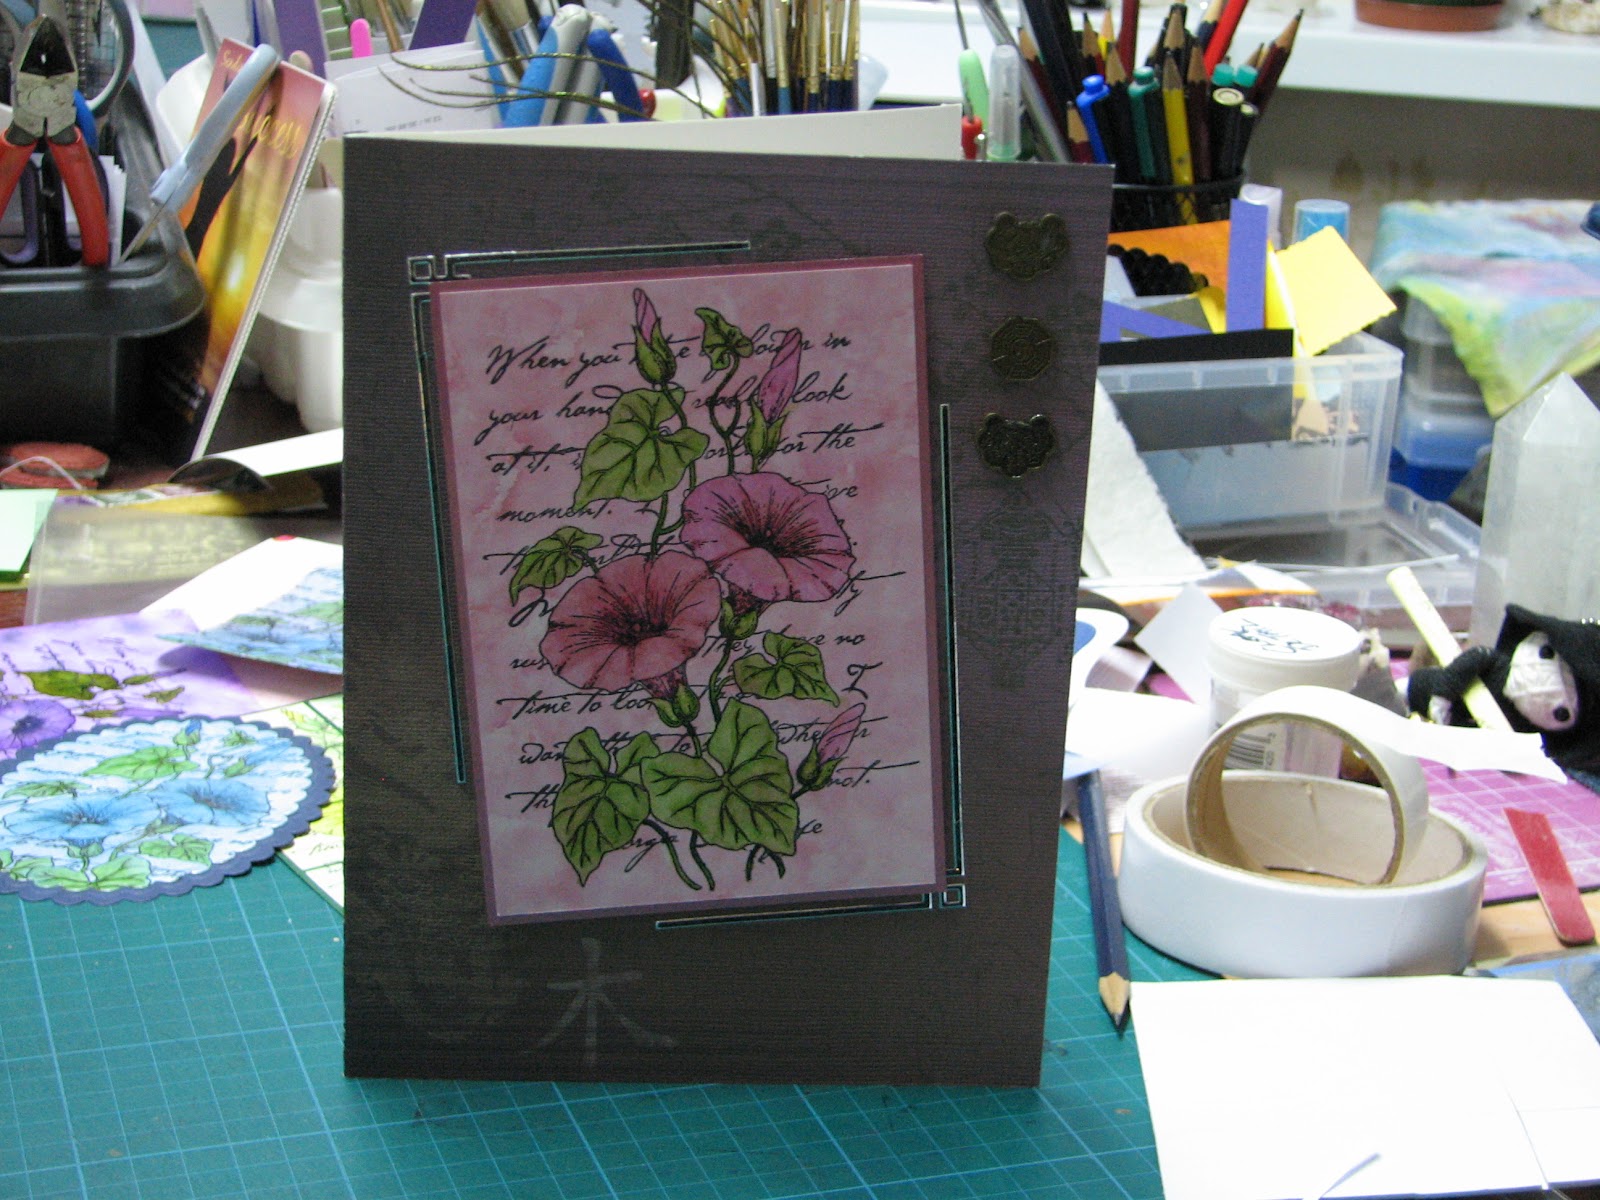
I now have a number of stamped, and some inked, images left over.


When I was looking at the samples after I'd done this card, to get the image for this post, I noticed the Butterfly card in the left corner. Its been done with Adhesive film and Glamour dust. So, I thought, I wonder what one of these images would look like?
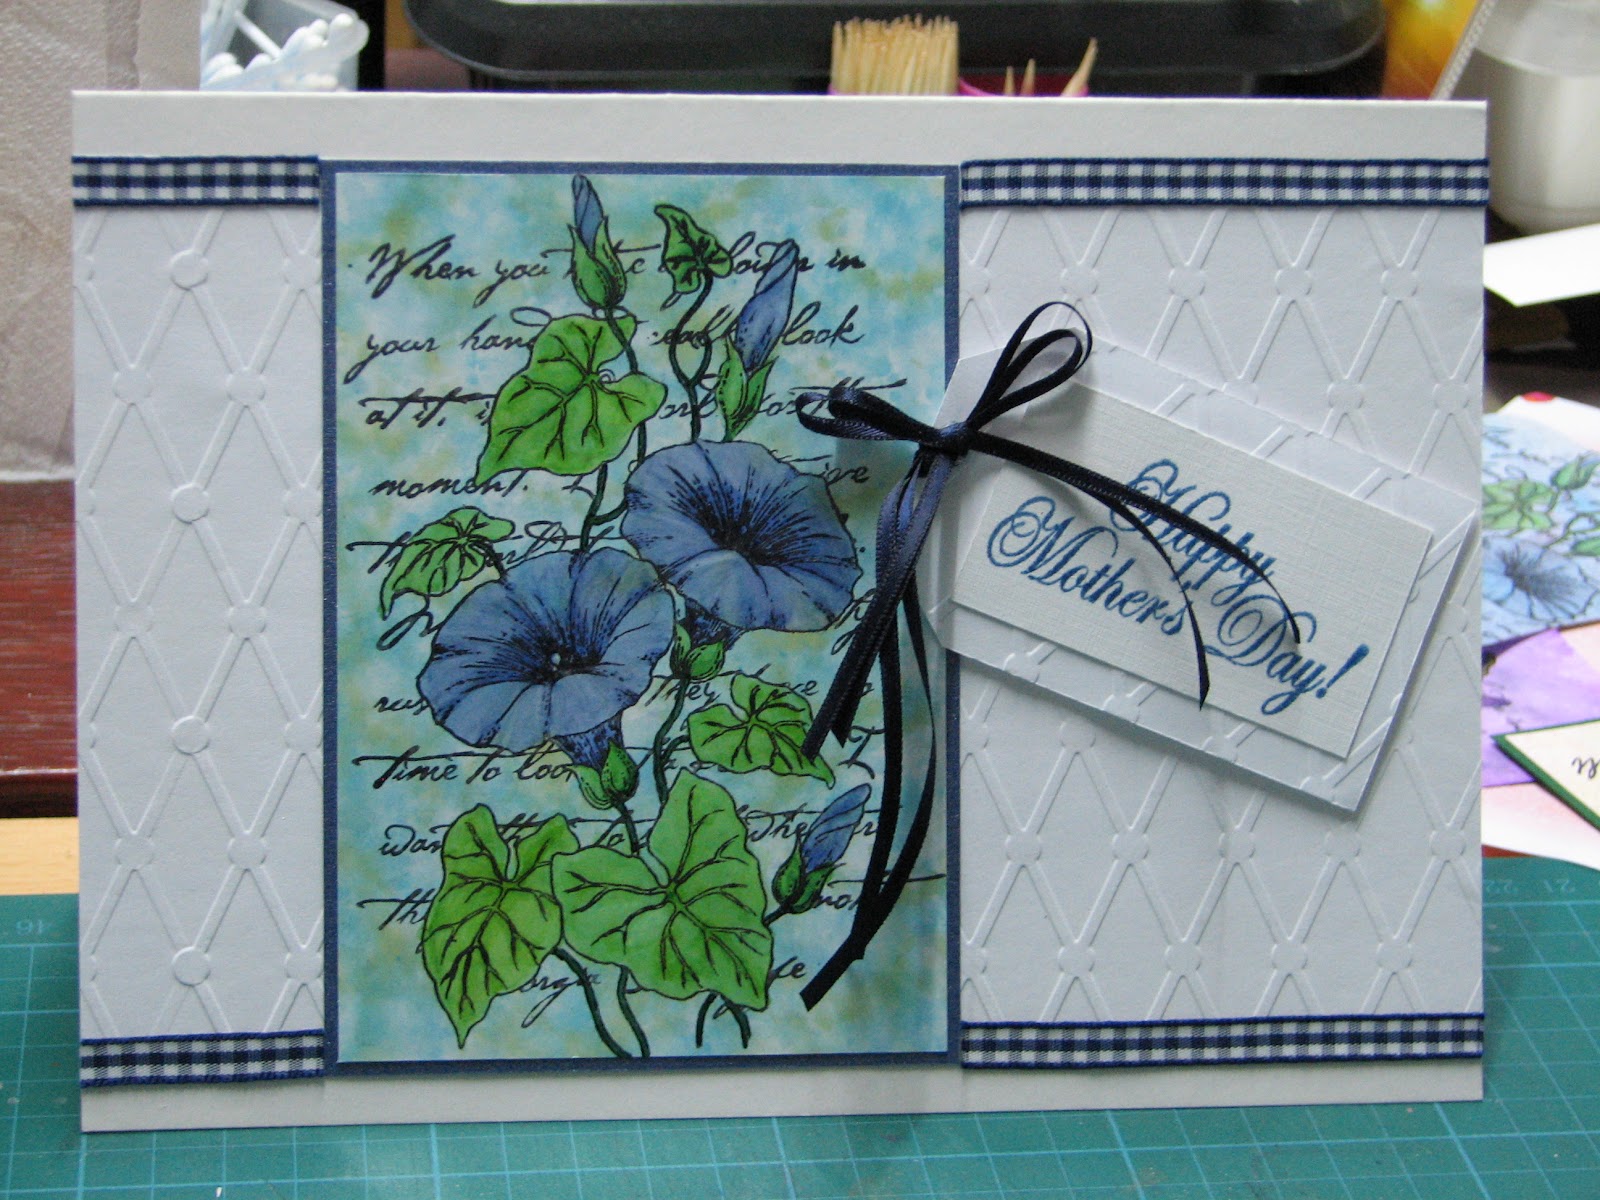
 I took the one that I'd inked in bands, and added a sheet of double sided adhesive film to it.


Before I peeled the backing off, I burnished it down well with a hard rubber roller.


Peeled off the backing paper, and sprinkled it with Glamour Dust, in Crystal. Rubbed over it first, to make sure it was well covered, then tipped the excess off.

Came out looking pretty good, I thought.
I matted it onto some pale blue card, stamped a sentiment and matted that onto pale blue too.


Now it needed a backing, and I wanted something fairly light. In the end, I embossed a sheet of thin white card with a Cuttlebug folder, called Cogs and Wheels. I added a couple of strips of adhesive blue gingham ribbon, then the image over the top, along with the sentiment.
 So, two cards out of one idea.


Friday, 28 June 2013

Cats & Creativity

 Another tag using Lavinia Stamps, this time sponged in Denim, Stonewashed, Pink Sherbet & Raspberry Adirondacks. The cat is stamped in Black Versafine, as was the little dragonfly, and the Vine in Olympia Green Versafine. I added some stampings of the small flower cluster in Raspberry and DI Worn Lipstick.Also a few small Star Clusters in Brilliance Moonlight white, with some Diamond Stickles on top. Random grasses from Inkylicious along the bottom, and the 'Enchantments' word is taken from the large Fairy Words background stamp, also from Lavinia Stamps. I cut the word out of the background so I could curve it around the cat.
This tag is sponged with DI, Spiced Marmalade, Worn Lipstick, Chipped Sapphire & Dusty Concord. The stamp, Tim Holtz Stuff To Say, is stamped in Versafine Onyx Black. Both the dragonfly & Butterfly were the ones I coated in the Gold sparkly embossing powder in the the earlier post.
 Supplies;
 Adirondack inks, Denim, Stonewashed, Raspberry & Pink Sherbet.
Versafine, black & Olympia Green
brilliance Moonlight White
DI Spiced Marmalade, Chipped Sapphire,dusty Concord & Worn Lipstick
Stickles, Diamond
Lavinia stamps, Vine,    Witches Cat,  
 Bugs     Flower Cluster      Fairy Words      Stars
Inkylicious, Essential Grasses
Tim Holtz Stuff to Say

Spooky Pair, or Gruesome Twosome.

Both tags have been sponged in Citrus, Lettuce & Meadow Adirondacks. In the first, a couple of the Butterflies from Tims Papillon stamp set were coloured with DI Markers, Fired Brick, Vintage Photo  & Wild Honey and stamped randomly.
Another stamp from The Stuff To say set inked with the Di markers too. I used Walnut Stain for most of the words, adding Black Soot for the two 'solid' words. I also stamped the words in two sections, just masking over the other half on the stamp with a Post-it, so I didn't get ink on the bit I wasn't using.
The Spooky Tree is from a Chocolate Baroque set, Halloween Raven, and stamped in Black Versafine. Some spooky branches added at the edges from another set, Howling Moon..A few flying birds added with a  second stamping too. The dragonfly is one that I'd glittered in the previous post, and the Skull embellishment is from Riverside Beads, added with a brad so it still moves.
The second tag is stamped with images from a (fairly) recent purchase I loved, but haven't used until now. The stamp set is called Dark Boundaries, Cherry Pie Artstamps.
All the images, the clouds/moon,Crow on a branch, railings and Bird flock are stamped in Versafine Onyx Black. Its the same Bird Flock I used to stamp on the tag above.
 Supplies:
 Adirondack inpads in  Meadow, Lettuce, Citrus.
DI Markers, Vintage Photo, Black Soot,Fired Brick, Wild Honey, Walnut Stain.
Tim Holtz Stuff To Say stamp set
Tim Holtz Papillon stamp set
Halloween Raven, Chocolate Baroque
Howling Moon, Chocolate Baroque
Dark Boundaries, Plate 52, Cherry Pie Artstamps, from De Stempelwinkel
Skull embellishment, Riverside Beads

Sunday, 24 February 2013

A bit of Organisation....

Actually, I got sidetracked from what I wanted to do.You know when you go looking for something, and can't find it? and you find something you'd forgotten about while you're at it? Had one of those moments a couple of days ago. I wanted some small black flatback pearls for a card. I couldn't find any, so used white instead. Worked ok, as it was a black & white card,. But still. So went & had a look on e-bay, as I have bought a few of them, and flatback acrylic gems, from a lady on there in the past. Anyway, they arrived yesterday, so I went to put them away. Yes, I found some black flatback pearls in another box(!), so decided I needed some sort of memory aid for what I did have. Didn't take long either.


I found out a piece of white card from my oddments draw, and using the Tim Holtz pricking ruler and a pin, made marks for where to dab a bit of Pinflair glue gel. That piece of card looks huge, but its only just under 6" square. So I just stuck one of each embellishment onto the card, mainly in colour groups, but not always.The really tiny flatback pearls on the left hand side are meant for nail art, also from e-bay.
Well, this seemed like such a useful idea, I did the same thing with brads. I seem to have a lot- probably because I always forget about them, and they never get used! Seriously, often they were multi packs of shades of a single colour, so although it feels like a lot, there are probably only a dozen or less of most of them. I suppose one day I shall have to get around to doing this with eyelets! So, in theory, having this within eyesight, should make me use them more.

Saturday, 18 February 2012

Craft a Scene- A Winters Tag

Well, this is my second post for the DT challenge this month.
 I remembered seeing an interesting piece on Kevins Stampscapes site a while ago, so I went and had another look at it, and I thought it would work well for this challenge.

You can see Kevins original tutorial here, called 'Winter Flurry'.


What Kevin did was to use a piece of pearlescent card as his base card, and streaked on colour using a stylus tool. He used Marvy inks, which I don't have, and I have not really got a good technique yet with the stylus  tool, so I streaked ink direct from my inkpads onto an A5 sheet of pale blue pearlescent card.
    First colour was an Ancient Page inkpad called Flannel- a mid grey colour. I dragged this across the cardstock in a few places, lightly.
 I followed this with Stonewashed & Denim Adirondack ink, and then Weathered Wood Distress ink. You can see that I haven't bothered about completely covering the cardstock, and because its a pale blue, you get a lovely shimmer to the rocks & snow.
Next I watered down a little White Acrylic paint, and used an old toothbrush to flick this across the inked cardstock. 
 I used only one stamp, Pines & Rocks, 195G, which I stamped in Versafine Onyx Black, varying the height of the image, and also using a 'second imprint' sometimes, for depth.
 Once the image was dry, I used a white gel pen to add snow detail to the trees and some of the rocks.
A while ago I made myself a tag template out of acetate, and I used this to select the area of the image I wanted for my tag.
  Once it was cut out, I punched a hole in the top and threaded some fibres through, in colours to blend with the tag. Two silver star brads finished it off. As you can see from the second picture, you could get at least three tags from an A5 sheet- perfect for multiple cards!
 By the way, for my fibres I use fancy knitting wool- you can find balls of this really cheaply, in all sorts of colours and types, and one ball will probably last a lifetime! Great idea is to share with friends- they buy one colour & you buy another, then split them.
  Thanks to everyone who commented on my first piece, I am glad so many of you liked it.
   I hope this one shows that you can get really cool results with the minimum of stamps & ink, and that you can always substitute what you already have for what someone else has used, and still get a good result.
 Quick recap then:
Pale blue pearlescent card (white would work too)
Mid grey dye ink
 3 shades of blue ink.
Black Versafine, Memento or Archival ink.
White acrylic paint.
Cheap toothbrush.
Stamp (195G Rocks & Pines)
Fibres & Brads.


Sunday, 11 September 2011

Oriental Poppy #2 Tag


The Oriental Poppy & Script image is clearly very popular, and this is a different take on the theme. I finally found out where I got this from- it was featured recently in Craft Stamper Magazine. It is Aspects of Design, Floral 01, from The Stampman. Here it is stamped on an alcohol ink background, in Black & heat embossed. I cut this into a tag, and cut a slightly larger tag from black glitter paper to matt it on to. I added a chinese coin, and the two little black sticks are cut down cocktail sticks, rolled on an embossing pad and dipped into black embossing powder, then heated! I tied a little red raffia around them, and attached them and the coin with a dab of silicone glue.A few strands of red & black fibres finished off the tag. The paper that covers the base was part of a roll I bought years ago one Christmas at the Hobbycrafts show at the NEC. I added three small coins, which have a little hanging loop at the top, so I secured them with a little bronze coloured brad. A narrow black ribbon was tied in a knot on the left side.
                        I often use a knotted ribbon when I am making a card with no particular person or occasion in mind. I think that knotted ribbon works o.k. on mens cards, whereas a bow is definitely more female. It just means I have a little more flexibility with who I can send it to. That is also why a lot of my cards have no sentiment on them- I add that when I need it.
  I seem to have my mojo back, I have been struggling to make enough time to get into my cards lately, and trying to squeeze them in just hasn't been working for me.

Wednesday, 9 March 2011

WOYWW #92

 Happy Whats on your Workdesk Wednesday to everyone, if you have found this at random, pop over to the Stamping  Ground to see what its all about, and maybe join in.

 The first of the items on my desk this week is a Mothers Day card, made with an Elusive Images plate, Morning Glory.It was stamped in Memento Tuxedo Black onto an alcohol ink background, then coloured with Promarkers.The base card was covered with paper from the Papermania Antique Cream pad, the image matted onto dark blue card, then layered with foam tabs. Purple dotted organza ribbon tied around the spine. The sentiment was computer printed onto vellum, heat embossed, then
attached to blue card with heart brads.


The second card using the same stamp, this time onto a pink alcohol ink background, matted onto pink pearlescent card. A sheet from The Far East paper pad was used to cover the base card.I used black peel-offs to create the line frame around the panel, and 3 small chinese coins added to the top right corner.


The third card, this time on blue/green alcohol inks. Matted onto dark blue card.The embossed background is a Quickutz embossing folder, Diamonds & Dots, which I embossed to the width of the card by putting the folder through the 'bug sideways.Dark blue gingham ribbon added, a sentiment stamped and matted onto an offcut of the lattice background, which was cut to a tag shape.I added some narrow blue ribbon tails, and a bow.


This is the card from last week with two of the fibre butterflies added. They were given anthers made from mizhuiki cord, with a tiny bead on the ends. I added a peeloff oriental sentiment, as all the stamps I have were just a little too big for the space.


The last thing I want to share with you, will probably have lots of you rushing off to your nearest branch of The Works!
I found these in there last week- tiny canvases with easel, as you can see, 99p each! The canvas measures 3 1/2 in (9cm)  x1 3/4 in(7cm), and is 1 cm thick. I have a couple of projects in mind for these, for a birthday gift later in the year. Though I shall probably get a few more, 'just in case', lol.

Wednesday, 16 February 2011

WOYWW #89


Two cards on my desk this week, both using Crafty Individuals stamps.The card on the left uses the 4 Birds stamp, CI 184, and Owl Postage, CI 225. Both were stamped onto an oil pastel background made with yellows and browns, using Staz-on black. I cut the four birds into individual images, and trimmed the owl stamp down to the postage stamp edge. I matted this onto gold card, and trimmed down to leave a border, using a stamp edge blade.  I then cut a sheet of gold card to size slightly smaller than the card front, which is an A4 sheet of cream linen card scored & folded, and used landscape format. I cut the gold card into four sections and added some matching paper from the Papermania Earthtones pack. Two panels had very narrow brown ribbon wrapped around, then all the images were put in place, sticky tabs used on the two bird images that overlap the owl. A small greeting was added to the final blank section.
The card on the right  uses CI 001, dragonfly postal stamped onto an oil pastel background made with blues & greens. A sheet from Papermanias ' Antique Cream' paper pack was used to cover the front of the card, then I tore 8 strips from toning mulberry papers, and attached these in a wave across the front of the card. The stamped image was matted onto a scrap of dark blue card, and trimmed down to leave a very narrow border. Two dragonflies were made using Fusible Fibres and the dragonfly on the stamp. These were attached with silicone glue.8 small flowers were punched from pearl paper, in toning colours, and paired up, overlapping the petals, and secured with a yellow brad, again attached with silicone glue.
How to make the oil pastel backgrounds is shown on one of my pages.


I thought this may be of interest to anyone with a Tesco nearby. I went in earlier this week, and in their £1 promotion area, I found this pack of 10 DL size storage wallets, like the sort sold for storing peel-offs. I thought they would be really useful for scraps and offcuts of paper/ spare stamped images/etc, and ten for a quid is a real bargain! So much so, I think I will be getting another couple of packs when I go in again- you can never have too much storage, can you?


And talking of storage, here is how I store my brass stencils- photo albums intended for 7 x5 photos, they cost me around £2.50each, again they came from Tesco, in one of their end of line sales, I think. I have adapted some of the pockets, dividing them down the middle with a row of staples, or in some a row across the centre, then cutting a slot in the side, depending on the size/shape of the stencils.

Monday, 14 February 2011

Happy Valentines Day

I'm still with the easel cards, lol. I think I've got stuck here. Its nice to have more than one surface to adorn, though.This is todays Valentines card, using one of the Elusive Images Rose plates  from my desk a couple of weeks ago.Matted onto black & Burgundy card and tied with ribbon. A sheet of rose patterned paper was used to cover the card front.


  The triple embossed hearts were made by inking first with a mix of Fired Brick, Barn Door and Aged Mahogany Distress ink, then a few were stamped with a word stamp 'LOVE' before covering with Clear embossing ink.


 Sprinkled with UTEE, 3 layers, then some were overstamped with a swirl stamp and Gold Encore Ink.The INK IT UP Pad is my clear Embossing pad- It picked up red ink the first time I used it for this, so I keep it for Reds. These pads are really cheap- only a couple of pounds, so its no loss. The Really Useful Box with the spoon in it is my UTEE- I bought it off e-bay, loose in a bag- much cheaper than buying a branded jar.
They were attached with a few dabs of silicone glue.


For the base, I covered it in a pale gold paper stamped with a lovely Baroque style stamp, by Magenta, 26019-R.
This is the stamp, and this is what it looks like when stamped a number of times to make a larger sheet. Stamped in Gold Encore, and heat embossed with Gold detail powder.

The stopper part of the card was made by cutting a band of black paper which was punched along both sides with the Martha Stewart 'String Lace' Border punch, then a panel of cream card that had been stamped with Hero Arts 'Italian Poetry' , S1832, in Gold and heat embossed. The Valentine greeting was stamped & heat embossed  in Gold again on plain vellum, then matted onto black then burgundy card, held together with a gold heart brad either end.The panel was attached with foam pads.

As I had a few images, and quite a lot of hearts, I made up some more panels, as I think this will come in handy for Weddings/Engagements/Anniversaries.


An End of an era

An end of an era

I write this with a broken heart, that only time can heal My beautiful, wonderful wifelet Shaz (Silverwolf) passed away peacefully in the ea...