A warm welcome to all my visitors,

Thank you for taking the time to come and look at my blog, I really do appreciate it. I would love you to leave me a comment, even if it’s just to say Hi. It means I can come visit you!

All my designs are original, so copyrighted to me. If I have been inspired by someone elses work, I have named them in the post, and where able, I have provided a link.

Please feel free to use my designs for inspiration, I just ask you to credit me, and provide a link back to my blog.

Thanks, Shaz XX

Showing posts with label Ribbon. Show all posts

Sunday, 30 August 2020

Christmas Card Club #18- Use mainly Red

This fortnights theme was set by Lorraine, who wanted us to use mainly red. A real challenge, and took some thinking about! I'd finally decided I was going to emboss some red card with a  Christmas words folder, when I recalled I had a Tim Holtz pad of embossed card, and I was sure there was a red Christmas one, so in the spirit of trying to use stuff I've had forever, I dug it out with fingers crossed. And indeed there was a red, as well as a green, for Christmas. The whole pad is embossed with various holidays/special days, not all applicable to anyone outside the US, lol. Have no idea what I'll do with those.
I cut 2 6" square pieces of the card, then die cut a couple of bauble shapes from each. The die set is from Spellbinders- Heirloom Ornaments 2010. Most likely retired long ago. I backed this with some cream paper marbled with gold, bought at the NEC Christmas show more years ago than I like to recall.  The string for the baubles is some sparkly peel off lines, and then I added a peel off sentiment, again using stuff I've had far too long.I matted this onto some gold glitter card for a bit of sparkle. I decided the baubles didn't look 'finished ' enough, so found some red ribbon to make a bow at the top of each, which looked better. Looking at them now, I think I may go back to these and add a few acrylic gems in a pattern on the baubles, as they look a little plain, I feel. Or maybe some liquid pearls in dots to follow the swirls of the marbling. Don't know, will have to give it some thought. So thats my offering for this challenge, for the first time in ages, I'm on time, lol.

Wednesday, 7 March 2018

WOYWW #457

Good Morning, and how is everyone? Hopefully all clear of snow at last! The last of ours is pretty much all gone. Enough that I was able to take myself off out for a walk around town on Monday.
 Paid a visit to The Range, and snagged a few items.
 A pack of 12 one metre lengths of spotted ribbon for £1.99. Two rolls of masking tape, and a roll of really narrow DST at a pound each, and a Hampton Arts Glue pad, at £2.99.
Not had much luck with Glue pads in the past, but thought this was cheap enough to be worth the try.


 Working on Mothers Day cards at the moment, so they'll get blogged after Sunday.


I've embossed the corner with a Darice folder, and stamped the opposite corner with a HoneyDoo stamp, Flower Frenzy.

I've also stamped it onto vellum, so I can layer up the flowers.


And that is me done this week. Really short, and hopefully sweet. There are some Robin Christmas Cards in the post below, from this weeks Christmas Card Club challenge.


And finally.......................


So, go link yourself up at Julias place, The Stamping Ground, and have a browse around an amazing array of desks, and projects.

Saturday, 25 February 2017

Card for a New Home.

Right,I made this card a few weeks ago, and with waiting for it to arrive, then going into hospital, I've just realised that I hadn't blogged it.

The main stamp is by Hobby Art, from a set called 'Hares'. We spotted this at The Happy Stampers Festival last year, and as Doug pointed out, it would be perfect for anything for LLJ, as she is known for her love of Hares. So when Jan announced they were moving to Wales, and that they had a date for moving in, I remembered this stamp set.
This is the journal I was trying out some scenes using Card-io stamps in a while back, and I can't figure why I've never done this before, instead of winging it and hoping for the best. I've always got a stack of scrap paper under my work, and have occasionally done a test imprint on that, but never tried figuring out placement and colour.
 Anyhow, first off I stamped him in black, then built up the grasses around him using an assortment of green dye inkpads, and some stamps from an Inkylicious set called 'Essential Grasses'. Which it is, I think. A great selection of types of grass.


I didn't think I liked the black version, so instead tried it in Archival Rich Cocoa, which is what I went with for the card.
 When I stamped him onto the card base, I also stamped another onto Post-its, so I could mask him when I wanted to add the sky.
 The hare was coloured with Distress Markers in Antique Linen, and Walnut stain, using a waterbrush to drag the colour.
Bit of a jump here to the finished scene, when I realised I'd forgotten to take any 'in the process' pictures!
 I stamped the hare in Archival Rich Cocoa, then the grasses surrounding him in Adirondack Meadow and Lettuce.
 Tearing some scrap paper into hill shapes, I used a soft brush to create the hills with the Adirondack greens again.
Using Adirondack Sunshine Yellow and Sunset Orange, along with a dry baby wipe, I created a sunrise behind the hills, then put the mask over the hare.
Again using a soft brush I applied Adirondack Stonewashed all over the sky area, then added Sailboat Blue onto the upper portion of the sky, to get a sort of mottled look.
 A portion of fencing from another Hobby Art set was stamped in Archival Black onto one hilltop, then an Inkylicious Flock of Birds, and a butterfly added.


 The corners were rounded off- this little rounder from X-Cut is actually really good, better than other cheap ones I've had. I do have the Corner Chompers, but this one was handy.

 I matted the image onto dark blue cardstock, then rounded those corners too.
 Next it needed a sentiment, and one of the Phill Martin sets I've bought recently, Mini Baroque Occasions Set, has a New Home one in it.
 That was stamped in Archival Cobalt in the upper left of the scene.
I mounted the image onto a 7" square card base, then tied a blue and white spotted chiffon ribbon along the bottom.
 And then it was done.

Stamps Used:
 Hobby Art, March Hares
Hobby Art, Woodland Glade( Hillside fence)
Inkylicious, Essential Grasses
Inkylicious Take Flight( lots of bird flocks)
Inkylicious Playful Cats ( Butterfly)
 Phill Martin Mini Baroque Occasions Sentiment Set.


Sunday, 22 January 2017

Christmas Card Club- Star of Wonder/Any Star

Mid way through January, and the second of this months challenges for the Christmas Card Club, set by Maureen.
 I've done two cards, mainly because I was struggling a bit! lol.
The first one uses mainly Card-Io/Majestix stamps- The Snow Globe, trees and house are all from various sets of theirs.
 The star is a random one- no idea where it's from.
The Santa and sleigh is by Inkylicious, and comes with two versions facing opposite directions, a sentiment and a sprinkling of stars.
 The sentiment inside the oval is a small peel-off, I didn't have a stamp small enough.
 The snow globe was stamped in Silver Encore and heat embossed in Detail Silver EP, the star also stamped in silver Encore, but heat embossed with Crystal EP.
 Images stamped in Memento Tuxedo Black, and Distress ink Tumbled Glass sponged for the hillsides and added with a soft brush for the sky. I'd cut out a mask for the outside of the snow globe so I could keep all the ink inside it.
 The silver foiled backing paper is from Craft Creations which I've had for ages, I think it's discontinued now.
 I trimmed down the image panel and rounded the corners, then added some silver ribbon across the top left, and some ribbon and a bow on the bottom right.

I spotted this star stamp whilst looking for a suitable one for the first card. I'm sorry to say I have no idea who made it, it's a clear stamp and I've had it for years. Again it was stamped in Encore silver, and I used two Embossing powders on it. Silver detail for the words, and a WOW! powder, one of the Chloe Endean inspired ones, called Jingle Bells, for the star. It's sort of a gold/silver mix.
 Backed it onto some gold glitter paper, then some more of the Craft Creations paper in a different colour. I also added a torn corner of some star & snowflake embossed vellum I did myself using various stamps and crystal EP. First outing for this stamp, despite how long I've had it!
 It's annoying me, as I feel I should know who made it, but the only names that keep coming to me are people who don't make clear stamps, so I know I have it wrong. Feels like it's in the back of my head somewhere though.

Sunday, 25 September 2016

Bowmakers- Useful gadget or not?

 I've acquired a couple of these over recent years, and I have to admit, they've been largely unused. Mainly because I couldn't get the knack, and hadn't bothered to go to the source of all instruction, You Tube. On the left, the plastic one is from Papermania and comes with 4 pegs, and cost about  £5. It also comes with instructions on the back, but I've either thrown that out, or put it in a safe place!
 On the right, the wooden one was an E-Bay buy, cost a couple of quid, and there are plenty on there for sale. To be honest, you could make this one yourself- or ask a friendly Hubby- just drilling a few holes in a block of wood, and buying some dowelling of a suitable size.
 The position of the holes themselves will determine the size of the bow- literally the width across two pegs is how wide your finished bow will be.
 The Papermania one will let you tie a bow from 3/4" to 2 3/4". If you have the pegs adjacent, you get a 3/4" bow. One hole apart, just over1", 2 holes between posts gives us a 1 1/2"" bow. 3 holes apart, a 2" bow, 4 holes gives you a bow just over 2 1/4", and finally 5 holes apart gives you a 2 3/4" bow.

 The wooden one is slightly different. Using the narrow pegs you can tie a bow from 3/4" to 1 3/4". The wider pegs are spaced a little differently. You have a block of 3 together, from which you can make either a 3/4" or 1 1/4" bow.  The two separate holes will also give you a 1 1/4" bow, then if you leave one peg in the left hand hole, and move the other one hole across you can tie a 2 1/4" bow. Move the peg to the right once more, and you can tie a 2 3/4" bow. Move to the end hole and you get a 3 1/4" bow.
 In reality,  the width of your ribbon would dictate which size of bow you make- the narrower the ribbon, the closer together you will want the pegs, in order for it to look pleasing.
The bows here were all made using the pegs either adjacent, or one hole spacing. I've left longer tails, as I haven't yet decided what I will use them on, so I can trim them later.
 There are, as I said, good videos on You Tube, and I will link to the three  I found most helpful, HERE, HERE and HERE. 
 Once you've done a few, the knack is easy, and you can produce bows in about 15 seconds. So very useful if you need a lot- Christmas Cards, or Wedding Invitations maybe.
 It's just a case of choose your spacing,
Wrap your ribbon round, and cross over at the back.

One important point- make sure the front of your bow, which will be the side facing away from you, stays nice and flat, and doesn't get twisted.


Hold the left hand piece still, that doesn't move. Poke the right hand end straight through between the posts, underneath the ribbon.


Now bring that end back over the top of the ribbon wound around the posts.

Then tie in a knot with the left hand end.


Pull tightly, making sure the front stays smooth, and that you centre the knot between the posts. Then slide the bow off.


 It is quick and easy and produces a very nice bow. Some of the videos I've linked also show you how to make a 2,3 or more stranded bow which do look very pretty.

So mine will be getting more use in the future. I prefer the bows made with this to my normal method of creating two loops, then tying them into a knot to make the bow.

Friday, 15 April 2016

Some white on white for a change.


This card is another inspired by one spotted on Pinterest.
This is my version, with the addition of a pale yellow with white spots Organza ribbon, just to make it pop.

The centre panel is again made from the Butterfly Border embossing folder.


 I'd done a few,  testing out the sandwich required, and it seems a waste not to use them.


 A couple are on paper, and the others on card. I picked one of the pearl white cardstock ones, and trimmed it down to the card height, which in this case is a folded A4 sheet.


The border strips, of which there are two each side, are made with a Spellbinders die set, called Shapeabilities On The Edge.
It was very good value, as it contains 9 different edges, and the dies are made so that you can extend the length to whatever you need.


The first border I cut was with the 4th from the right, the eyelet one.
 I trimmed two strips of the same pearl card, and ran through the bug, extending the cut to the same length as the panel.


Then I chose the 3rd from the right to make the second border with.This one was slightly trickier to line up when I came to extend it, but it worked out fine.


So now I had my two border sets and my centre panel. A strip of  DST down each side of the panel, and the eyelet pieces were put in place. The panel was lined up to the embossed line that is produced by the die.


Then another strip of DST, this time down the back of the eyelet piece, and the waveform border was stuck down.


Once the second border had been added, I die cut the sentiment with a Britannia Dies set, Christmas and Birthday set, Small. Another great value set, as you get a Christmas and Birthday sentiment together. The dies are half an inch, or 14mm high, which is a really useful size.
 Stuck this down with a Quickie glue pen. At this point I decided it was just too lacking in colour, so added the ribbon to brighten it up slightly.
 And here is the Pinterest card that inspired me, and the original post on SCS by Susi B.


Monday, 15 February 2016

Valentines Day card


I kept the colour scheme nice and simple- black, white and burgundy. All the stamps are by Visible Image, and stamped onto white pearlescent card with Versafine Onyx black ink, and heat embossed with clear powder.


 I trimmed all the images down to around 4" square, then matted them onto burgundy coloured cardstock. I trimmed the borders down a little, as I decided they looked too large. As the images were too large to fit onto an 8" square card blank, I made my own using two sheets of black card. I lay the images where they would be mounted, than added a rulers width to the side and trimmed them there.
A fold was made in both sheets of card by running an embossing tool down them on my Hougie board.
Now I trimmed down two white sheets of paper for the insert, then stacked up my card- black cardstock back, two white sheets of paper, then black cardstock front. I held them all together with a dab of tape runner in the area that would be the spine.
Two holes punched in the spine, then dark red eyelets added.
 Burgundy ribbon was passed from front to back through the bottom hole, then up from back to front through the top hole. Then back down and back to front through the bottom hole, and back out of the top hole, back to front. Then tied in a bow.
 The three images are Visible Image INKcognito stamps, and the sentiment from a retired set called Love is Forever.

Monday, 1 February 2016

NOEL

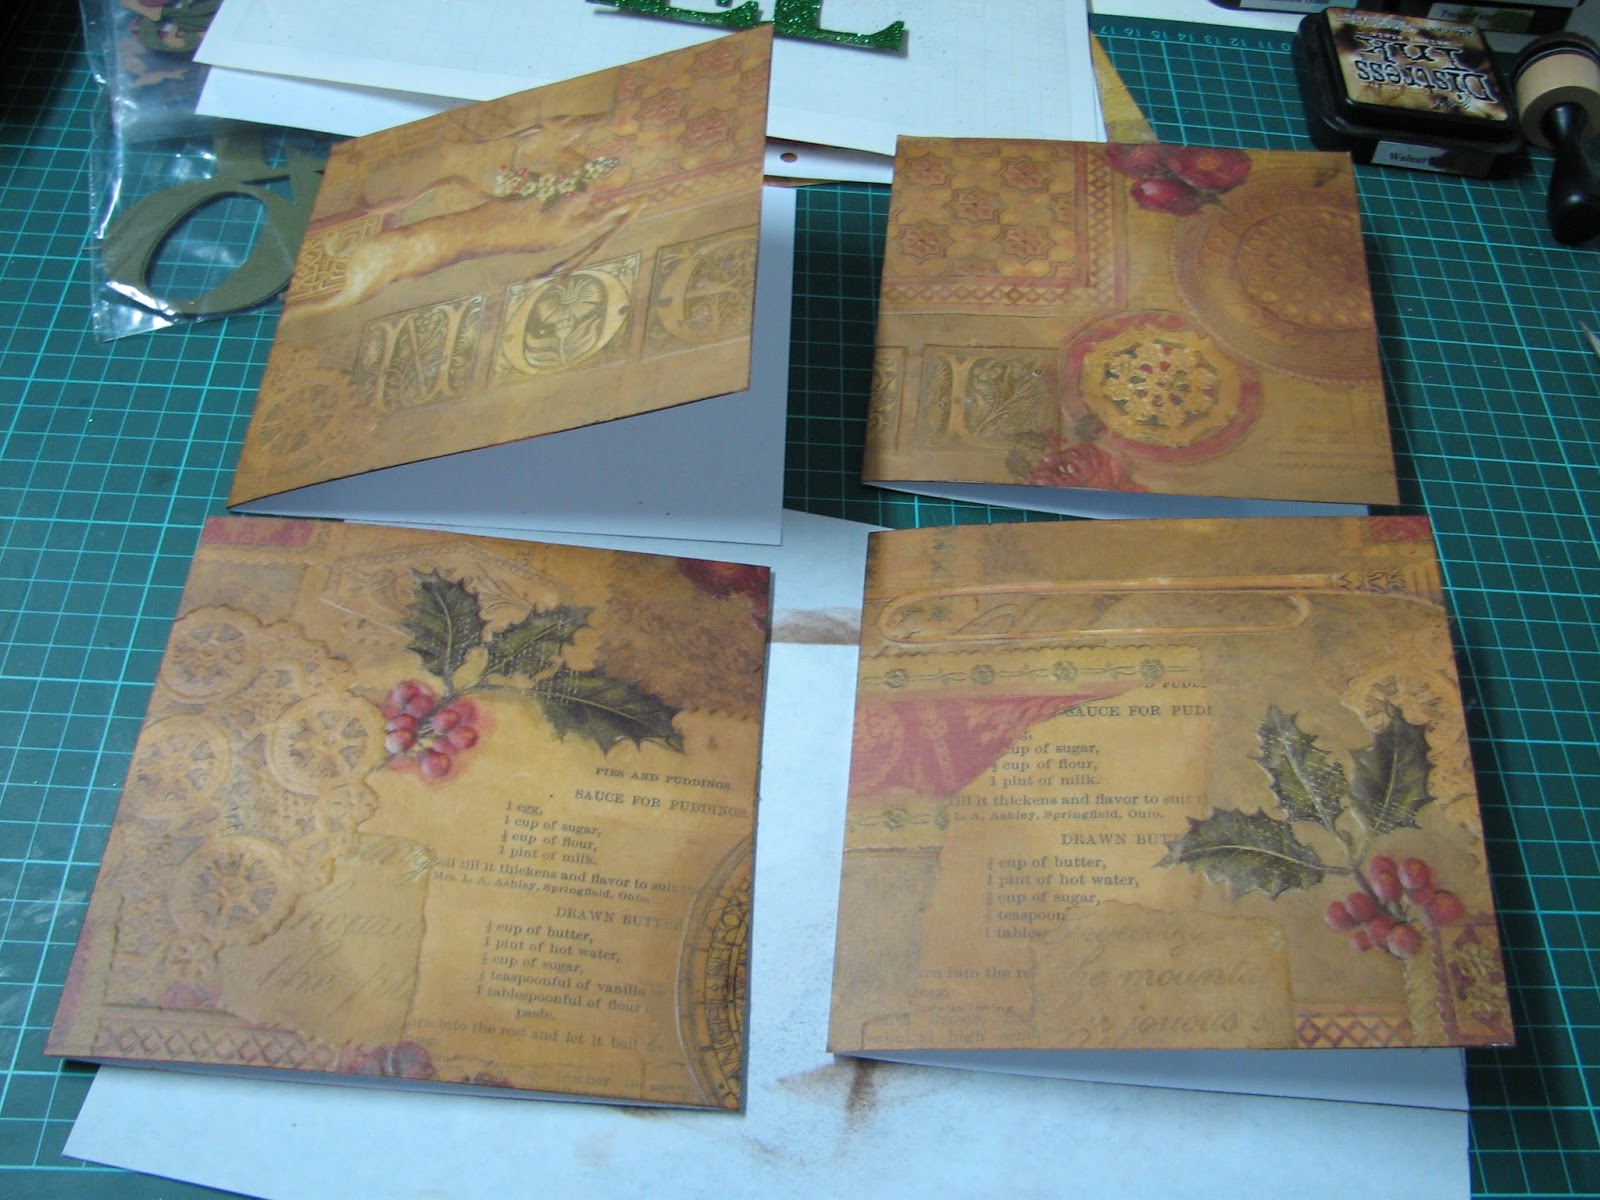
Well, these cards are not exactly how I intended to make them, I had a number of embellishments to add, but once I'd attached the glittered NOEL to the front, adding anything else seemed like overkill.


Two colourways, one red, one green, both going really well with the chosen background.


This was a Kay & Co vellum I bought quite a few years ago now, I think it was being retired- don't you just love how 'retired' has replaced 'discontinued'? Anyway, it's a very thick embossed vellum, and is gorgeous. I think I bought half a dozen sheets and decided it was about time I used some, instead of hoarding it. Isn't it funny how we do that? Buy something really nice, then save it 'for a special project'.


This is what it looks like as a full sheet, the NOEL and the reindeer are embossed, as well as the holly and a few other bits.


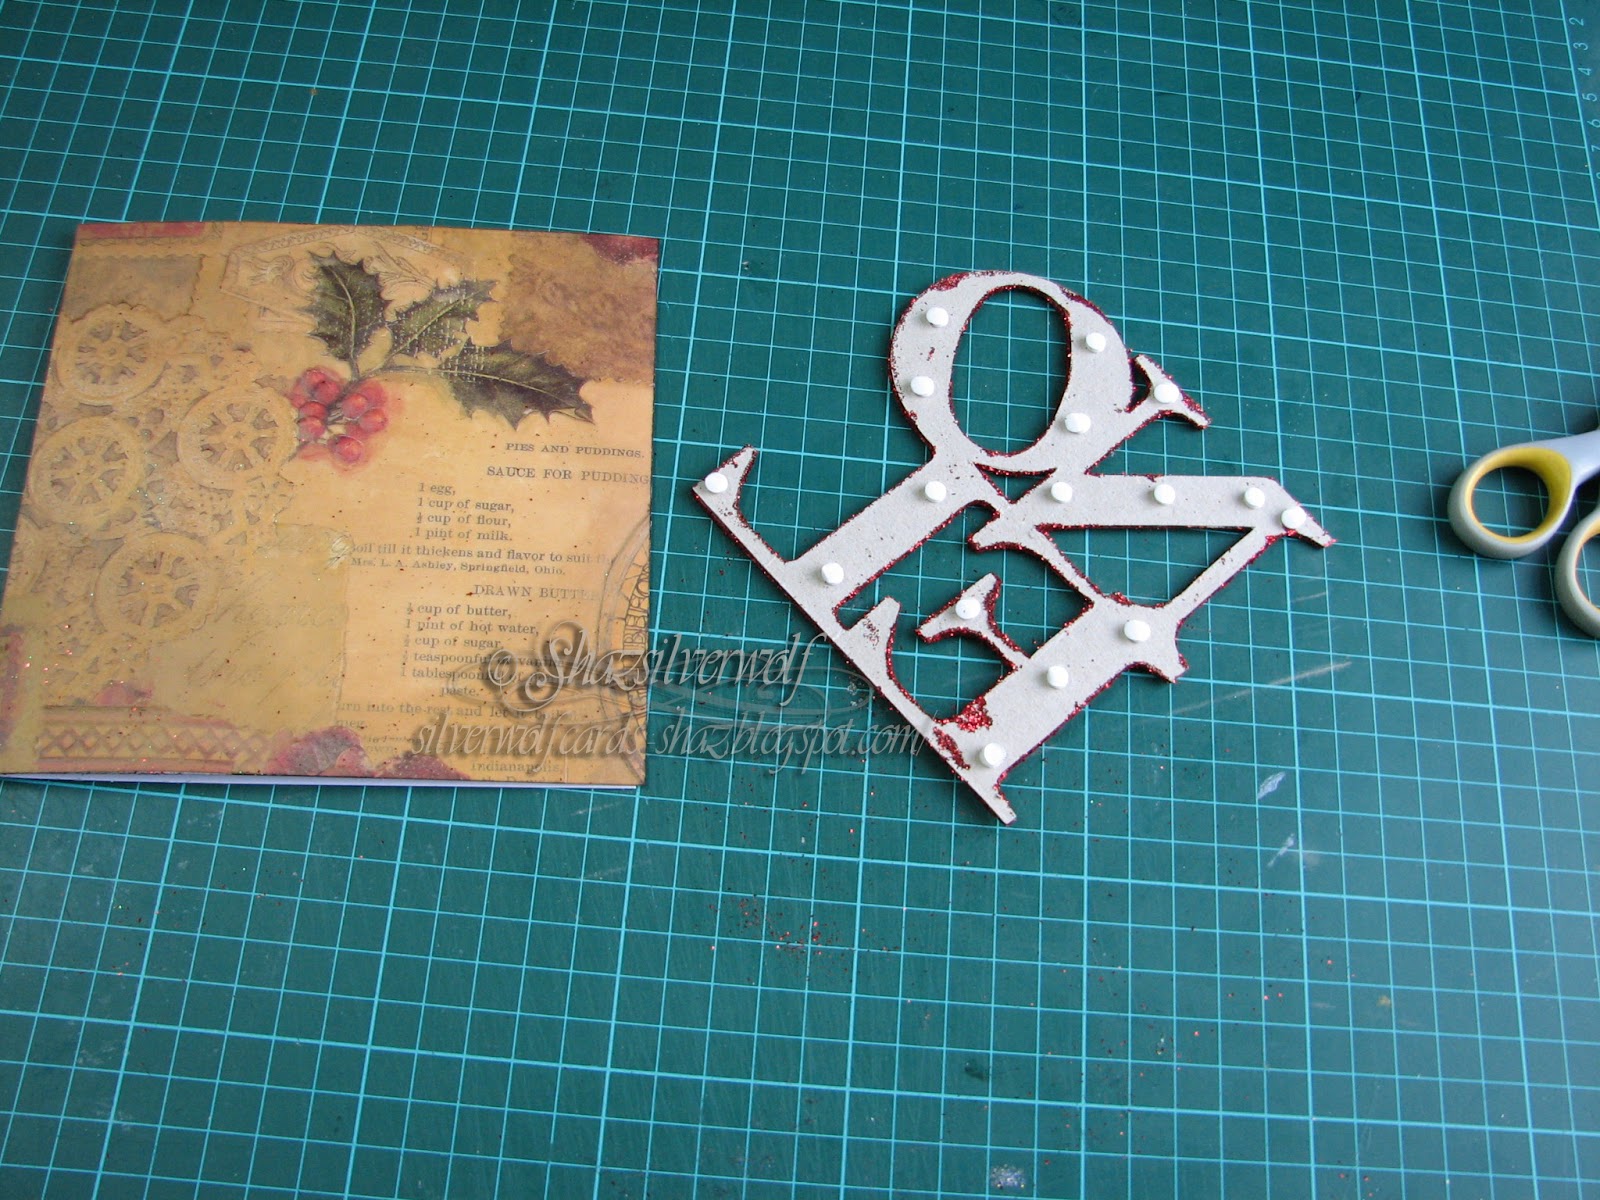
The NOEL die cuts I did from chipboard weight cardboard,this was covered in PVA glue and sprinkled with glitter. I gave the glitter plenty of time to settle, then patted it down well.

They were left to dry thoroughly for a few days, then I covered the fronts of four  6"x6" card bases with the embossed vellum.


I sponged some Walnut Stain DI around the edges, and built it up a little in the corners.


 To attach the NOEL to the card front I used foam dots.


 This was the point I realised adding anything else in the way of embellishments was going to go horribly wrong, but I realised it did still need something, just not too much.


For the greeting, I turned again to my Peel-offs, and coloured two with a red marker, and two green.


I had a browse in my ribbons, and sure enough, there was a green that matched nicely, with some gold woven through it. So, the peel off went on the right hand side, and the ribbon was wrapped around the front next to the spine, and the ends overlapped inside with a glue dot.
 By some stroke of luck, and I'm guessing I bought these ribbons with Christmas in mind, I had a red ribbon of the same pattern.


So, job done.


Sunday, 17 May 2015

A Black & White Wedding card

So, this did get a mention a couple of weeks ago on the WOYWW post, and I promised a photo step by step guide, along with a How-to, after the card had been given. Well, the Wedding was yesterday, so here is the card.
 The base is an A4 sheet of White Stardream card, scored and folded in half.
 A sheet of black card was cut to fit the front of the card, then another piece of Stardream white was cut to fit onto the black, just leaving a very narrow border.


The white sheet was embossed with the Couture Creations folder, Tied Together, then the shaped edge was cut using one of the Spellbinders Borderabilities, Curved Borders 2.


I've enlarged that image here, you can see you get 3 fancy borders, then two which have a sort of 'stitched' line of embossing, one has a dotted line, and one is plain.They also have notches on them, so you can line up to cut a longer piece. I used the scalloped one to cut the top half of the card.
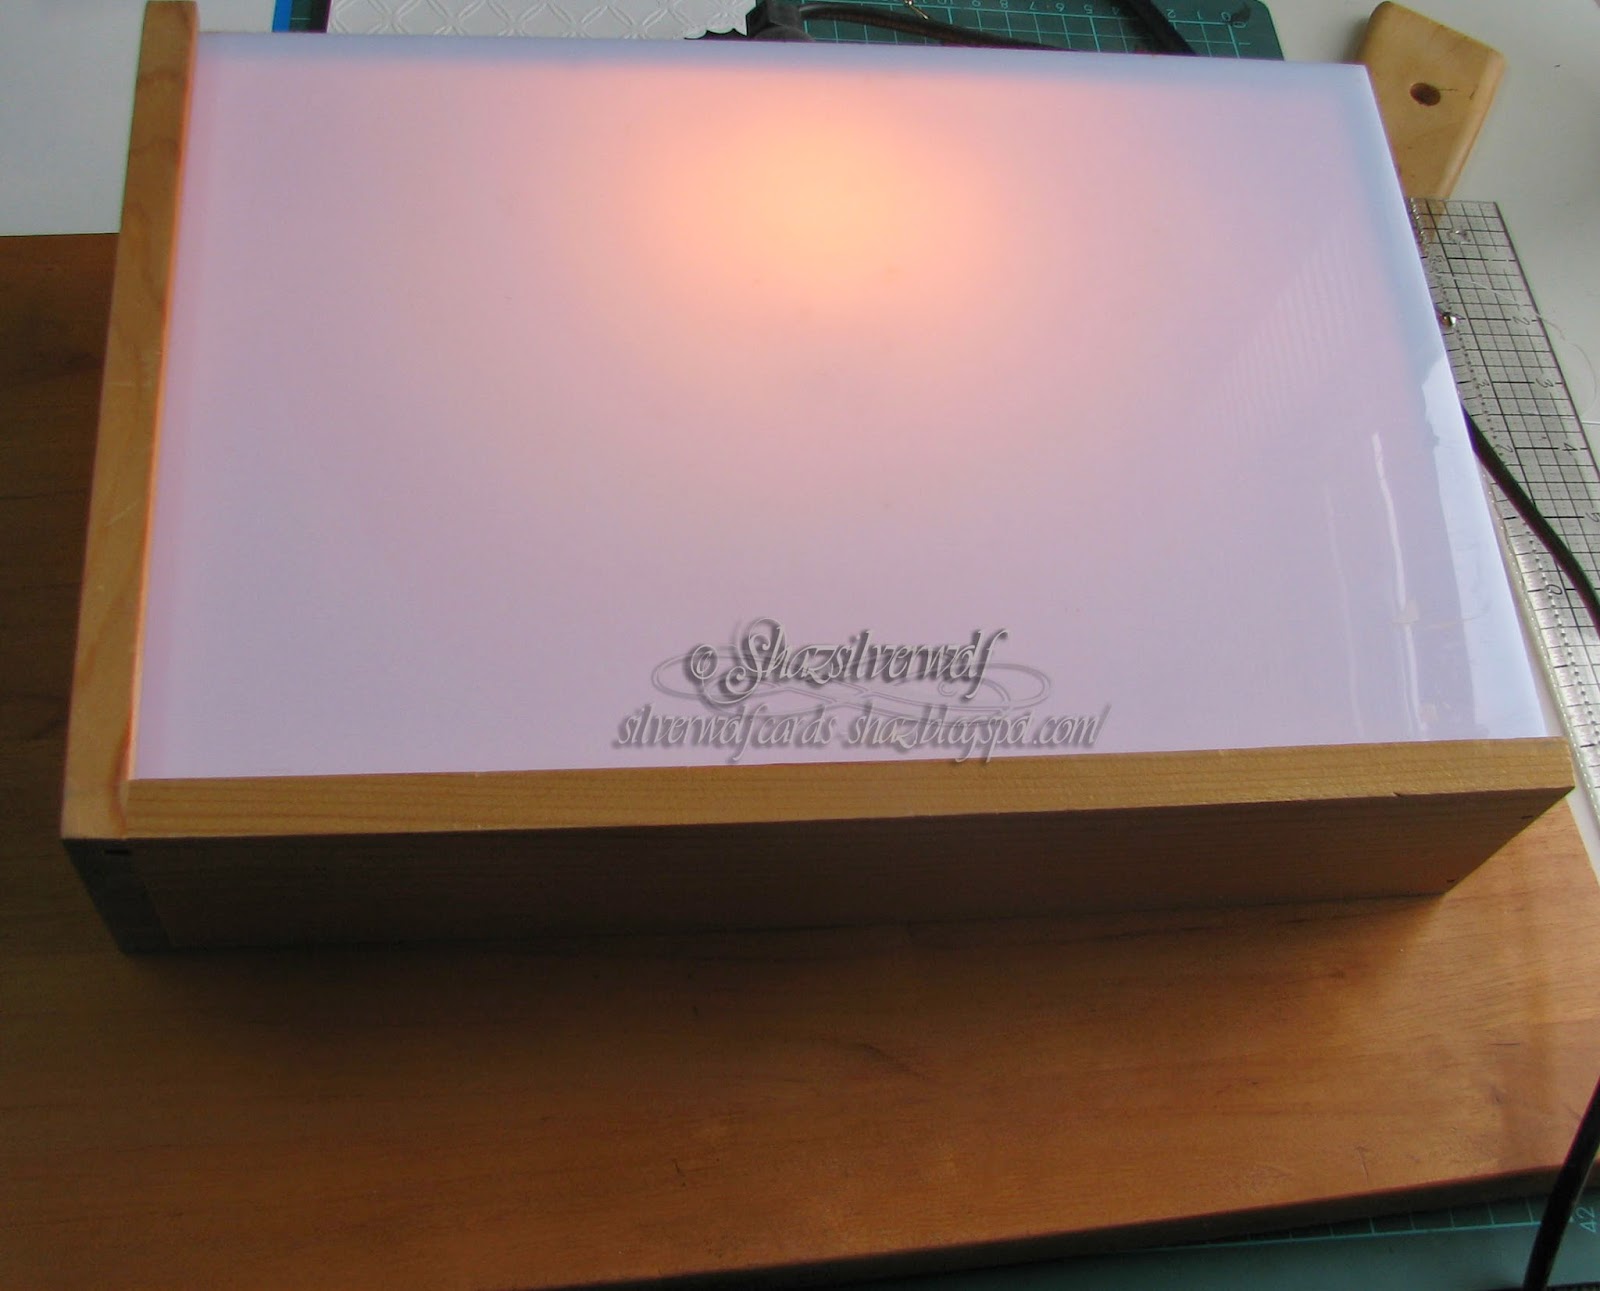
 I wanted a different embossing on the bottom half, and had a metal stencil I wanted to use for this. So for this one we are going 'old school'! I could no doubt of looked up online, or figured out myself what plates/shims etc I needed to do it with my BS Pro, but in the time that took, I could have done it by hand. So out came the old lightbox.
Two tips for these, if you still have one. First, DON'T use it directly on top of a craft mat- the heat from the bulb will warp it. Yes, been there, done that, got the ruined mat to prove it.
Second, if the light is not as bright as you'd like, put a small mirror, or mirror tile, underneath it.


This was the stencil, and it was only the lines at the bottom I wanted, so it was an easy thing to emboss by hand.


Another piece of Stardream card, and two different embossing tools used- a wider one for the wide lines and a narrow one for the thinner ones. I also needed to make the piece slightly bigger than the lines on the stencil, to allow for cutting it at an angle, so I just moved the cardstock down, and lengthened them. Tip here, don't go all the way to the end of the stencil lines if you are doing this- you tend to get a harsh line that its hard to emboss out. If you go half or two thirds of the way, you can then carry on easily.
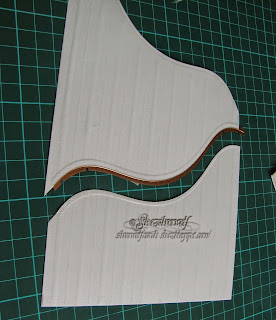


 To cut the curve on this one, I used the plain curve in the Borderabilities set. You do need to check your curve against the top one you've already cut, to get a balanced gap between them, and position your edge cutting die accordingly. You will probably also need to extend it a little too, but that's easy to do with the lining up notches.
This was the embossed sheet, which now needed to be cut to fit with the top piece.

Laid out on the black card to make sure they fit, and match.
 Then foam tape added to the back, so they would have dimension against the black card.
And then stuck in place.

Next step was to cut the hearts for the front, and originally I had been going to use the X-Cut set of hearts I have.
Then I realised I didn't like how big the gap was from one size to the next, so instead I used a Nellie Snellen set I have, which has a lot more dies, with a narrower graduation of sizes.

I used the central two dies in the top batch for my topper. The larger one cut from some scrap black, and the smaller from a piece of the Stardream white. The white heart was run through the Cuttlebug in the Swiss Dots embossing folder.
 I matted them together, and mounted them on the card with more foam tape.
 Once that was in place, I used white and black half pearls to decorate the joins in the Tied Together embossed piece, attaching them with Pinflair Glue Gel.


Last but one touch was wrapping black and white ribbon around the card front, and tying in a bow. Final bit was cutting a small piece of card, using the plain border again, and adding the couples names with some small silver peel off letters. Again, foam dots used to add this to the bottom right of the card.
Final pic: the Happy Couple.

An End of an era

An end of an era

I write this with a broken heart, that only time can heal My beautiful, wonderful wifelet Shaz (Silverwolf) passed away peacefully in the ea...