A warm welcome to all my visitors,

Thank you for taking the time to come and look at my blog, I really do appreciate it. I would love you to leave me a comment, even if it’s just to say Hi. It means I can come visit you!

All my designs are original, so copyrighted to me. If I have been inspired by someone elses work, I have named them in the post, and where able, I have provided a link.

Please feel free to use my designs for inspiration, I just ask you to credit me, and provide a link back to my blog.

Thanks, Shaz XX

Friday 30 December 2011

My Basic Tools

I thought I would do a post today to share with you what I use as 'basics'. I'm not including things like Die cutters/embossing machines, etc- much as we 'have' to have them, I'm talking real nuts & bolts stuff here.These are all the things I use pretty much every time I do any crafting, and you will find that a lot are not 'crafting' tools at all- things I've seen that would be useful, or would do the same job as an expensive craft version.
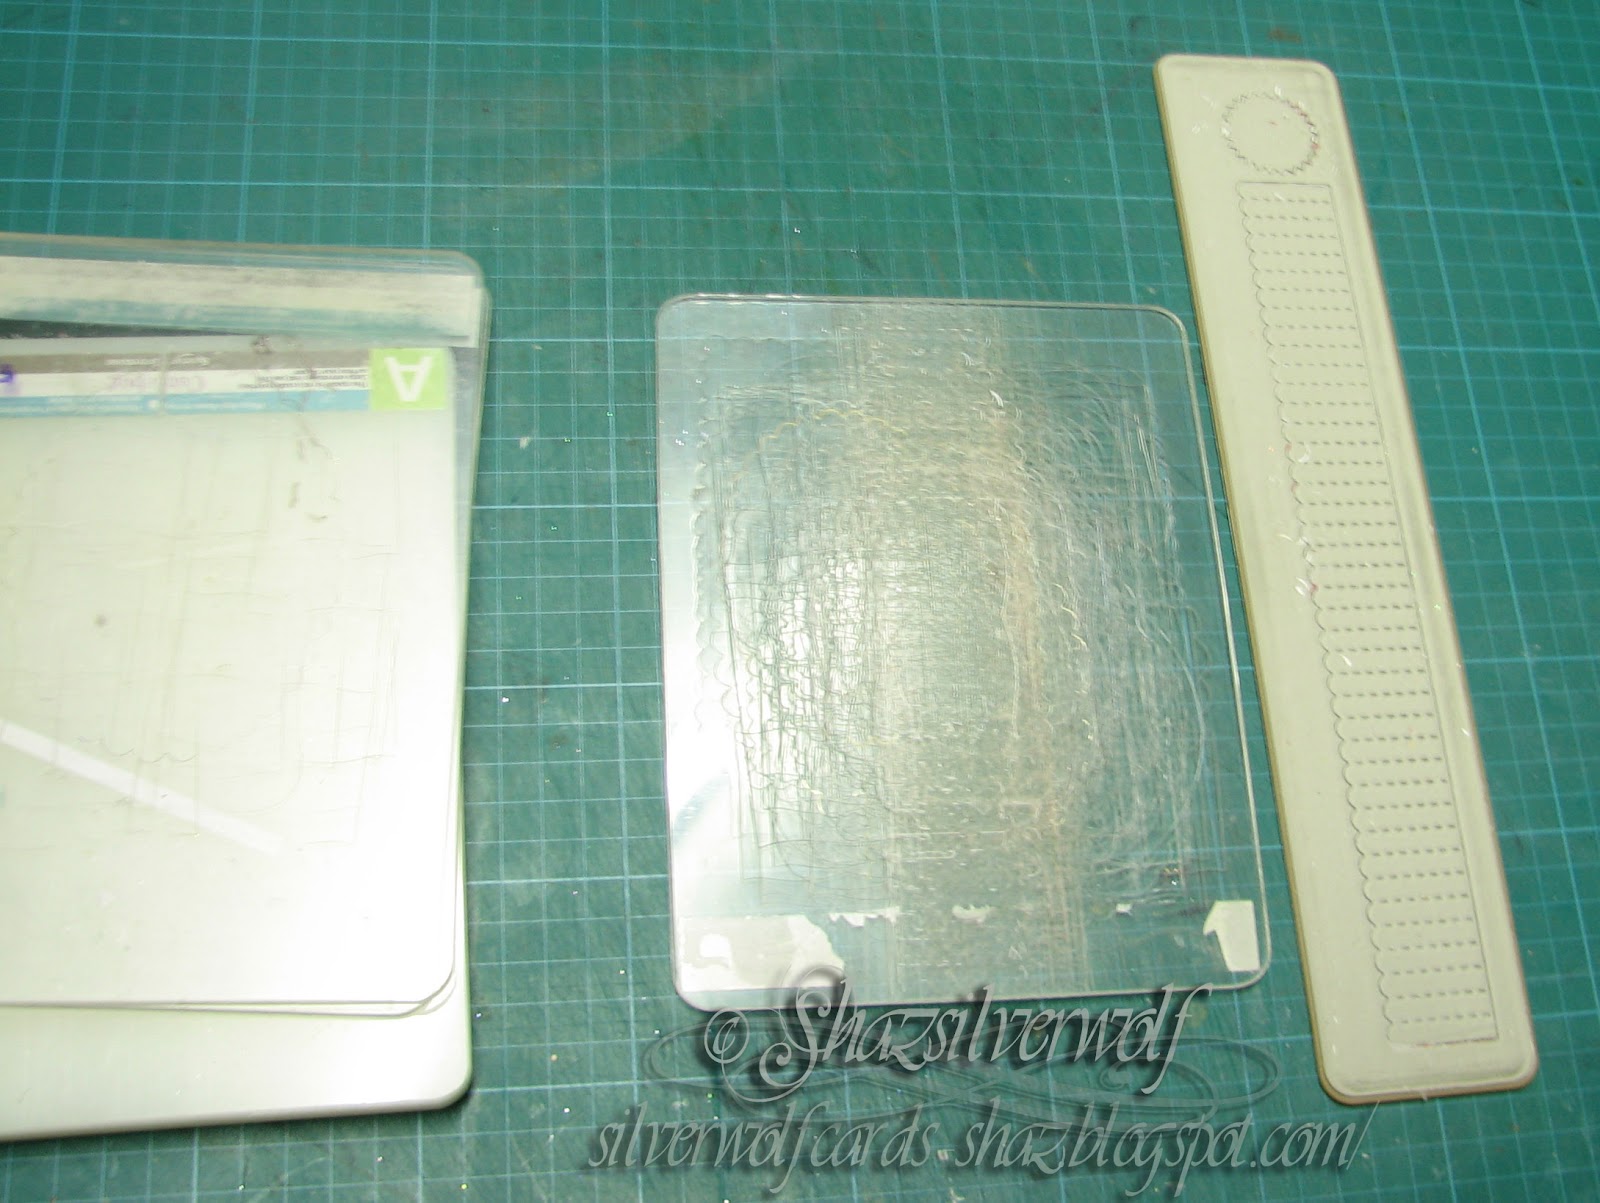
 The first thing to get a mention is the cutting mat- you will see it below pretty much everything, mine is A2 size, and (like a lot of stuff) came from The Works- I bought it around this time of year, in their sale, and I think it cost about a fiver.


My cutting go-to is a scalpel & blades- bought from Scalpels & Blades.co.uk. The replacement blades are very reasonable, and you can buy in a multitude of pack sizes, and blade types. The first I bought from them was a pack that came with a handle and a range of different blades, so I could find what I preferred to work with. You can find that HERE. You can also buy a special little gadget that removes, stores and replaces the blades, if you are worried about the sharpness of them.I just use a small pair of pliers and caution, lol. If you look at my scalpels, I use No. 11 blades (the pointed one) and No. 6, (the rounded one). I find they cover pretty much everything.

While we are on cutting, I have a small range of scissors, clockwise, they are:
A general purpose pair,with soft handles. A non-stick pair by X-cut, which are fine-pointed, a small pointed pair for fine work (somewhere I have a pair of the tweezer type too). Another non-stick pair, with a wider tip, and my Fiskars shear-type scissors. They have quite a fine point, and are brilliant if you have a lot of cutting out to do, as you don't end up with cramped fingers.
     Actually, that reminds me of my favourite niggle: Why do the finger holes in scissors get smaller with the size of the scissors? My fingers don't get smaller just because I'm cutting out something fiddley!

X-cut guillotine,which will take up to 12" paper, and Rotatrim Rotary cutter. The rotary cutter has 10 blades & a scoring blade (that I have never actually used), which store underneath in a container. I used to have a lot of  fancy edged scissors, but the rotary cutter replaced them all. The X-cut is great if you need to cut a lot of card/paper to a certain size.

Not only for measuring, these clear rulers with a metal edge strip are what I use with my scalpels, for general cutting, layering,getting matts even-pretty much everything. Why do I have 4- well they were all bought at different times. The first I got was the short one, a quilters ruler, and it has a space between the bottom marked line on it, and the metal edge, that gives me a nice sized border on most projects.That and the one on its right are both made by Impex, and I got this one when I needed one longer than 6". The Tim one I bought because it has a lot more divisions on its grid, so I get more choice for layers, also it has a row of holes along the top for pricking/positioning etc. It also has a set of markings from the centre out, as well as from end to end.Finally I got the X-cut one recently as its nice & wide, has measurements on its width, as well as length, and it also has a middle position marking system.
 

Next, a pair of pointed tweezers- the first aid sort. I do have some of the reverse grip ones, but I suppose I have been using normal tweezers for so long, I always do it wrong with them.


Those little clamps from Poundland - great for holding stuff together while they set, and some small electrical pliers- long-nosed ones, a normal pair and a pair of wire cutters. Electrical ones are quite small,the same size as jewellery ones- bought from Poundland/ general ironmongers.

Eyelet setter. This one is by Provocraft, the heads are magnetic and interchangeable.There are three sizes of hole-maker, and matching setters. You just push down on it to set them. Not quite like the Japanese screw punch, but very similar. I tried the  spring ones- bloody hell they were awful! And the noise from hammering them flat was even worse.


Scoreboard, though the Hougie may be putting this one out to pasture, an embossing stylus, which I have always used in preference to the bone folder idea, and the chunk of plastic I use to flatten my folds- this came from a Clay Tool set that came from The Works again. Brilliant thing- big enough to hold easily, and broad enough to give a good crisp fold. Underneath is an A3 plain pad- the sort you can buy for the kids to draw in. I use it when I'm stamping to roll off the brayer onto, stamp off, etc.

Odds & ends now: The pokey tool came from the same clay kit as the folder, a small paintbrush for removing specks, a teaspoon for glitter/embossing powder sprinkling, and the spoon from an ice cream tub for the same thing.Post-it notes, and nail files for smoothing & distressing.


A wooden chopping board- protects my mat when heat embossing/ironing fusible fibres( probably the only thing I DO iron these days, lol) and my Heat-It heat tool. I love this one, its so quiet. Also a Non-stick baking sheet, Poundland again, for inking etc.
          Next pic is my Speedball brayer. This is definitely the one you want for brayering backgrounds - NOT the hard version.


On to sticky stuff- and these are pretty much all I use.Clockwise, top pic, Glue dots in various sizes, sticky fixer tape, various sizes of sticky fixer pads, and DST. The next picture is Stix2 silicone glue, permanent tape roller(blue lid) Repositional roller (green) and a Zig glue pen.Oh, and glue eraser- Xyron make them, I think. Bottom picture, Repositional spray glue, Sticky stuff remover and Anitas 3D gloss, which is like Glossy Accents.


General odds & ends now-Kitchen roll & disposable gloves. I don't mind getting inky fingers, but I always manage to put a mark somewhere I didn't want it! And you get some strange looks in Tescos when you pay for your shopping when your hands are rainbow/muddy coloured,lol.Cotton wool balls & latex sponges(good old Poundland) for inking.Cotton wool buds & cocktail sticks, same place. Buds are useful for removing ink around the edge of a stamp, also moistened, great for picking up acrylic gems! Cocktail sticks for adding tiny spots of silicone glue to stick said acrylic gems down with.Baby wipes for cleaning anything & everything, Staz-on cleaner for their ink, Cheap toothbrushes for cleaning stamps/flicking paint, and an old towel for drying stamps and getting into all the nooks & crannies. Something else I use for cleaning stamps is a paint pad- you can guess where I bought it!


The one stamping tool I could not be without- my Stamp Positioner.

 My final most important tool- my computer. I couldn't imagine now not having my blog, and being able to communicate with all the wonderful friends I have 'met' through it.  It provides me with so much in the way of inspiration, techniques,tutorials- and shopping,lol.It provides me with my music while I am crafting too. Also on my desk is my 2nd most important thing- a mug of coffee! Well, I think that has pretty much covered everything, I shall be interested to see what others think.

Thursday 29 December 2011

Hougie!- and a cool Amazon 'tool' for us crafters

A Christmas present off my youngest son, I have sort of had my eye on one for a while, but I do have a couple of scoreboards, and thought this one was pretty expensive, to be honest. Everywhere I had seen them they were £25-£30, depending on if they had the booklet with them or not. Then just before Xmas I saw them on Amazon for £18.69, so it went on my wish list.I really liked the idea of the score lines being 1/2" apart on one side, and 1/2cm on the other. I often use a tri-fold (like my wedding invitations) but the score lines on most boards don't line up at those folds, so I had to score one line, then turn the card around to score the other. Not a problem really for a single card, but if you are doing a lot, it's time consuming. I like the flexibility this will give me for folds, as well as for embossing detail like lines etc.
          Now, while we are on the subject of Amazon, here is a very, very useful little tool they have added that you may not know about. Its a 'Wish List' button, and there are versions for Firefox users, and Internet Explorer users.
    Bear with me here, because I know you have always been able to build a Wishlist in Amazon, but this version is unbelievably cool! If you download it, you get a button on your toolbar that says 'Add to Wishlist'. The big difference now is that if you find something you would like, on ANY SITE  all you have to do is click on the 'Add to Wishlist' button, and your item will be added to your Amazon Wishlist, along with its location etc. Even e-bay items can be added. This means you can e-mail the link to this wishlist to friends/relatives etc for Birthday & Christmas pressies!! Just how useful is that? You can also add comments to the Amazon list, so you can use it to compile a list of potential gifts for other people too, and share it with your other half/family etc.
 I am so going to have fun with this one, lol.

Wednesday 28 December 2011

Using a Tim Holtz Rosette die with standard 'bug plates.

Bit of a long title, but I wanted to show you how I used the Tim Rosette die, in my Cuttlebug, just using the standard plates, rather than the extended ones. As you can see, the die is quite a bit longer than the plates, but when I saw the cost of the extended plates, I figured there had to be a way to use the originals. And it does work, without any real trouble. You can see the die next to my well-worn B plate. The die gives you the rosette and one centre. You need two centres, one for each side, but as one side is not going to be seen, I just used a small circle punch for it, rather than having to cut again.

I recently bought two small punches, a 5/8" and a 1", both scalloped circles, as I already have a 1" plain circle. I thought these would also be useful for smaller centres, if I cut the strip down to make smaller rosettes.
I used exactly the same sandwich as usual,A, B, Die, Paper, B. one thing I did do, was cut my strips of paper to the length & width of the die- made it easier to add a little low tack tape to one end, and helped me see what I was doing.


I also used up some 8x8 and 6x6 paper pads here- I just taped two pieces side by side, then cut my strips. This also gives you a small cut-off piece you can punch your centres from. I have a few of these pads, and never seem to use them because I usually make cards from an A4 sheet folded, and they are way too small for that. I just used some low-tack tape to hold them together.


Here is the die going through for the first half- just wind all the way through as normal.


Then I lifted the whole stack from the 'bug, and brought it back to the front of the machine. This bit is the only time it can get tricky, as I found that some paper has a bit of a 'static cling' to the plates! So, before you lift off the top B plate, HOLD THE PAPER ONTO THE DIE! Now just slide the die forward so you have the uncut portion on top of your plates, with a bit of an overlap. Gently put your B plate back on top, and run through the machine again to cut the remainder of the strip.


I only had a couple of strips where there was a bit of a jagged cut along the straight edge, and as this bit is in the middle of the rosette, you won't see it anyway.


Also you can trim down the straight edge, to give you different sized rosettes.


Now came the really tricky bit- assembling the rosette! I used a small piece of double sided tape on one end, then stuck the ends together. All going well so far. Now I had to get the rosette into shape- not too bad, but it kept sproinging back open on me, lol. At this point, to get the top & bottom circle stuck onto the rosette, I tried DST- didn't hold. You can see one in the top picture with a small acrylic block on it trying to hold it together long enough.
Wet glues didn't work either, and neither did glue dots.     
 So out came the silicone glue. The problem was keeping it in shape long enough for it to set.


I found eventually, that if you put a decent sized blob on the bottom circle...................


........put the rosette onto that, then add a little more to the top........


........add the top circle.........


..slide across desk to the edge.......


........and get a clamp onto it quick! These are brilliant little things, they have flat pads on the jaws so they don't damage your work, and the centre of the rosette is strong enough to take it without squashing.. Best of all, I bought a bag of about a dozen from Poundland!

Here is the rosette, about 20 minutes later, stuck perfectly. I also used silicone glue to attach them to my cards.
 P.S.
A quick thanks here to all of you who suggested a hot glue gun- yes, I do have (at least)  one of those lurking around this room somewhere- I shall find it out & give it a new lease of life!

Last couple of Christmas cards


Both these cards use a stamp called Angel Chorus Collage, which I thought I had shown on here before, but apparently not. Its made by Rubber Stampede,and is available still, I found it here. I used a technique I saw done a long time ago, in a magazine, but I really can't remember who by. I stamped the image first on cream card and heat embossed with gold powder. I stamped & heat embossed in gold again onto plain vellum. I coloured the image on the card quite roughly with Promarkers- you don't need precise colouring, as the vellum softens the look of the colours.Then I tore around the angel images on the vellum, and placed them over the card versions, using some adhesive roller, the Stix2 one.I trimmed the images down and matted onto gold card. The backing paper on the card on the left is from a Joanna Sheen cd, and the other one is, I think, a Paper Pizzaz one, but I may be wrong. I have so many Christmas paper sheets I have had for years, I am trying to get some use from them, and stop hoarding, lol. Both have a rosette on them. I love those, I think I may end up doing rosettes to death if I'm not careful.
You could also colour on the back of the vellum, and oil pastels would work well for that.I just liked the softness that the vellum gave over the card image.

Tuesday 27 December 2011

WOYWW #134- mid-way between Christmas & New Year.

Good Morning everyone, I hope you have all had a wonderful Christmas, and are looking forward to the New Year. Time for the last WOYWW of 2011, hosted as always by our Mistress of Ceremonies, Julia Dunnit over at The Stamping Ground.
        I know its a bit early for spring cleaning, but when I have finished all the Christmas cards, while I am putting everything away, I usually do a bit of re-organising.
So this first picture is what my desk looked like a few days ago:


As you can see I have a bit of a problem with ribbon. I knew it needed some sort of organisation, but I didn't really know how I was going to make it user & space friendly! That is, until someone posted a link on Splitcoast Stampers, to this lady, Becca's blog, where she had come up with her own solution. She used foamboard to make 'bobbins' to wind her ribbons onto. So I purchased some A4 sheets of 3mm thick foamboard online, 30 sheets, as I would need quite a bit, and that was the cheapest way to buy it.I found that I could cut it into 7 x 7 cm squares, and have next to no waste. Each A4 sheet gave me 9 squares, and a little strip. So I started with 270 squares, and believe it or not, I have 2 , yes 2  squares left over!


 3 days of sorting and winding, and this is the result. 3 drawers filled with neatly wound ribbon, and 1 drawer that has metallics, leftover 'bits' and a few reels. The ribbon on each bobbin is held in place with a rubber band, and in some cases there are more than one ribbon on a bobbin, if there was not a lot of that particular piece.

 I am amazed at how little space this takes up now.
I went from these three tubs, to these drawers.


That sort of looks like it takes up the same space, so here they are side by side:


The three large tubs all fitted into 4 small drawers. Almost 90 bobbins per drawer! And now I can find any colour I want- easily.  I can't tell you how many 'bits' I found, because I could never find the skein I had started! Had a bit of a stress sometimes over some colours- is Teal green or blue? and when does orange cease to be orange and become apricot?When does grey become silver? Then I realised that it only mattered to me- as long as I could find them, does it really matter if my orange/apricot/peach are all together? :)
 So I am off to post, and start visiting, as I am still on holiday until the 3rd of January!!! Yipee!!!
P.S.
By the way, I bought my foamboard from The Foamboard store, and I got the 3mm white, in A4 size. If you need quite a bit, this place seemed to be the cheapest, and they shipped really fast too- I think I ordered one Friday/Saturday, and it arrived on the Monday.


An End of an era

An end of an era

I write this with a broken heart, that only time can heal My beautiful, wonderful wifelet Shaz (Silverwolf) passed away peacefully in the ea...