Hi Ladies, I'm late, but have some cards for this week. Lorraine has set this fortnights challenge, which is Candy Canes/Gingerbread.
Unfortunately, I don't have any stamps or dies that fit the theme, so I've gone back to a Challenge I missed whilst on holiday. That is Christmas Wreaths, which was Ritas choice back in April.
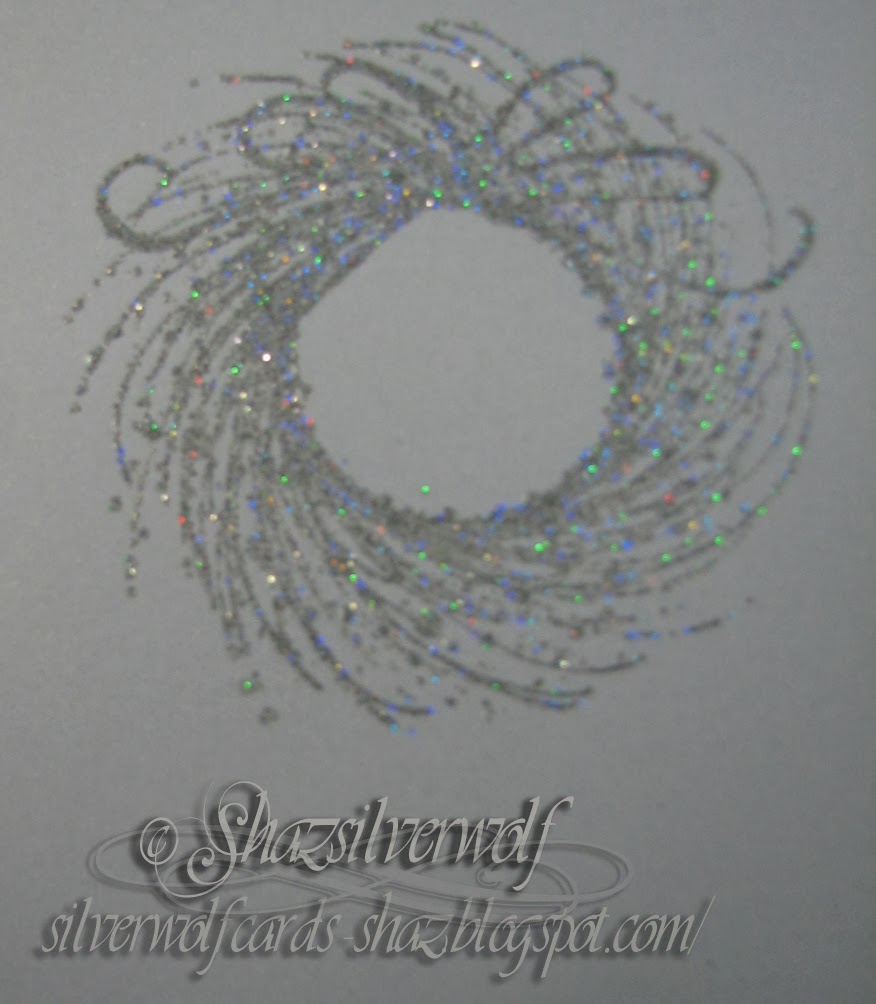
The first two cards use a Penny Black stamp, called Adornment. The first is stamped in Encore Metallic Green pigment ink, and then heat set with Stampendous Metallic Green embossing powder.
The stitched circle dies were bought from The Works.
I added a few acrylic gems to give a bit of sparkle.
The embossing folder used is a Cuttlebug one, and I accidentally put my cardstock in upside down, so it's actually debossed!
This time stamped in Silver Encore pigment ink, and heat set with silver detail powder. Red gems in assorted sizes gives this one it's bling.
The embossing folder is from Craft Concepts.
For the next two I built a wreath using a die from Sue Wilson, called Twig Wreath as a base, and then some holly twigs cut with the Tim Holtz Christmas Mixed Media die, and the Winter Greens die set. I've added some red gems for berries, and a bow at the top. I have no idea where the tiny Poinsettia die cut is from, I rather think someone must have gifted it to me. I had 2, in different sizes, along with some tiny deer. If anyone knows what the die is, I'd love to know. I rather think the sentiment die cut was gifted too, as I don't have a die like that.
The embossing folder is by Dovecraft.
Last card, and made exactly the same way, but this time was cut from white glitter card, and some golden holly added, along with the smallest of the two poinsettia flowers.
The background is a folder that I think was a magazine freebie, as it has no info on it.
The sentiment is also from an embossing folder by Crafts Too, and has 6 sentiments strips on it.
The Sue Wilson twig wreath die cut, along with an assortment of foliage.
Three of the Penny Black stamped images, I haven't done the copper one yet.
Some embossed backgrounds I made up, you can see the Crafts Too one 2nd from the right.
Pages
A warm welcome to all my visitors,
Thank you for taking the time to come and look at my blog, I really do appreciate it. I would love you to leave me a comment, even if it’s just to say Hi. It means I can come visit you!
All my designs are original, so copyrighted to me. If I have been inspired by someone elses work, I have named them in the post, and where able, I have provided a link.
Please feel free to use my designs for inspiration, I just ask you to credit me, and provide a link back to my blog.
Thanks, Shaz XX
Showing posts with label Penny Black. Show all posts
Sunday, 24 June 2018
Saturday, 22 March 2014
A return to Triple Time Stamping
I like this really neat technique, which exploits the 'halo' effect you get when you stamp over a paper mask. For this card, which is on a 6x6 square base, the stamping pieces were 5", 4" and 3", and the blue mats 51/4", 41/4"and 31/4".
I cut all the white pieces first, then stacked them up using a repositional tape runner on the backs.

I stamped the flower, which used to be a wood mount, by Butterfly Kisses, called Sakura,
in Brilliance Pearlescent Blue.

In order to get the effect, you need to make sure some of your images are stamped over all three layers.
I added some random small flourishes in Versafine Majestic Blue.
The blue matting layers were cut next, and each stamped panel added to its corresponding mat.
A useful tip here is to write a letter 'T' lightly at the top on the back of each stamped and matting layer as you separate them. Its very easy to get disorientated when flipping them over to add tape, and it can be awkward to get them layered right, depending on what images you have stamped with.
Before attaching to the card blank, I wrapped some ribbon around the panel. the sentiment is an old Penny Black stamp, and was stamped in Versafine Majestic Blue again, then die cut with a Nestie, Labels 4,small, and a mat layer cut with the next size up (large set). I added it over the ribbon with some small foam pads.
I repeated the design for two more cards, both for Mothers Day.

This one was again stamped in Brilliance Pearlescent Blue, this time I used a brighter blue matting layer. The second card was stamped in Brilliance Pearlescent Lavender, and a different scroll stamp used. The sentiment is die cut on the same Nestie die, just larger sizes.
Supplies:
White card for stamping
Brilliance Pearlescent Blue and Lavender inkpads
Versafine Majestic Blue
Matching cardstock for matting layers
Image stamp- 2 is best
Sentiment
Ribbon
Nestabilities Labels 4, large and small set
I cut all the white pieces first, then stacked them up using a repositional tape runner on the backs.

I stamped the flower, which used to be a wood mount, by Butterfly Kisses, called Sakura,
in Brilliance Pearlescent Blue.

In order to get the effect, you need to make sure some of your images are stamped over all three layers.
I added some random small flourishes in Versafine Majestic Blue.
The blue matting layers were cut next, and each stamped panel added to its corresponding mat.
A useful tip here is to write a letter 'T' lightly at the top on the back of each stamped and matting layer as you separate them. Its very easy to get disorientated when flipping them over to add tape, and it can be awkward to get them layered right, depending on what images you have stamped with.
Before attaching to the card blank, I wrapped some ribbon around the panel. the sentiment is an old Penny Black stamp, and was stamped in Versafine Majestic Blue again, then die cut with a Nestie, Labels 4,small, and a mat layer cut with the next size up (large set). I added it over the ribbon with some small foam pads.
I repeated the design for two more cards, both for Mothers Day.

This one was again stamped in Brilliance Pearlescent Blue, this time I used a brighter blue matting layer. The second card was stamped in Brilliance Pearlescent Lavender, and a different scroll stamp used. The sentiment is die cut on the same Nestie die, just larger sizes.
Supplies:
White card for stamping
Brilliance Pearlescent Blue and Lavender inkpads
Versafine Majestic Blue
Matching cardstock for matting layers
Image stamp- 2 is best
Sentiment
Ribbon
Nestabilities Labels 4, large and small set
Sunday, 9 February 2014
Same card, different colours........
As I said I would last week, here are two colour variations of the original card. I also used a different background stamp for the purple one, another Penny Black stamp, Scroll Pattern 2636K. Which I now think was a mistake- it looks far too busy. The Daisy pattern works much better. Proof of the concept 'If it ain't broke, don't fix it!'.
I used Encore Metallic Purple inkpad for the rose and sentiment, and Dusty Concord Distress ink for the background. That did mean I had to emboss each layer of the pattern individually, as the ink was too wet to put the Stamp Positioner over without smudging it.

The blue one is a Whispers pad, Navy Blue for the Rose and sentiment, and Distress Ink Chipped Sapphire for the background. I also used Distress Markers and clear embossing powder to edge the stamped sheets this time.
I used Encore Metallic Purple inkpad for the rose and sentiment, and Dusty Concord Distress ink for the background. That did mean I had to emboss each layer of the pattern individually, as the ink was too wet to put the Stamp Positioner over without smudging it.

The blue one is a Whispers pad, Navy Blue for the Rose and sentiment, and Distress Ink Chipped Sapphire for the background. I also used Distress Markers and clear embossing powder to edge the stamped sheets this time.
Sunday, 2 February 2014
A Card is Born......
I woke up the other day, and had this design in my head, for some weird reason. This post is going to be picture heavy, I warn you now, as I thought I'd share my whole process from start to finish. I think as well I will try this design in some different colours later.
First step was the base card, and generally all my cards are made from an A4 sheet of card, this one in Pearlescent white.

Scored on both sides with the scoreboard and an embossing stylus- I find that helps to stop any cracks in the folding.
Folded, I use a tool that was in a kit of clay tools from The Works for smoothing my folds.
I selected a sheet of black card for the first layer, then lay my next white layer over it to mark where to cut it down.
This piece was cut down with my guillotine-and a tip here if you find it hard to get a straight cut on your guillotine or trimmer. Don't butt your card up to the top plastic edges, line it up instead onto the printed or scored lines. They always seem to be straight, whereas for some reason the body isn't.
This piece was going to be embossed with a folder, and I used a Quickutz folder for this, called Diamonds & Dots.This is about the same size as the early Cuttlebug folders, so I had to emboss twice across the card to fill it. Fortunately, this design makes that simple.


Now I needed another piece of white card to do the stamped background on. I wasn't fussy about the size here, just used a half A4 sheet, as I'd be trimming it down later.
The stamp I used is by Penny Black, called Daisy Pattern, 2642K.
As its only a narrow stamp, I needed to layer it across the card,so out came the Stamp Positioner.You could probably do it by eye, but I get paranoid about gaps, lol.
Image stamped onto the plate, and lined up for the first one to be stamped. The only thing you need to take care with using the stamp positioner is to always keep your stamp the same orientation as you first stamped.

First image stamped and second one lined up.
The whole sheet stamped.
I used Versafine Onyx black, as it gives a good black image and is wet enough to still be able to heat emboss after.
I lay this against my dry embossed layer, and marked where I wanted to trim it down.
I wanted to 'separate' this stamped layer from the white embossed one below it, but didn't want to add yet another card layer.

I have a few of these embossing pens- had them for years and they have never seemed to dry out- so decided to draw a line down each edge then emboss with clear powder. You could also use a Distress Marker for this, the ink in them is really wet & would be embossable. In fact any marker with a 'wet' ink would do the job.
I used a ruler to draw along, one edge at a time.
Just make sure to clean your ruler edge each time so you don't get any smudges!

I added the powder & heated each edge one at a time.
I think I will be bearing this in mind for future cards- its a simple way to visually separate layers, without adding card/paper.
Now I needed a simple focal image, and this is a really old stamp, from Anitas, I think called Mackintosh Rose.
Stamped in Versafine Black again, onto one of the scraps of white card from earlier. I added clear detail embossing powder, and I did that three times, quickly tipping the powder onto the heated image.

I trimmed it down leaving a narrow white border, as it was going onto a black panel, then trimmed the panel down so it was all in proportion.
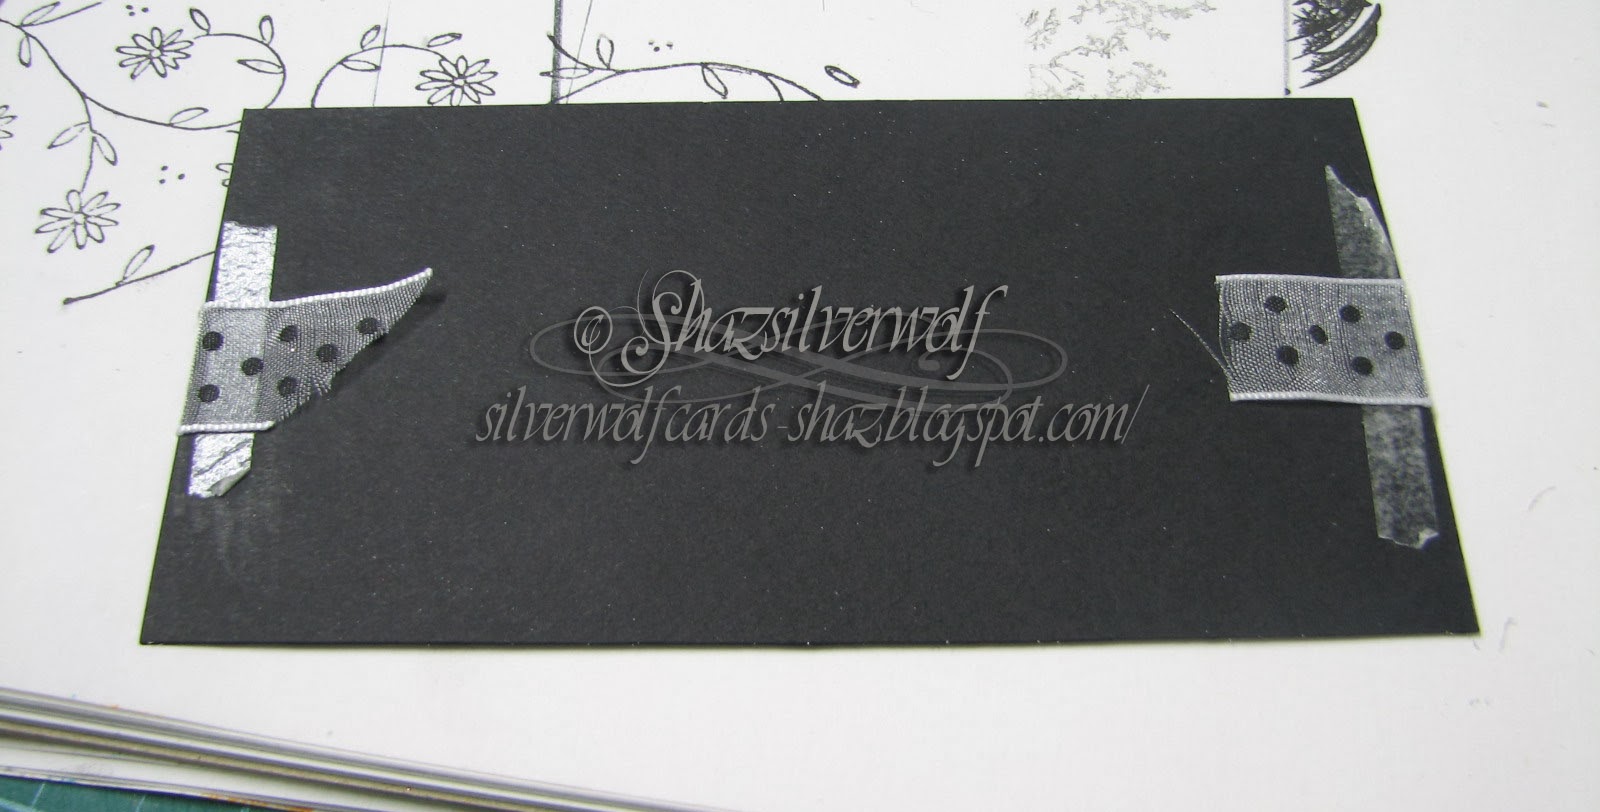
Before mounting it though, I added a strip of white organza ribbon with black spots to the black card, securing it with DST on the back.
Now the layering up began.
The black panel was added close to the top of the stamped panel.

Then the stamped panel added to the white embossed layer.
These layers were matted onto the black layer, then mounted onto the card front.

Now for the greeting, stamped in Versafine Black onto a scrap of the white pearl, and matted onto a scrap of black.
I added that to the lower front of the card, along with a ribbon bow over the strip of ribbon, with a glue dot.
Supplies:
White pearl card 2 xA4, 1xA5 or scraps
Black card, A4
Background stamp, Penny Black daisy Pattern
Focal stamp
Onyx Black Versafine
Clear detail embossing powder
Black marker
Ribbon
Embossing folder
One thing you probably spotted in the pictures are my steel edged rulers.
I've acquired four over time, and they are possibly one of my most used, and useful, tools.More often than not, I use a ruler & scalpel for cutting, as I tend to mount my images, then trim down, rather than cutting mats first and trying to line up equally all round.
Why so many? Well the thing is they all have slightly different features.
From the left, the first one is a quilters ruler.If you look closely, you can see there is a narrow gap between the marked grid and the steel edge. If I line up the bottom grid line with my cardstock, then cut along the steel edge, it gives me a perfect width narrow border.
The second one, next to it, is also a quilters ruler, but this one has the steeledge set against the first grid line.So I can cut a super fine narrow border with that. Or no border at all.
Next to that is my Tim Holtz ruler, who's greatest asset is that its in inches! It also has double measurements on it, 1-12 from left to right as normal, but it also goes from the centre of the ruler out (6" being 0), so you can measure a set distance from the centre in both directions. It also has solid lines at 1/4" intervals, and 1/8" dotted lines between them, and no 'excess' ruler either end. Oh, and it has a row of pricking holes along the top, too, on the 1/8th marks.Last one is the X-cut, back to metric again, but it also has a centre point mark, and measurements going outwards, as well as the usual. It has a wider steel strip butted up to the grid, so I can get a different border size from it.
First step was the base card, and generally all my cards are made from an A4 sheet of card, this one in Pearlescent white.

Scored on both sides with the scoreboard and an embossing stylus- I find that helps to stop any cracks in the folding.
Folded, I use a tool that was in a kit of clay tools from The Works for smoothing my folds.
I selected a sheet of black card for the first layer, then lay my next white layer over it to mark where to cut it down.
This piece was cut down with my guillotine-and a tip here if you find it hard to get a straight cut on your guillotine or trimmer. Don't butt your card up to the top plastic edges, line it up instead onto the printed or scored lines. They always seem to be straight, whereas for some reason the body isn't.
This piece was going to be embossed with a folder, and I used a Quickutz folder for this, called Diamonds & Dots.This is about the same size as the early Cuttlebug folders, so I had to emboss twice across the card to fill it. Fortunately, this design makes that simple.


Now I needed another piece of white card to do the stamped background on. I wasn't fussy about the size here, just used a half A4 sheet, as I'd be trimming it down later.
The stamp I used is by Penny Black, called Daisy Pattern, 2642K.
As its only a narrow stamp, I needed to layer it across the card,so out came the Stamp Positioner.You could probably do it by eye, but I get paranoid about gaps, lol.
Image stamped onto the plate, and lined up for the first one to be stamped. The only thing you need to take care with using the stamp positioner is to always keep your stamp the same orientation as you first stamped.
First image stamped and second one lined up.
The whole sheet stamped.
I used Versafine Onyx black, as it gives a good black image and is wet enough to still be able to heat emboss after.
I lay this against my dry embossed layer, and marked where I wanted to trim it down.
I wanted to 'separate' this stamped layer from the white embossed one below it, but didn't want to add yet another card layer.

I have a few of these embossing pens- had them for years and they have never seemed to dry out- so decided to draw a line down each edge then emboss with clear powder. You could also use a Distress Marker for this, the ink in them is really wet & would be embossable. In fact any marker with a 'wet' ink would do the job.
I used a ruler to draw along, one edge at a time.
Just make sure to clean your ruler edge each time so you don't get any smudges!

I added the powder & heated each edge one at a time.
I think I will be bearing this in mind for future cards- its a simple way to visually separate layers, without adding card/paper.
Now I needed a simple focal image, and this is a really old stamp, from Anitas, I think called Mackintosh Rose.
Stamped in Versafine Black again, onto one of the scraps of white card from earlier. I added clear detail embossing powder, and I did that three times, quickly tipping the powder onto the heated image.

I trimmed it down leaving a narrow white border, as it was going onto a black panel, then trimmed the panel down so it was all in proportion.
Before mounting it though, I added a strip of white organza ribbon with black spots to the black card, securing it with DST on the back.
Now the layering up began.
The black panel was added close to the top of the stamped panel.

Then the stamped panel added to the white embossed layer.
These layers were matted onto the black layer, then mounted onto the card front.

Now for the greeting, stamped in Versafine Black onto a scrap of the white pearl, and matted onto a scrap of black.
I added that to the lower front of the card, along with a ribbon bow over the strip of ribbon, with a glue dot.
Supplies:
White pearl card 2 xA4, 1xA5 or scraps
Black card, A4
Background stamp, Penny Black daisy Pattern
Focal stamp
Onyx Black Versafine
Clear detail embossing powder
Black marker
Ribbon
Embossing folder
One thing you probably spotted in the pictures are my steel edged rulers.
I've acquired four over time, and they are possibly one of my most used, and useful, tools.More often than not, I use a ruler & scalpel for cutting, as I tend to mount my images, then trim down, rather than cutting mats first and trying to line up equally all round.
Why so many? Well the thing is they all have slightly different features.
From the left, the first one is a quilters ruler.If you look closely, you can see there is a narrow gap between the marked grid and the steel edge. If I line up the bottom grid line with my cardstock, then cut along the steel edge, it gives me a perfect width narrow border.
The second one, next to it, is also a quilters ruler, but this one has the steeledge set against the first grid line.So I can cut a super fine narrow border with that. Or no border at all.
Next to that is my Tim Holtz ruler, who's greatest asset is that its in inches! It also has double measurements on it, 1-12 from left to right as normal, but it also goes from the centre of the ruler out (6" being 0), so you can measure a set distance from the centre in both directions. It also has solid lines at 1/4" intervals, and 1/8" dotted lines between them, and no 'excess' ruler either end. Oh, and it has a row of pricking holes along the top, too, on the 1/8th marks.Last one is the X-cut, back to metric again, but it also has a centre point mark, and measurements going outwards, as well as the usual. It has a wider steel strip butted up to the grid, so I can get a different border size from it.
Monday, 11 November 2013
First batch of Christmas cards finished.
I started these a few weeks ago, and finally got them finished today. well, almost, I just have to stamp a greeting inside them.
The stamp is by Penny Black, called Adornment. I stamped it in Silver Encore pigment ink, and heat embossed with Stampendous 'Stardust' embossing powder, after trying out a few others.
The Merry Christmas sentiment was done in the same way.
After cutting out the squares with the image on, the corners were rounded with a Corner Chomper.I have the one that cuts in 1/4" and 1/2"

I used the 1/4" side for the main image, then later used the 1/2" side to round the top corner of the cards. It does a lovely job, and much more tidily than the other corner punches I've had over the years.Doesn't need any real effort to punch either, certainly less than a normal punch.I matted the image onto silver card and rounded the corners again. I used a mix of 2mm and 3mm acrylic gems, added with Pinflair glue gel.
When I came to mount the image, I thought the base card just TOO plain, so browsed my box of embossing folders. I have a couple with snowflakes etc on, but they seemed too busy. Then I came across this recent purchase, called 'Tied Together', by Couture Creations.

What I really liked about this folder was that the back part is slightly narrower than the front, which makes it easy to emboss the front of a card, right up to the fold. So I embossed all the card fronts, then rounded the corners.

The image is mounted with DST, and the sentiment with a couple of blobs of silicone glue.
The main image mounted on the card front, waiting for the sentiment & ribbon.
By the way, I used up all the scrap pieces of card from cutting out my images to stamp the sentiments onto, then trimmed them down and matted onto silver again.
Ribbon now in place, waiting for the glue to dry. Some are silver, some have a splash of red. OK, I admit it, I ran out of silver ribbon, lol.Supplies:
Stamp, Penny Black Adornment
Silver Encore Pigment ink
Stampendous Stardust embossing powder
Acrylic gems, e-bay
Tied Together Embossing folder
White pearl card base
Red/silver narrow ribbon
Sentiment stamp
Corner chomper/rounder punch
Saturday, 19 October 2013
A new Christmas stamp, and playing with embossing powders....
Well, I saw this Penny Black stamp used for Christmas cards, and thought it would make a whole bunch of nice, easy batch cards.
Its called Adornment, a wood mounted stamp, and I got mine from Handy Hippo.
I started stamping in Silver Encore Pigment ink, and using silver detail embossing powder (Stampendous). The image in the bottom left, you can see some ink around the print- thats one thing I dislike about Pigment pads, because they are foam, they tend to deposit ink where you don't want it! I forgot to clean around the outside of the stamp with a cotton bud before I stamped this one. One good thing with this image, its very forgiving of stray bits of embossing powder, if you miss any flecks.Although my little embossing bag did do a very good job of keeping it clear.

They look ok, but a little plain. So out came some powders with a bit of sparkle.

The first one I tried was Stampendous Stardust, and I really like how this one came out. I still stamped in the Silver Embossing ink, by the way.
This one still showed up silver, but with a lovely sparkle to it.
I had a few more to try out, and the next up was a WOW embossing powder, Snow Sparkle.

Its actually quite pretty, but the white does hide the silver ink.
Next to try were a couple more Stampendous powders, Crystal and Rainbow Crystal.
I like them, but not as much as the Stardust. So I will be sticking with that one.
It always surprises me how different various powders can make an image look.
Its called Adornment, a wood mounted stamp, and I got mine from Handy Hippo.
I started stamping in Silver Encore Pigment ink, and using silver detail embossing powder (Stampendous). The image in the bottom left, you can see some ink around the print- thats one thing I dislike about Pigment pads, because they are foam, they tend to deposit ink where you don't want it! I forgot to clean around the outside of the stamp with a cotton bud before I stamped this one. One good thing with this image, its very forgiving of stray bits of embossing powder, if you miss any flecks.Although my little embossing bag did do a very good job of keeping it clear.

They look ok, but a little plain. So out came some powders with a bit of sparkle.

The first one I tried was Stampendous Stardust, and I really like how this one came out. I still stamped in the Silver Embossing ink, by the way.
This one still showed up silver, but with a lovely sparkle to it.I had a few more to try out, and the next up was a WOW embossing powder, Snow Sparkle.

Its actually quite pretty, but the white does hide the silver ink.
Next to try were a couple more Stampendous powders, Crystal and Rainbow Crystal.
I like them, but not as much as the Stardust. So I will be sticking with that one.
It always surprises me how different various powders can make an image look.
![]() |
| Stardust embossing powder |
![]() |
| silver detail powder |
Subscribe to:
Posts (Atom)
An End of an era
An end of an era
I write this with a broken heart, that only time can heal My beautiful, wonderful wifelet Shaz (Silverwolf) passed away peacefully in the ea...
-
A couple of weeks ago I mentioned that I had bought these, the new Tim Holtz Embossing Diffusers. You have probably seen, like me, the...
-
I take no credit for this discovery, a lady posted this on Pinterest HERE .Like any of us, I hate having to spend money on 'consumables...
-
This is the first of the batch of seven cards I made, thanks to some Pinterest inspiration. Here is the card that caught my eye,...