A warm welcome to all my visitors,

Thank you for taking the time to come and look at my blog, I really do appreciate it. I would love you to leave me a comment, even if it’s just to say Hi. It means I can come visit you!

All my designs are original, so copyrighted to me. If I have been inspired by someone elses work, I have named them in the post, and where able, I have provided a link.

Please feel free to use my designs for inspiration, I just ask you to credit me, and provide a link back to my blog.

Thanks, Shaz XX

Wednesday 29 June 2016

WOYWW #369

Well Hello everyone. Here we go again, with another meet-up at LLJ's place, whilst Julia carries on her recovery. Sending lots of love and huge hugs to both of you.The desk, then, as thats what you're here for.
A longer shot this week,as you can see, some blended backgrounds and blending through stencils again.
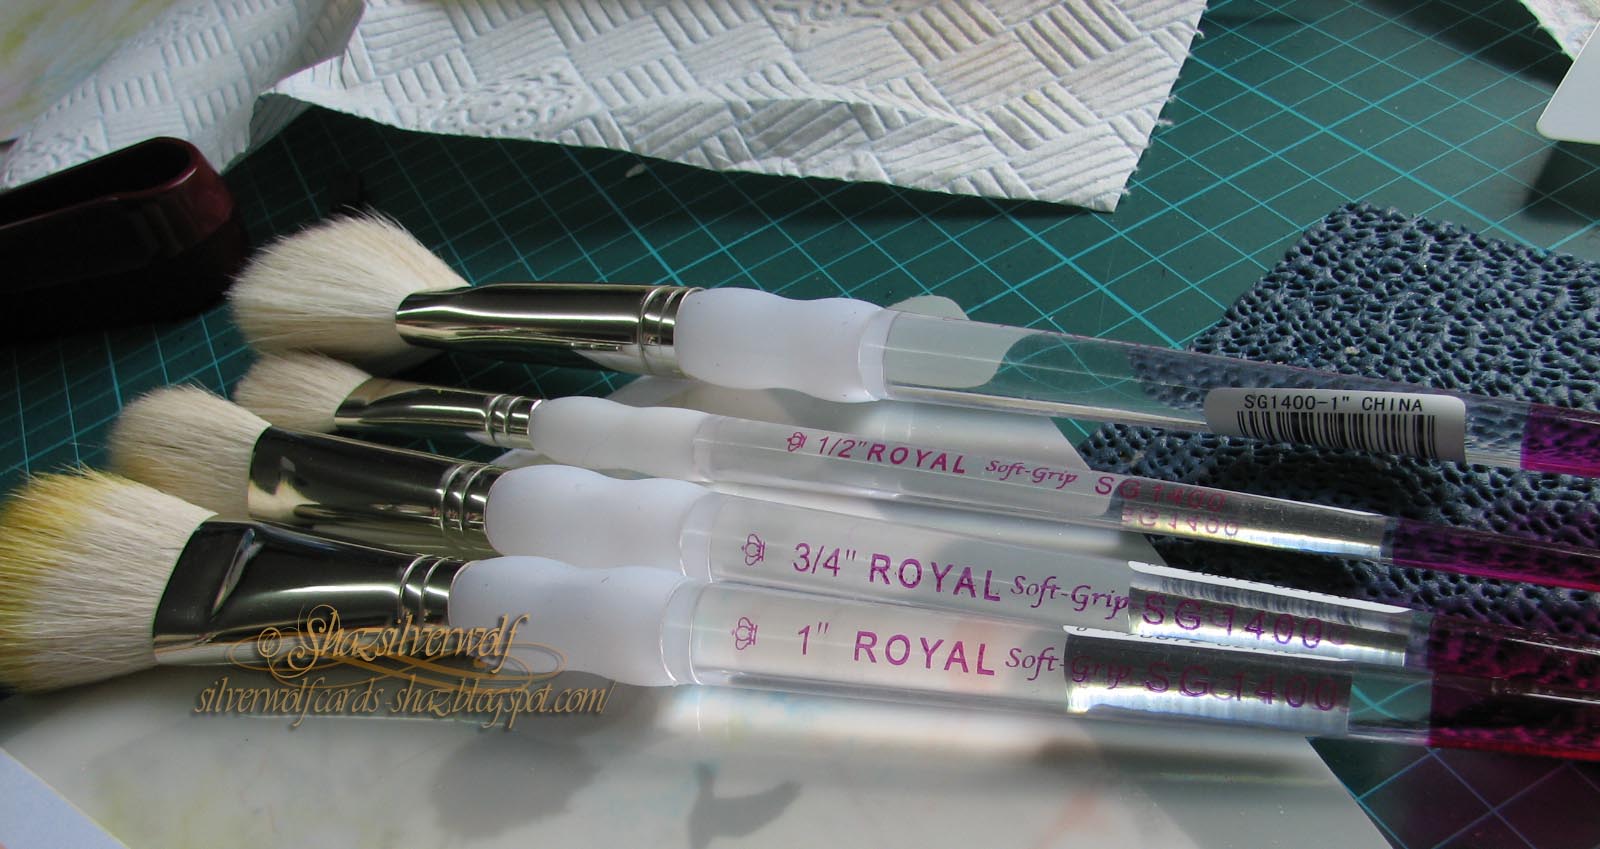
 If you like using brushes for this sort of thing, please go have a look at the previous post. There are some great bargains to be had in brushes at The Works right now, and they work brilliantly as 'colour duster' type brushes.

These are the brushes, and at 2 for £3, a real bargain compared to most 'crafters' brushes.


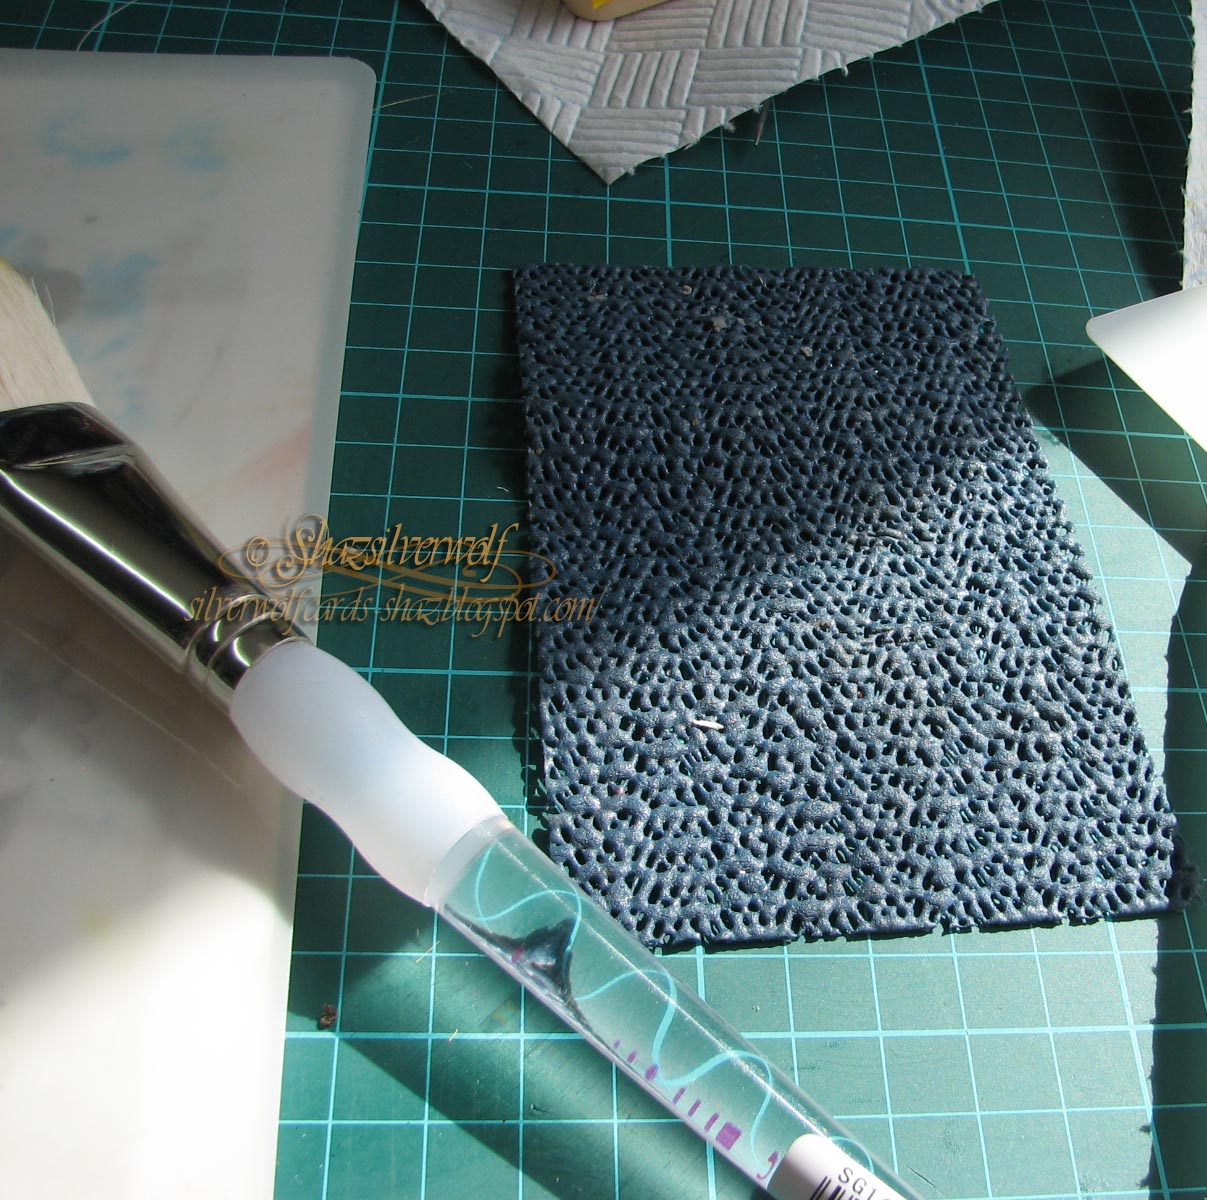
You can see in the previous post how well they worked, and here's another example:


The eagle eyed may well spot a Gelli plate, front left. I'd said I would never buy one, as it wasn't really my thing, but this was amongst all the craft stuff I was gifted a while back. I watched a few YouTube videos, by Barbara Gray of Clarity Stamps- where would we be without YouTube now?- and gave it a go. The result was some very nice backgrounds through stencils, using ink rather than paint. I think it was the fact most people were using paint on them at first that put me off. These two below were done with a brayer, rather than brushes, the ones on the right are with the Brushes from The Works.


I have plans for these with some small stamps- I have some Clarity Wee Folk, some Lavinia stamps,and a load of Cardio that should work nicely. I may even see if I can get a Christmas card or two out of this technique.
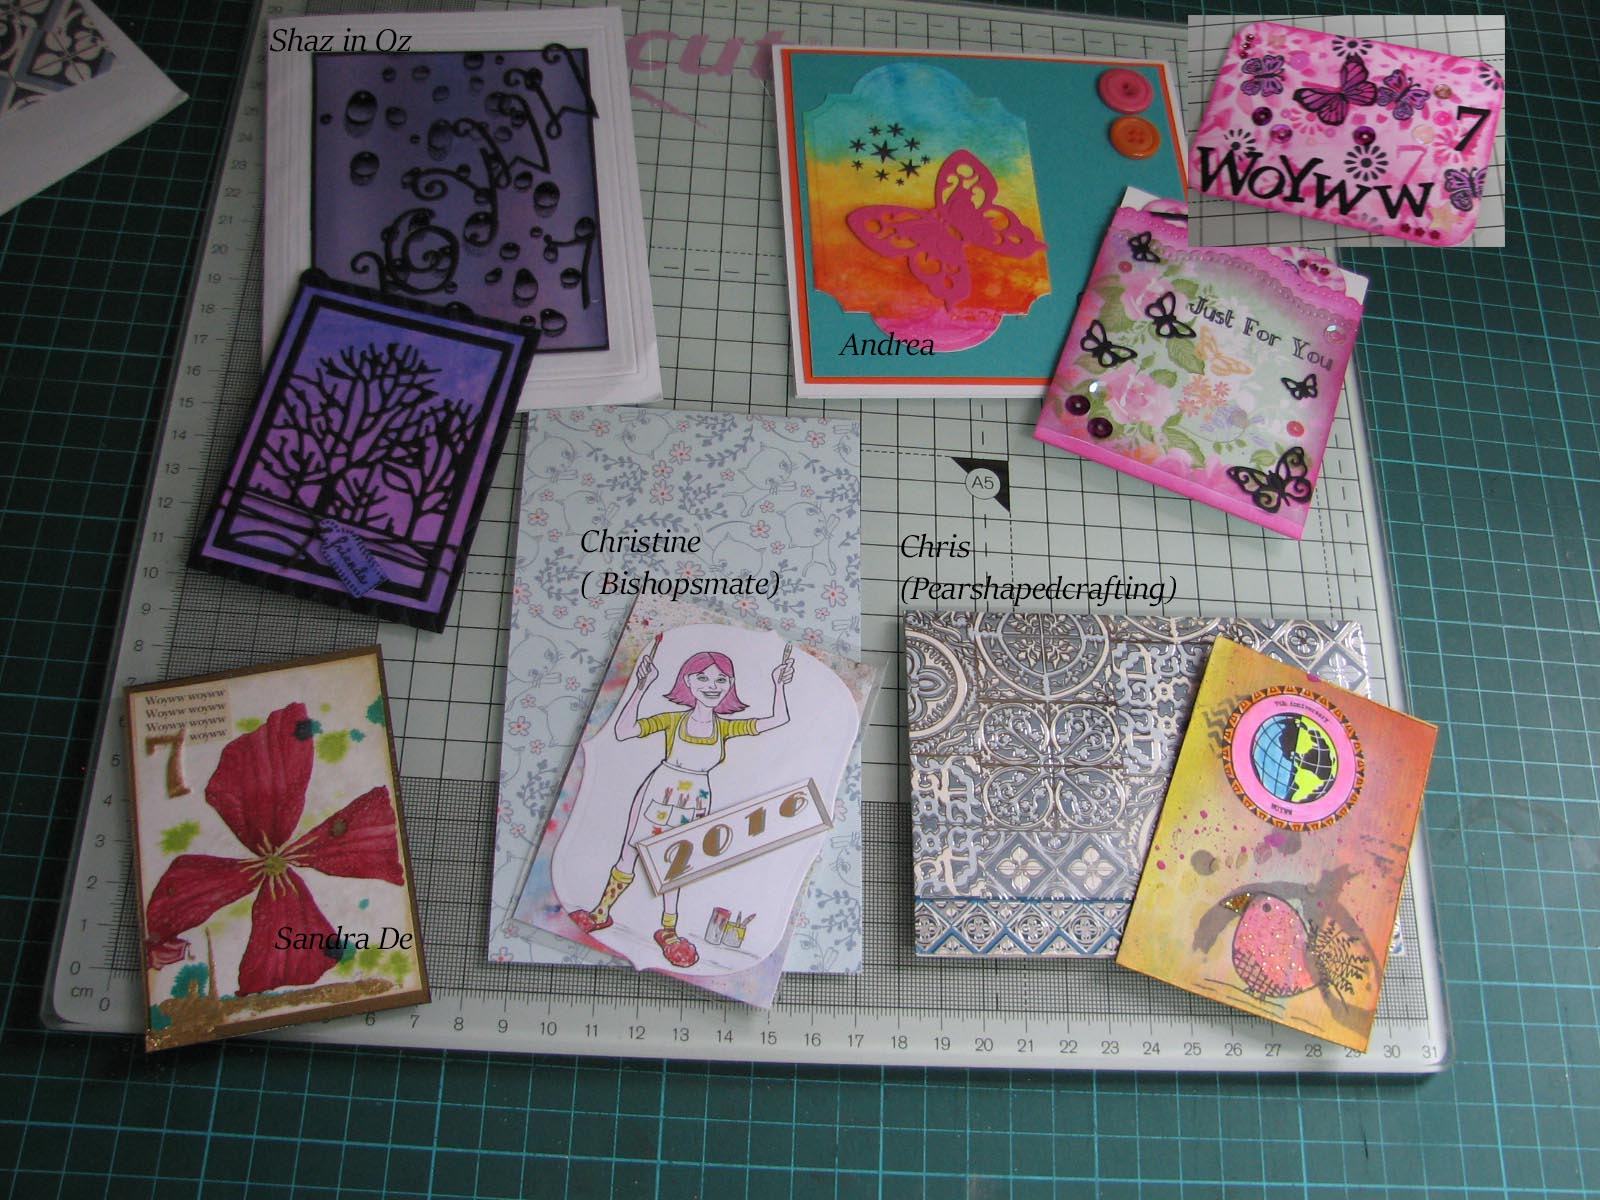
Reasonably short, and hopefully sweet, this week.
Quick update, saw the Registrar from the Oncology team last Friday for the results of my CT scan. Sort of ok, there is something they wanted a better picture of, so wanted an MRI. I told him my own GP was already sending me for one, due to the sciatica, and got him to refer me back to our local hospital's Oncology team.Travelling to Birmingham and back is a bit of a nightmare for the traffic, it can easily take an hour each way, and a lot more at rush hour. Local hospital is 10 minutes away.
So, I have the MRI date, it's the 13th of July, and will be a couple of weeks after that that I get any results. Hopefully it's nothing, he said it may well just be how the bone is healing.

Monday 27 June 2016

'Colour Duster' Brushes- A Bargain!

So, heres the thing. I have some Colour duster brushes, the Inkylicious ones, and they work well. They have quite stiff bristles, rather like a mens shaving brush. Which I also have a few of, and use for the same purpose.


 Last weekend, after a bit of a browse at YouTube videos, I took the plunge and bought a set of Clarity brushes. These come in a set of four, differing sizes, and have much softer bristles, very smooth and silky feeling. The only problem with all these brushes- they are not cheap, are they?


I also bought a new stencil, but we'll get to that in a while.

Today, I took myself out for a walk, for some exercise. I only live a 5 minute (10 for me at the moment) walk from our shopping centre, and it has plenty of places to have a sit down and get my breath back.
In our centre is an outlet of The Works, and I freely admit I always drop in on my way past, they have some amazing bargains usually. Today proved to be no exception.


They have a special offer of 2 for £3 on 3 different ranges of paintbrushes. What caught my eye were the range with the Fuschia coloured ends- they have a 1", 3/4" and 1/2", as well as many smaller ones.They felt lovely and soft, and I thought stood a good chance of working well as colour dusters, and being smaller than usual, could provide a great opportunity for some detailed work with stencils. They only had two of the largest left, so I got the two smaller sizes as well.
 So, I hear you ask, did they work? Well, here's what happened when I got home:
 
You remember the Clarity stencil I mentioned? This one is called Double Bubble, and comes with the cut out bits as well, for masks, which I though a great idea.


I got out 5 Adirondack inkpads, Sunshine Yellow, Butterscotch, Sunset Orange, Citrus and Lettuce. The stencil was attached on a couple of sides with some low tack tape, and I'm ready to try out the 1" brush.
 It seems to be working well,I started with Sunshine Yellow, and it's going on really easily.
 Time for the second colour, Butterscotch.
That blends into the Yellow with no problem, no harsh lines.
 Then swap to Sunset Orange, and it's blending in so easily I'm actually really amazed.
 
From Sunset Orange through Citrus and ending with Lettuce, I am really, really impressed.


By the way, off on a side note here- do you find you have problems getting your inkpad to stay in place when you are using colour brushes or a brayer?
Here's my solution:
I bought a roll or two of rubber matting from Poundland- I have one sheet under my craft mat on my desk. This little offcut keeps my inkpads in place for hands free use!


Anyway, back to the ink blending.
The big reveal-look how smooth that blend is. I am really, really very impressed, for brushes that work out at £1.50 apiece, I couldn't be more pleased.They are really nice in your hands too, as they have that lovely softgrip area in the middle.
So much so, I shall be having another walk over later this week, to see if they've had any more delivered! They have some great multi buy deals on many art and craft products too, I noticed.


Wednesday 22 June 2016

WOYWW #368

Another week been and gone, and here in the Northern Hemisphere, Midsummers Day is now past, which means the nights gradually get longer from now on. So welcome one and all, and a big Thank You to our lovely Jan, and much love, for once again hosting the WOYWW group,whilst dealing with the sadness of her Dads death. And massive hugs and get well wishes going out to Julia, as she potters along this recovery road!
 Not all that much happening on the desk, as the weather was nice at the weekend much of it was spent in the garden, and we also had to go visit my Mum, as last Wednesday was her birthday.
 I have received another two ATC's, and I imagine that we've all had & sent out this years by now.
My ATC's this week, from Kyla on the left, and from LisaD on the right. A very appropriate sentiment on Lisa's for us British, lol.
After watching a few videos this week, I decided to pull out a couple of stencils I bought at last years NEC Hobbycrafts. Both by Clarity, the one on the left is called Jo's Bubbles, the other is Abstract #3.


 I used these two with Inkylicious Blending Brushes at first.


This one used Salty Ocean and Wilted Violet DI.


  These two used a variety of colours, and the stencil on the right is a third Clarity stencil, called Abstract Squares 2.


I'll do a post with these a little later in the week, as well as some others I made, finally making some use of the Gelli plate I was gifted.
So, works in progress at the moment, and this is the stack of backgrounds I've accumulated so far.

Wednesday 15 June 2016

The Making of the ATC's.

Ok, so I've been intending to do a post about my ATC's and I thought it's about time I got around to it.
 The actual backgrounds were done with a slightly unusual technique I'd watched in a video by Andy Skinner.
 He calls it the Alcohol Ink Floating background, and this HERE is the link to his video, if you want to watch it.
 We've all seen the marbling technique done with shaving foam, but this one uses just plain water and alcohol inks. You will need a tub for the water, and it needs to be deep enough to dip your sheet of card into, not lay it on top.
So, you need to cut your card accordingly, and I cut most of mine down to A5 & A6. I found the tub that washing capsules come in was a great size for this, but Ice Cream containers and similar would work just as well. What you do is pretty much fill your container with water, then drip some Alcohol inks onto the surface. You can swirl it a little if you want. Then take your card and dip it fully down into the water, then lift out. You will need a surface with paper towels/ handtowels on to absorb the water.


 You can see I cut my pieces down to ATC size, then backed them onto ready cut ATC cards, as there is often a little curling in the wet cards, which you can get rid of most of by weighing them down when dry.You will get totally unrepeatable sheets of marbled card- and the best bit is that there is colour on both sides, so whilst one side may be poor, the other side can be amazing!


 First image to stamp was the heart, and this was a new purchase from Honey-Doo crafts, when I went to Port Sunlight. I stamped it at an angle, and partly off the card to give me room for everything else.


 Rather than doing each card entirely, I had a bit of a production line on the go- stamping each element on every card before going on to the next step.


 The inkpad I'm using is Archival, Cobalt Blue, by the way.


Next stamp was 'Laugh' and this was part of a set from WOW embossing powders, and also contains the two other words I used, 'Love' & 'Live'.


Now I've added the number 7, and that comes from a Tim Holtz set, called Mini Worn Text, which has letters, numbers & punctuation.


Here I've added the WOYWW letters around the edge of the heart, and also drawn an outline around the heart, this time using a Distress Marker, in  Faded Jeans.
I used a fine tipped black pen to draw a box around the words, and to colour in the first 'W'.


Now I added a white line around them too, as a highlight.
 I'm showing you a different ATC each time, so you can see the amazing range of colours you can get with this technique.


I've added some highlight to the '7'.


Adding some Faded Jeans around the edges with the round blending tool.


 A final touch up with the white gel pen, as I thought it had faded too much.


Filling in the backs, having used a stamp from Lost Coast Designs.

WOYWW #367


Hi folks, another week flown past us, almost Midsummers Day, and the longest day- not exactly been getting the summery weather, have we?  Time for our regular Wednesday meet-up, and in case she pops in, sending you lots of love Julia, slow and steady does it. xxx.
To link up, pop over to LLJ's place, where we are all being welcomed whilst Julia recovers.
On the desk this week, 3 more ATC's have arrived. From left to right, Dolores, (Cardarian), RosA and Elizabeth (Silverscrapper). RosA has also included a gorgeous postcard, and a lovely treasure trove of die cuts.  Love the die cut Kookaburra on RosA's card! Thank you all, ladies for all the ATC's I've received this year, every one will be treasured.
 

Finally finished off my cataloguing- to see what a task this was, here is my folder, with a print out of each sheet of stamps.
I've added a few pages at the back with my stencils printed on, otherwise it is just stamps. I've split it up into Words, Sentiment & Quotes, Images and Christmas. I just think it's going to be easier to flick through for inspiration like this.


One lovely sight in the garden now is a Black Elderberry. here is a shot from my craft room window. The leaves are a really dark purple so as to be almost black, and it has pale pink flowers instead of the usual creamy white. Bit of reflection on the glass, sorry. So that's me done for this week, lets hope the weather improves a bit soon.
 Oh, I forgot, I got some meds of my Doc for the sciatica, and it's not quite so bad now. He's also sending me for an MRI, just to make sure it's not something like a pinched/slipped or damaged disc causing it.

Wednesday 8 June 2016

WOYWW #366

First things first, and a huge Welcome Home to Julia after her surgery,now back home and resting. I always think you start to feel so much better when you're back in your own space.Big hugs and lots of love to you Julia.
Another bunch of ATC's have landed on my desk over the last week, all arriving with lovely notes and cards too. Bit of editing in the top right- I forgot to take Andrea's ATC out of it's little case, I think I was so enthralled with the little pocket!

Talking of editing, I've been watching the BBC two programme Springwatch. Partly for the enjoyment of the subject matter, and partly for the pure pleasure of seeing my Beloved Eldest Sons name going up in the credits- he's one of the VTR editors. He's also doing some of the supervision work, which he's not done before, and on an outdoor broadcast programme like this, he said it's a bit like one of those circus plate spinning acts, trying to keep all the plates spinning, except these plates have very angry cats on them!


And onwards- the decking. Almost finished now, just one step to finish,a bit of cosmetic wrapping, then some handrails and screening to add.


The box under the top level is a new barbecue- on sale at B&Q. On the left, you can just see the legs of my airer for the washing. As there's only the two of us here now, we don't need a huge dryer, and being able to stand it on the decking is much easier than the route march to the bottom of the garden.
Indoors, and I'm finally almost at the end of my reorganising and cataloguing of stamps. I probably only have a handful now left on the cushion, they were stuck fast and can wait. Everything else has had the TOMBOW Mono Multi glue on the backs, and a little shifting around. One of those jobs that I've been meaning to do for a long time, and now I'm just on the last folder, the second of two Christmas stamps folders. I've also been scanning my index pages to print and store so I can see browse through all my stamps much easier. I can look through them folder by folder, or on my pc, but then you get distracted by something else!

To give you an idea of the size of this project, in the EXPEDIT storage here, the 4 folders in the top left cube, plus the 20 folders in the next row, all contain unmounted stamps- some polymer, some rubber. I have a few wood mounts still- either very large stamps, or some Stampscapes. And four separate boxes- 2 Visible Image, 1 Cardio, and one Gorjuss stamps.
 So, I'm done. Off now to link up with our hostess for a while, the amazing LLJ, and I'll be visiting later, as I have a Docs appointment this morning- got the dreaded sciatica back again. My physio thinks it's the result of how I'm distributing my weight, as I have so much numbness on the left, I'm throwing myself off to the right.


Wednesday 1 June 2016

WOYWW #365

So, starting off this weeks desk tour with a message for our much loved Head Desker, Julia, who had her surgery yesterday. Sending you lots of love, and loads of hugs, along with lots of healing wishes. And sending lots of love to to Julia's Hubby, who I know will be needing our wishes too.So this next few weeks our linking is done at the equally wonderful LLJ, who will be trying to keep us in order!

 A bit of desk to start with then, and a shot of the ATC's I sent out this year.
I will do a post on the 'how to' later in the week, but here is a small selection.


And next up is a pic of the ones I've received so far, along with their makers.


You can see Lisca's included an amazingly decorated envelope, and a Flamenco Dancer postcard.Twiglet & Wipso's fabric ATC's came together,in a card with a photo of their surrounding countryside, and a brilliant verse inside the card too.A Crazy Bird and a Crazy Cat, some very clever masking by Morti, LLJ and I both went with the heart theme- what a coincidence- Diana's textural ATC is inspired and inspiring,Cindy's bee and it's background is ace, and Debbies is another with so much texture, it's lovely. Thank you all for your ATC's- and I'm sure there will still be a few more to arrive.
I'm still working my way through the unmounting of stamps, and I think I'm about 3/4 of the way through now.
 Lovely weather this bank holiday, and much of that was spent out in the garden, building a framework for our decking.


There is quite a drop from the level of our house, to the level of the garden. Probably about 8 foot. It used to have some steps down, but they were ancient, and dangerous. Even after the steps, the garden was still on a slope, which is not really very user friendly. So a wall was built across the garden, about 15' from the house. It then got filled with all the bricks and rubble from the old wall & steps.


This was done a few years ago, probably 10 or more, and this decking had started to rot in places, so it was all ripped out, and Dougs been busy relaying a frame. It has 3 levels, in effect, a smaller top area, a step down to a smaller area, for pots and planters, probably, then a final step down to a larger  decked area. So this coming weekend will see the decking itself being laid, so more photos next week!
 But, one brilliant thing, There was not a lot I could really do to help, as I'm not allowed to lift (!), but I thought I should be able to manage the painting. Although it used pressure treated wood, Doug wanted to give it a coat of preservative, to make it last longer. And the good news is that I managed quite a bit of clambering over the frame, AND I actually managed to crouch down and then stand up, something I haven't been able to manage since my surgery. I could crouch down, but could not get myself back up- I had to call Doug to help me! So it does show that the physio is working, and it definitely helps.

An End of an era

An end of an era

I write this with a broken heart, that only time can heal My beautiful, wonderful wifelet Shaz (Silverwolf) passed away peacefully in the ea...