A pretty accurate title as you will see as we go on.
I've long been meaning to have a go at a shaker card. Having seen them made in numerous crafting videos, I decided it looked pretty straightforward.
And it is, as long as you remember one simple detail- forward planning!
However, I think mine had gone off for a day trip somewhere, leaving me to fend for myself.

So, lets start. My base card was going to be an 8"x8" square, so I cut a separate sheet of Pearl White card to fit the front. That is one thing I do remember- always measure your card base first before cutting.
I've found the measurement given for card base packs seems to be the envelope dimensions, rather than the card, and it's annoying to go to assemble your card, only to find the front panel is bigger than the base.

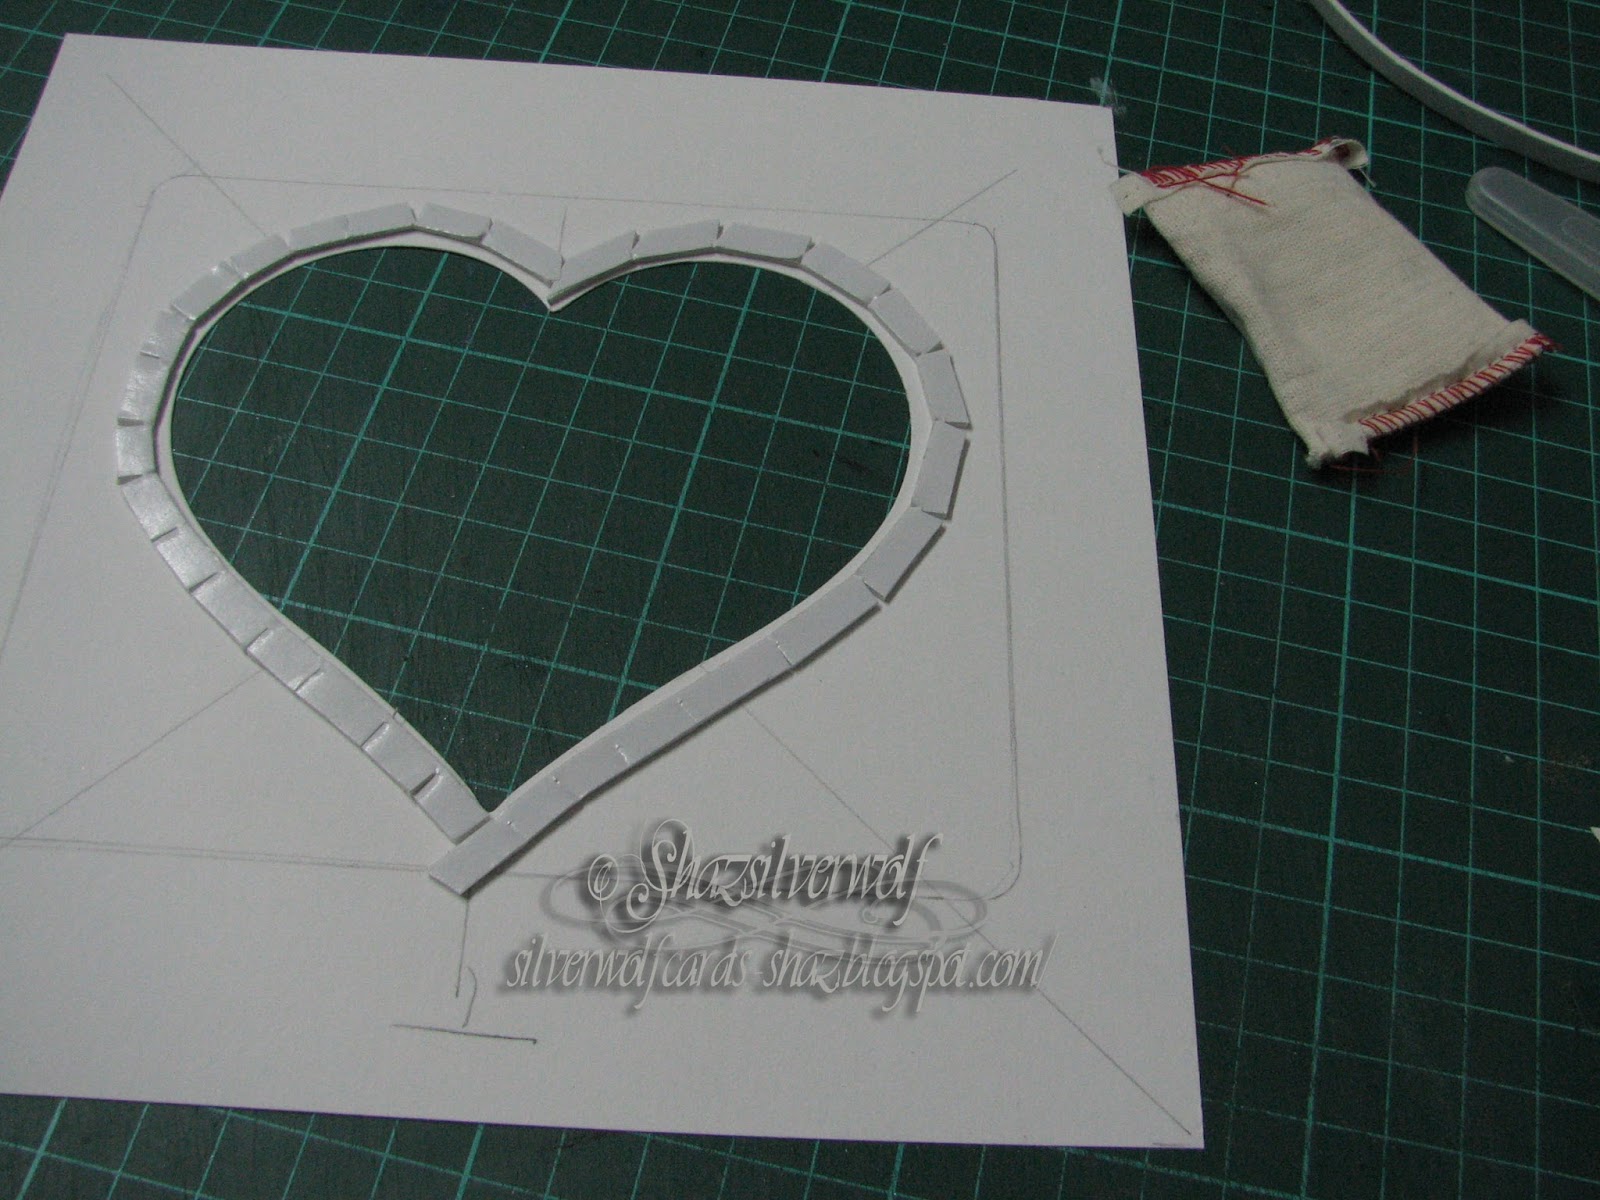
So, that bit done, I then decided I wanted to matt my white pearl onto a red cardstock, so cut the red, then trimmed down the white pearl cardstock. See,stage 1 and I'm already tripping over myself. I used a Sizzix Heart Steel Rule die I've had for years to cut the centre heart out, after I'd marked the die position on the back of the card, along with corner to corner & side to side lines to make sure I got it as central as possible.
Next the foam tape to raise the cut out. I have some rolls of foam tape- Poundland, 2 rolls and about 10 sheets of mid sized foam tabs for quid- I took a strip and cut it into 3 lengths. Then as I laid it down, I snipped at intervals to allow it to bend around the shape. I thought using the tape I didn't have to worry about any gaps between foam pop dots letting the filling leak out.By the way, the embossing bag was there as I used it to wipe over the
inside edge of the foam tape to stop the filler from sticking to it.
Amused myself that I thought of something that small, yet missed important stuff.😀
So, I have one layer down on the reverse, and decide it needs two to give the filling enough room to move about. I'm halfway round with the second layer, when something occurs to me. I should have attached the plastic/acetate/film front to the reverse of the cardstock first! Fortunately, I hadn't pressed the tape down firmly yet, so I carefully peeled it back off, and put to one side.
I cut a square from saved Embossing Folder packaging, and stuck that in place with DST.

Then I put the foam tape back, on top of the plastic this time.
So that was error number two so far- but I'm not done with them yet!
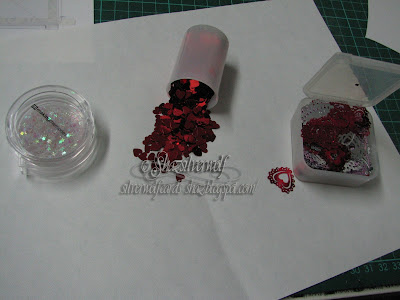
Now we are onto the backing for the shaker, and in my Peel off stash, I
remembered some holographic peel off sheets. Trimmed some off the
sheet, and used it to cover some spare white card.
Having a look in my stash, I sort out some tiny stars, some
small and large hearts. All are those little bags of confetti for tables
at parties. You can tell how long I've had some of them- that tiny
hearts container used to hold camera film. Remember that?

Sprinkled some of each confetti into the opening. I can just imagine my face,had I still not realised about the plastic!
Peeled the backing tape off the top layer of the foam, and added a larger foam tab to the four corners of the backing piece, then lay it on top.
Turned it over, and this is when I realised the next mistake I'd made. I intended to stamp the two sentiments in the top left & bottom right corners.
But now these two layers were together, I wasn't going to be able to stamp there, it wasn't a level enough base.
I should have done the stamping after I'd cut out the heart, before I did anything else. So now we're onto Plan C. Or possibly D, I've lost track.
Finding a piece of the white pearl card, I stamped both sentiments, then trimmed down and matted onto the same red cardstock as the matt layer for the card, and mounted them with foam pads.
The inkpad was Memento Lady Bug, and I heat embossed it with WOW! Sparkling Poinsettia.
Matted it onto the red layer with foam tabs, that attached it all to the card base with DST.
As if the bling level wasn't high enough, I also added some acrylic hearts with Glossy Accents.
Hubby loved it, sat shaking it for a while, trying to separate some of the larger hearts that had wedged on top of one another. Said it was a bit like those kiddies games where you have to tilt and turn them to get little balls into indentations, lol.
Stamps:
I love you to the Moon & Back, Stampasaurus
Today Tomorrow, Inkylicious, available in 2 sizes, this is the larger one. The smaller one is about the same size as the one top left.

 So, five cards made so far from the UFO's. The first two are both Eclipse cards.