A warm welcome to all my visitors,

Thank you for taking the time to come and look at my blog, I really do appreciate it. I would love you to leave me a comment, even if it’s just to say Hi. It means I can come visit you!

All my designs are original, so copyrighted to me. If I have been inspired by someone elses work, I have named them in the post, and where able, I have provided a link.

Please feel free to use my designs for inspiration, I just ask you to credit me, and provide a link back to my blog.

Thanks, Shaz XX

Showing posts with label Rosette die. Show all posts

Sunday, 20 January 2013

Christmas cards from 2012


Going to try getting back to some crafting this week, but I thought I'd post up the Christmas cards I was working on before I fractured my shoulder. I realised I hadn't actually put them up yet, as I didn't get them finished.
These three all feature a stamp called Angel Chorus Collage,by Rubber Stampede. I've used this stamp and technique here, its a technique I remembered seeing in a magazine a few years ago, but I really can't remember which magazine, nor the persons name.
The image was stamped first on cream card, in gold, and heat embossed with gold powder. I repeated this onto plain vellum.
The cream card was sponged with Antique Linen and Old Paper Distress inks, just on the musical score section.
Last time I used this image, I coloured the angels on the card,this time I used Promarkers to colour the Angels just on the vellum. I did this by flipping them over and colouring on the reverse of the image.Promarkers don't blend on vellum in the same way as on paper, as the ink stays quite wet, but this doesn't matter as you are colouring the reverse. Doing it this way gives you a nice 'soft' feel to the image, and you don't have to be over fussy with your colouring. You could also use oil pastels, like for Pergamano work, or H2O's.
When the angels were coloured, I carefully tore around them, and matted them, right way up now, on the card image. I used Pinflair gel glue for this, as it didn't show through the vellum.


  I trimmed up the edges to match and matted onto gold card. The image was then added to the front panel for Easel cards. I've used a random selection of backing papers for the cards- I have so much Christmas paper from years gone by, so I'm not getting any more till I've used this stuff up!


The Layered Poinsettia is from the Nestabilities range- I cut the petals out of red & green paper that had a speckled effect. The only part of the die I didn't use was the centres- I used some gold beads for these, as I  didn't like the flat effect from the die cut. You can see Tim Holtz Rosettes on the top left one, and the one above has Tim's Snowflake rosette on.


The white flowers are a mix of small punches, and flowers from the Tattered Florals strip die. The gold flourish on the left, I can't remember whose die it is, sorry, the one on the lower right is a Cheery Lyn, Joycraft die.

This last one used a panel I had created before, using a Papermania 'Baubles' embossing folder, and the image stamped onto Acetate is from Butterfly Kisses,Saint Nick, available now through HobbyArt.
 After I stamped it onto acetate ( I actually use Transparency Film) with Black Staz-on, I covered the back of the image with double sided adhesive film, then sprinkled Crystal glitter over it.
 See here, if you want to see how I altered the folder so I could emboss in this direction.

Sunday, 30 September 2012

Easel Birthdays


All three of these were for the same person, so it was hard work making them all as different as possible! Two feature the Tim Holtz Tattered Florals,and I love the fact that they will cut pretty much any material- I've been using up a lot of fancy papers that I have collected, and some of the flowers I really love- the green & gold in the bottom card is a particular favourite. That one also has a four panel image of the Penny Black stamp 'Aspire', matted onto gold & wrapped with a narrow gold organza ribbon. Nesties Labels 7 was used for the sentiment here.
 The top left card features a Chocolate Baroque stamp, Harlequin Rose, which is part of an A4 sheet.The image was stamped in black, mica powders smudged onto the background and chalks & micas used to colour the Rose & leaves.The background is an embossing folder, Creative Expressions' Lattice'. Wrapped with silver & black ribbon and embellished with Black & White Tattered Florals. I have to say that Black & White really is my favourite go-to theme. Nesties Labels 4 was used on this one.
 Top right, the background is another sheet of fancy paper, a vellum panel punched with Doily Dots and some Tim Holtz Rosettes, cut from black & white vellum. The Butterfly panel was made with Fusible Fibres, and I cut out a second set of butterflies to mount on top with silicone glue. the stamp itself is available from two places, Tanda Stamps, Far East Set 1, either as a plate along with other oriental themed stamps, or individually. It is also available from  De Stempelwinkel, as a Non Sequiteur Plate, Samurai Plate. The sentiment is on Nesties Petite Scalloped Ovals Large. On all the cards, the foil printed background paper on the bottom is from Craft Creations.

Wednesday, 28 December 2011

Using a Tim Holtz Rosette die with standard 'bug plates.

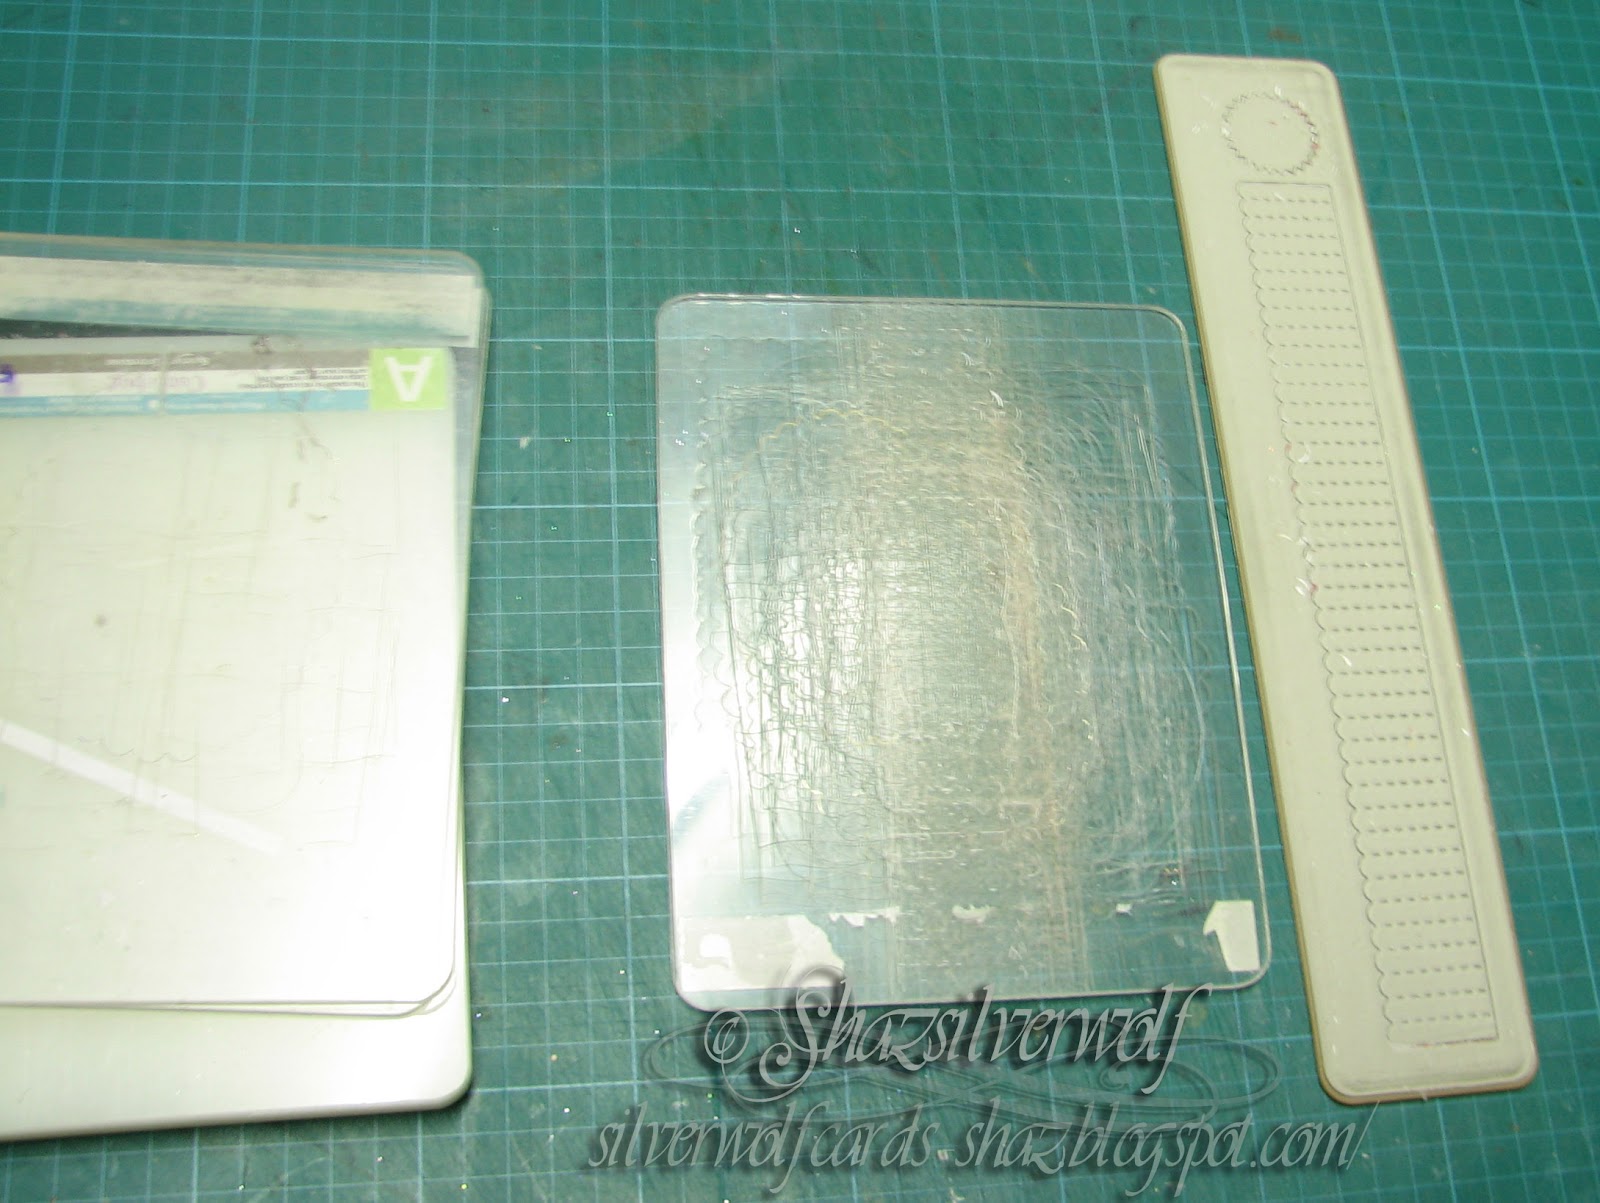
Bit of a long title, but I wanted to show you how I used the Tim Rosette die, in my Cuttlebug, just using the standard plates, rather than the extended ones. As you can see, the die is quite a bit longer than the plates, but when I saw the cost of the extended plates, I figured there had to be a way to use the originals. And it does work, without any real trouble. You can see the die next to my well-worn B plate. The die gives you the rosette and one centre. You need two centres, one for each side, but as one side is not going to be seen, I just used a small circle punch for it, rather than having to cut again.

I recently bought two small punches, a 5/8" and a 1", both scalloped circles, as I already have a 1" plain circle. I thought these would also be useful for smaller centres, if I cut the strip down to make smaller rosettes.
I used exactly the same sandwich as usual,A, B, Die, Paper, B. one thing I did do, was cut my strips of paper to the length & width of the die- made it easier to add a little low tack tape to one end, and helped me see what I was doing.


I also used up some 8x8 and 6x6 paper pads here- I just taped two pieces side by side, then cut my strips. This also gives you a small cut-off piece you can punch your centres from. I have a few of these pads, and never seem to use them because I usually make cards from an A4 sheet folded, and they are way too small for that. I just used some low-tack tape to hold them together.


Here is the die going through for the first half- just wind all the way through as normal.


Then I lifted the whole stack from the 'bug, and brought it back to the front of the machine. This bit is the only time it can get tricky, as I found that some paper has a bit of a 'static cling' to the plates! So, before you lift off the top B plate, HOLD THE PAPER ONTO THE DIE! Now just slide the die forward so you have the uncut portion on top of your plates, with a bit of an overlap. Gently put your B plate back on top, and run through the machine again to cut the remainder of the strip.


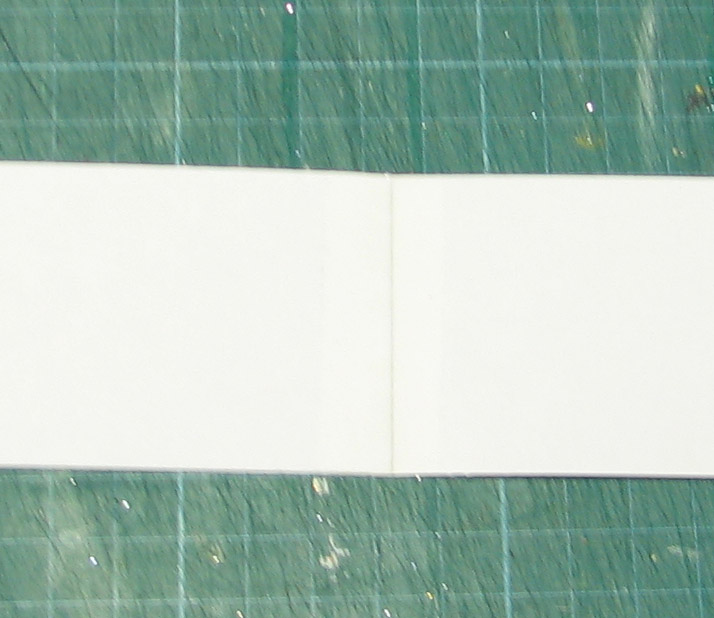
I only had a couple of strips where there was a bit of a jagged cut along the straight edge, and as this bit is in the middle of the rosette, you won't see it anyway.


Also you can trim down the straight edge, to give you different sized rosettes.


Now came the really tricky bit- assembling the rosette! I used a small piece of double sided tape on one end, then stuck the ends together. All going well so far. Now I had to get the rosette into shape- not too bad, but it kept sproinging back open on me, lol. At this point, to get the top & bottom circle stuck onto the rosette, I tried DST- didn't hold. You can see one in the top picture with a small acrylic block on it trying to hold it together long enough.
Wet glues didn't work either, and neither did glue dots.     
 So out came the silicone glue. The problem was keeping it in shape long enough for it to set.


I found eventually, that if you put a decent sized blob on the bottom circle...................


........put the rosette onto that, then add a little more to the top........


........add the top circle.........


..slide across desk to the edge.......


........and get a clamp onto it quick! These are brilliant little things, they have flat pads on the jaws so they don't damage your work, and the centre of the rosette is strong enough to take it without squashing.. Best of all, I bought a bag of about a dozen from Poundland!

Here is the rosette, about 20 minutes later, stuck perfectly. I also used silicone glue to attach them to my cards.
 P.S.
A quick thanks here to all of you who suggested a hot glue gun- yes, I do have (at least)  one of those lurking around this room somewhere- I shall find it out & give it a new lease of life!

Last couple of Christmas cards


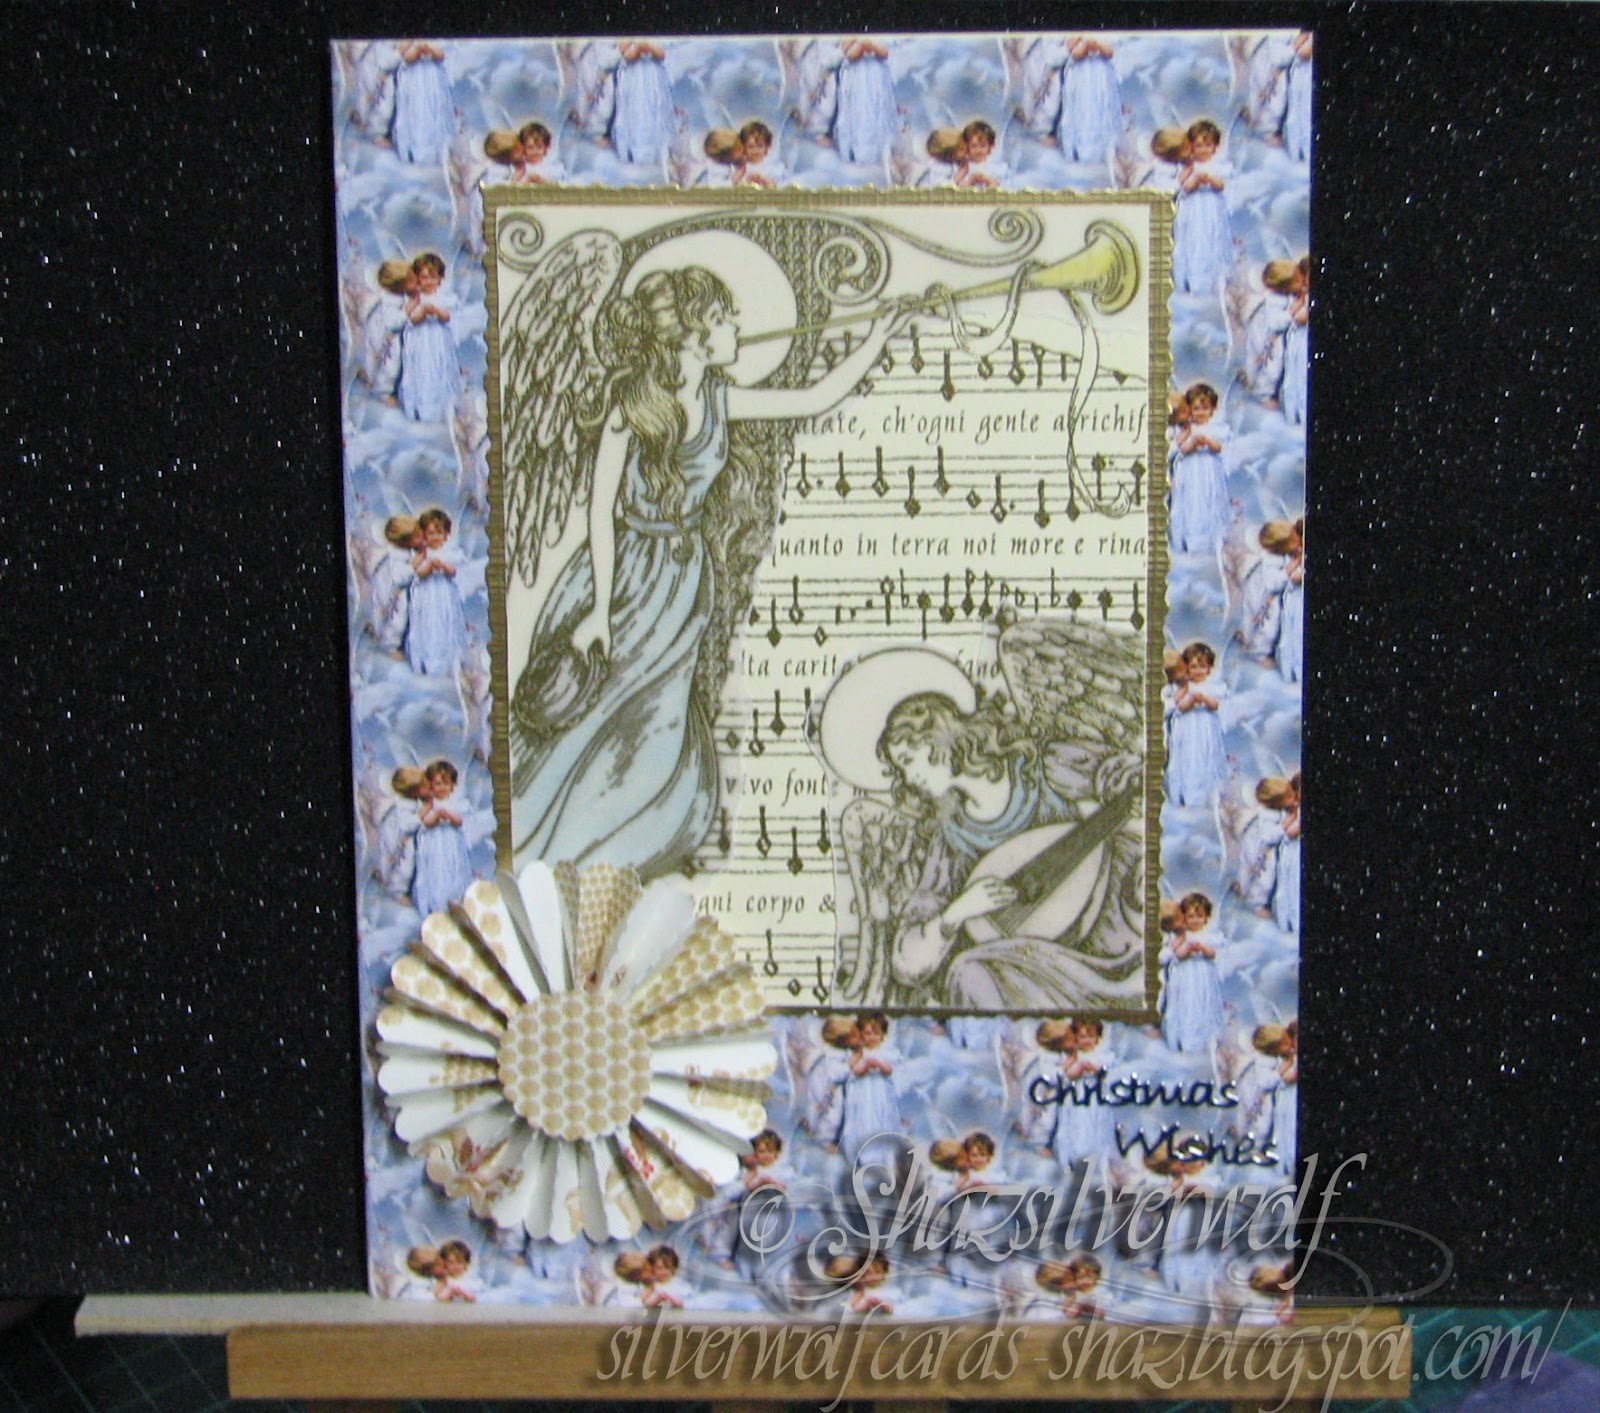
Both these cards use a stamp called Angel Chorus Collage, which I thought I had shown on here before, but apparently not. Its made by Rubber Stampede,and is available still, I found it here. I used a technique I saw done a long time ago, in a magazine, but I really can't remember who by. I stamped the image first on cream card and heat embossed with gold powder. I stamped & heat embossed in gold again onto plain vellum. I coloured the image on the card quite roughly with Promarkers- you don't need precise colouring, as the vellum softens the look of the colours.Then I tore around the angel images on the vellum, and placed them over the card versions, using some adhesive roller, the Stix2 one.I trimmed the images down and matted onto gold card. The backing paper on the card on the left is from a Joanna Sheen cd, and the other one is, I think, a Paper Pizzaz one, but I may be wrong. I have so many Christmas paper sheets I have had for years, I am trying to get some use from them, and stop hoarding, lol. Both have a rosette on them. I love those, I think I may end up doing rosettes to death if I'm not careful.
You could also colour on the back of the vellum, and oil pastels would work well for that.I just liked the softness that the vellum gave over the card image.

An End of an era

An end of an era

I write this with a broken heart, that only time can heal My beautiful, wonderful wifelet Shaz (Silverwolf) passed away peacefully in the ea...