A warm welcome to all my visitors,

Thank you for taking the time to come and look at my blog, I really do appreciate it. I would love you to leave me a comment, even if it’s just to say Hi. It means I can come visit you!

All my designs are original, so copyrighted to me. If I have been inspired by someone elses work, I have named them in the post, and where able, I have provided a link.

Please feel free to use my designs for inspiration, I just ask you to credit me, and provide a link back to my blog.

Thanks, Shaz XX

Showing posts with label Stamping. Show all posts

Wednesday, 14 October 2020

WOYWW#593- The Paper Piecing Edition.


And just like that, it's Wednesday again. Cannot believe how fast these weeks are flying by. As always on Wednesday, we meet up at Julias place, The Stamping Ground, for our weekly desk-fest.

Here is the start of my paper-piecing of the Christmas Stockings from last week. I stamped the image onto cardstock, then coloured the parcels and holly. Then I stamped and cut out the stocking part, using blue and red card. You can also see the small pieces for the heel, toe and  top, which I'm planning to cut out of some glittery felt I picked up in Hobbycrafts sometime last year.


This is it, it's not overly glittery, in fact I may give it a blast with some Crafters Companion Spray & Sparkle I have on my shelf- and in fact, you could make your own using plain felt & a spray.


And here is the first one put together. I used pinking shears to edge the top, and cut it a little longer than the pattern piece, so it would definitely cover the join.

 I've got another 6 to do, then I have the Holly & Bell images I've coloured to do, and the baubles. I'm sure they'll appear next week.

 So thats my contribution for this week, which brings us round to......And Finally.......

I have to admit, it wouldn't be wine for me, I can't bear the stuff! But G&T, or Jack Daniels/Southern Comfort and Coke, and I'm your girl!

This made me laugh, a lot!

Wednesday, 8 July 2020

WOYWW #579- The MINC Edition

So, back in the craft room for our regular Wednesday met up of desk around the world, commonly known as Whats on your Workdesk Wednesday, courtesy of our much loved leader, she of the recent birthday, Julia, at home in The Stamping Ground.
On my desk, is evidence I've been playing with the new toy I bought myself months ago, a MINC. I went for the 12" version- there's also a 6" one- as I often find myself working on 7" square cardstock, so I have some leeway.

The reason I bought the MINC is that I want to be able to use my stamps with foil, and I wasn't haven't a huge amount of success with my laminator. But to be fair, it's a really basic one- an on off switch and thats it. One speed, one heat. Works fine for it's original function, and is usually quite successful with  foiling over stencil paste, but was having no luck with stamping.
 As you can see, notes jotted on various experiments so far, just trying to find the perfect combo of ink/powder/heat for repeatable good results.
 So that's going to be an ongoing thing  for a few more days, a blog post will appear when I get the results I'm looking for.


The weekends Christmas cards were done with the tree stamps and various embossing powders.
The stamps are all quite old now, made by a company called Butterfly Kisses, but they seem to have faded away, can't find any reference to them or their stamps any more.


One thing about the MINC I do want to mention, is for anyone thinking of getting one, be very careful if you go through Amazon. Looking at reviews, I saw that a number of people had ones with the wrong plug delivered- now that could just be errors in ordering, as there are EU, UK and US plugs available, maybe the buyers didn't notice that- one person got a 6" one instead of a 12", and someone else had things missing from the box. So I ended up ordering mine via Hobbycraft for safety. I don't know if the sales pages have been changed since those comments were made, as now you get a separate page for each plug type, perhaps it was a 'tick box' system before? Like I say,most could  have been buyer error, but I wasn't taking the chance.
 And so I'm done for this week, nice and short & sweet.
Good news for Dougs family, Tim, Lyndsay & Curtis are all ready to be released, the council have found them a bungalow as a temporary solution until they can all safely manage stairs, when they'll move them to a 3/4 bed house. Friends & family have been in since the weekend painting & decorating, and furniture is being delivered tomorrow, so they should be home by the weekend. Livvy isn't ready for release yet, but she's doing tremendously well, I honestly think far better than was anticipated when she was admitted.
To all my crafting friends who shared the GoFundMe page, and to everyone who donated, a huge thank you from us, and from Tim & Lyndsay too, it is so appreciated.💓
Which brings us round to ......And Finally.......


...and that would be a catastrophe!

Wednesday, 10 June 2020

WOYWW #575- The Actually Finishing Stuff Edition.

I am, finally getting this batch finished. These ones had needed a bit of colour adding, and one needs fixing, as I stamped the quote, realised it needing stamping again. Didn't check my cardstock hadn't moved, so got a blurred repeat.


By the way, using the new Blogger update this week, so we'll see how that goes.


The one bottom left. So, how do we fix the unfixable? We just restamp on a separate piece, and matt it on top,lol.


Not totally happy, I think I should have just binned it, to be honest. But I expect in a couple of days and I'll be ok with it.


Made another batch, as I have more ideas. And there's always the UFO box.

For Belinda, I didn't use watercolour paper, it's just ordinary white card for stamping on.


Christmas cards using a Jennifer McGuire technique, Distress Oxide resist, in the post below.


Regarding the issue I had with my cardstock being lifted and moved out of place on my stamping platform- I have bought a bigger bar magnet off Amazon- just a rare earth magnet, not a special 'crafting' brand one-and that does help,most of the time. But, the absolute best solution I have for you, I came across on I think, SCS. Sizzix brought out some Sticky Grid Sheets, to use on Big Shot plates to hold dies in place, saves using tape. Well, some ladies had started using them in their stamping platform. I had a pack, so gave it a try.


You get 5 in a pack, they're the same size each as a Big Shot plate, so I'd guess roughly A5. On the Sizzix UK site, £7. Beware if you Google for them, as their are specific ones for the Sidekick too, which are much smaller. They really do work, they are tacky, rather than sticky, and hold your cardstock completely still and in place.


And so I'm done for this week, I'll be adding my link at Julias place, The Stamping Ground and popping round to see you all later.


Which just leaves.....And Finally......

Sunday, 7 June 2020

Christmas Card Club #12- Snowflakes.

Hi ladies, back with another Christmas Card Challenge, this weeks theme has been chosen by Gwen, who wanted to see Snowflakes.
 I was really pleased to see this theme, as I'd watched a Jennifer McGuire video a few weeks back, called Distress Oxide Resist, and had put it on my list of things to try. I even bought some Oxide sprays for doing it, lol. I've linked to her videos You Tube page.


The beauty- and what really grabbed me about Oxides- is that the colour shows even on dark or black cardstock- these are sprayed onto a navy blue cardstock. 


These are the colours I used, the Wilted Violet only in very small amounts.

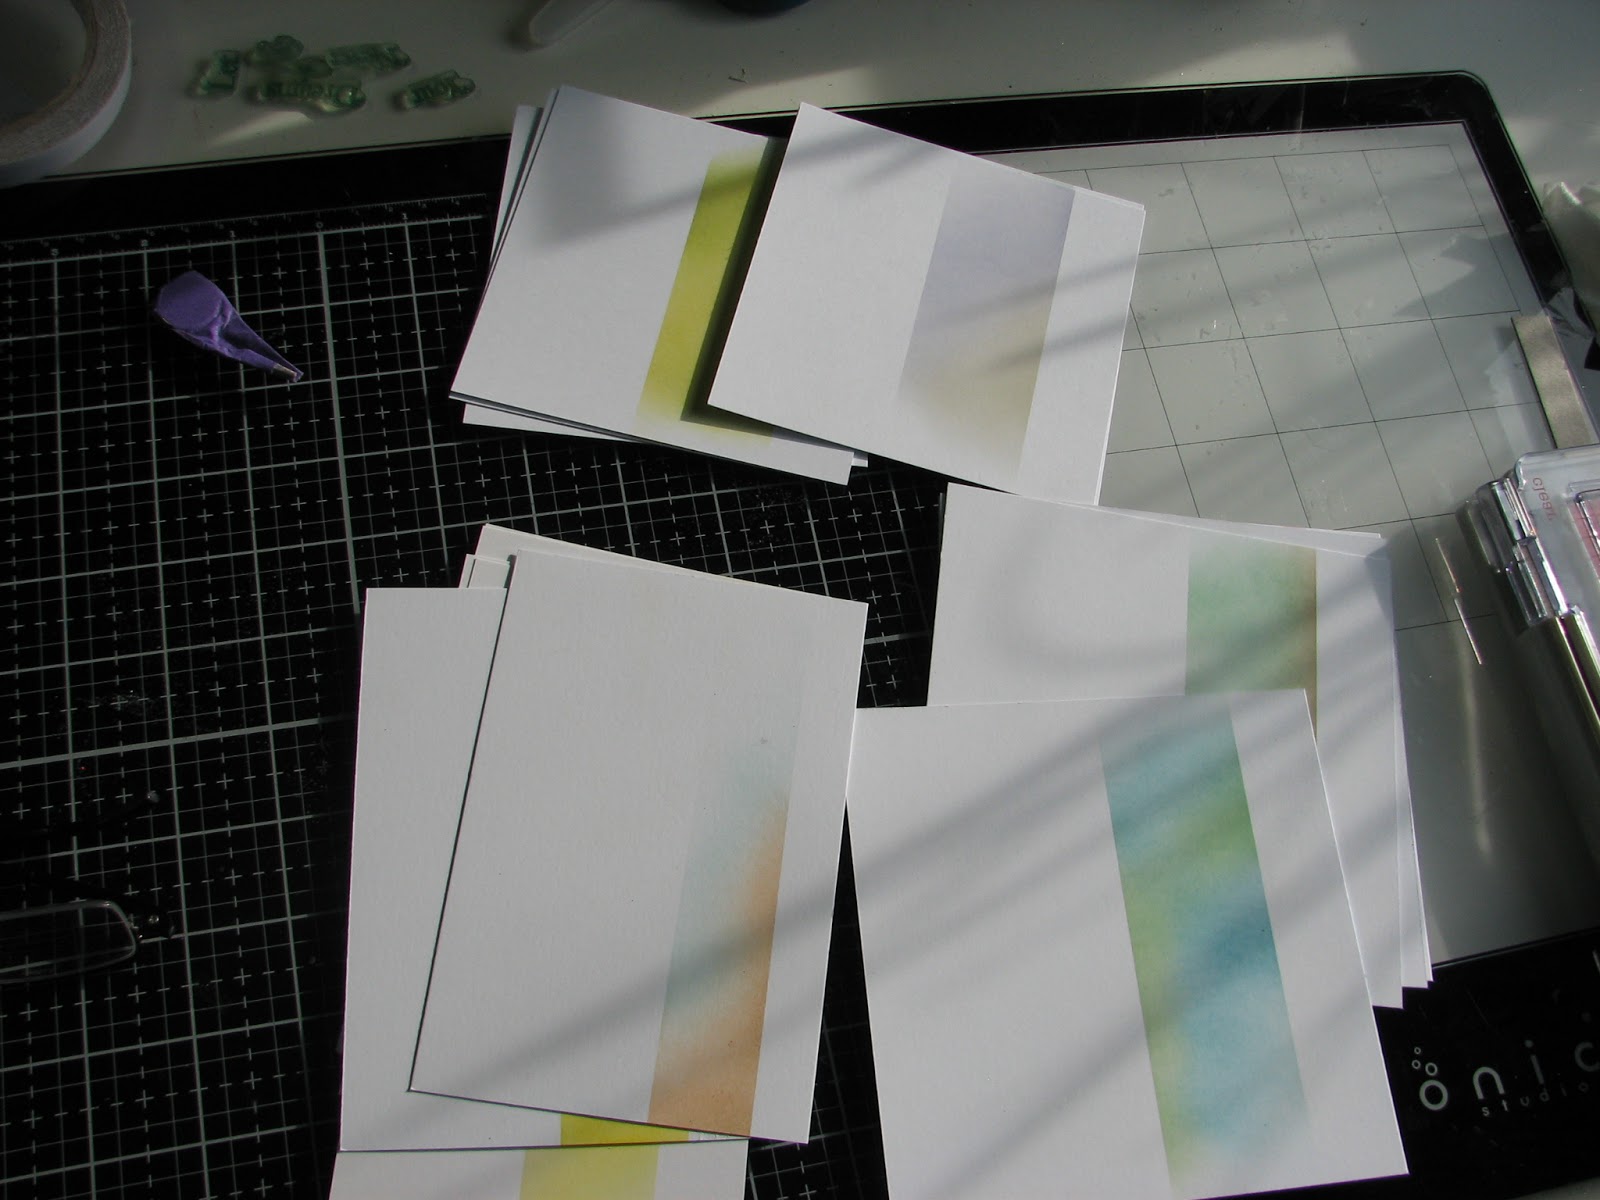
The base cards are 'notecard' size-which is roughly 10½ x 14½cm, or 5¾ x 4⅛", so I cut 4 pieces of navy cardstock to fit.


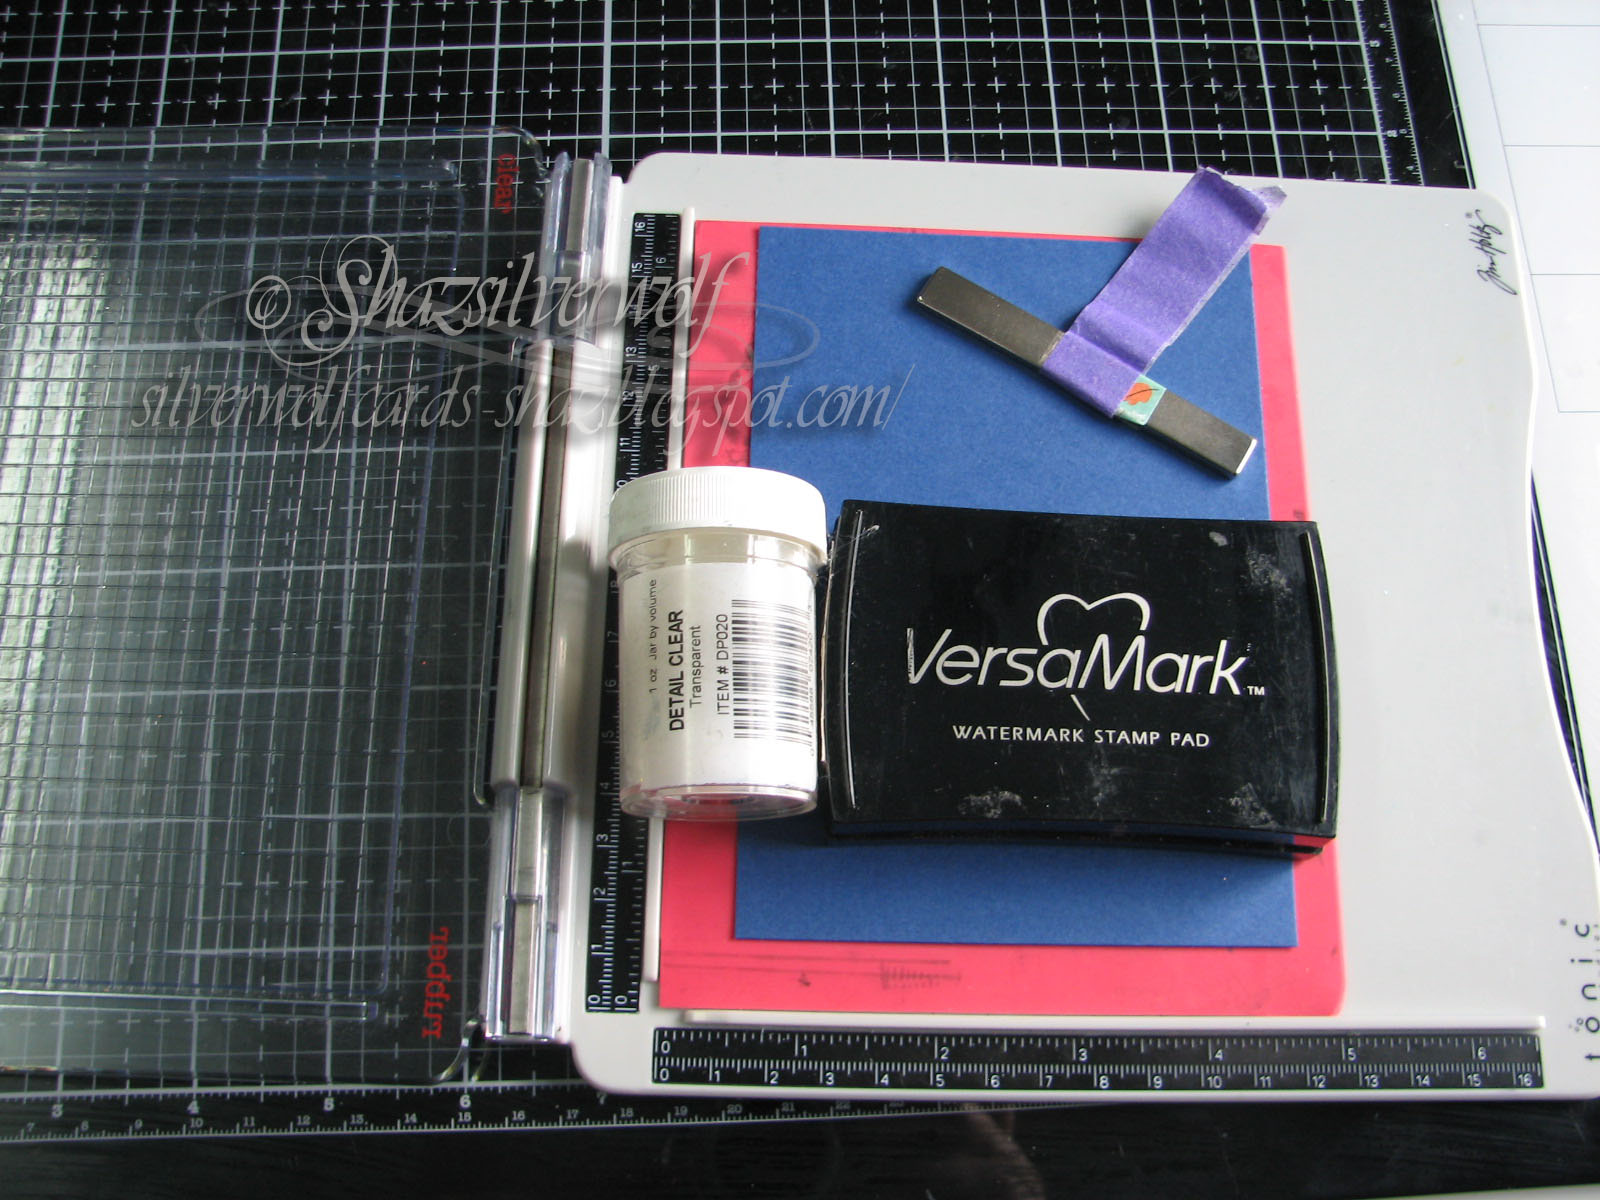
To do this, you will also need a Versamark, or Embossing inkpad, Clear Detail Embossing Powder, and some Snowflake stamps.


  Mine are the Tim Holtz ones, which come in two sets, one with large snowflakes, and the second with the same snowflakes in medium and small. 

I stamped 2 large snowflakes on one, and 2 medium, then switched to 2 large and 1 medium. Heat embossed them with the Clear EP. 


Now comes the somewhat messy bit, but you can help keep the mess under control by having a box to work in. Mines got some newspaper and heavy duty paper towel in the bottom too.


 Starting with the lightest colour, Tumbled Glass, I sprayed from the bottom up, concentrating the colour at the bottom. Then dried it before the next colour, as if you do it with the first colour wet, they'll just mix together.


 Next came Broken China, dry, then Mermaid Lagoon, dry, then a little of either Chipped Sapphire or Wilted Violet.


I also flicked a few droplets by undoing the top and just flicking colour from the end of the spray tube.

Dried that, then followed by flicking a few drops of water to give a bit more background texture. I also had a bottle of Cosmic Shimmer Pearl White mist, which I used right at the end, but more about that later.


Tilted them to the light in the hope the Pearl Shimmer shows up!


Next comes the fun bit- ironing off the heat embossing.


 Any iron will do- just hottest setting and no steam.
 You need some copy paper to place over your stamped piece, and run the iron over it a couple of times to melt the EP and soak it into the paper.


And you end up with the snowflakes revealing the colour of the cardstock underneath, any ink that was on the snowflakes comes off with the ironing, so they look nice and crisp.
 The Cosmic Shimmer spray had me a bit worried- handling these pieces my fingers were covered in the mica from it! I gave them a buff over with a cloth, and that seems to have fixed it, but I will be checking them a few times before I use it again!


All four ironed off, and then I decided I was going to stamp a sentiment on them, so used Phill Martins Stately Christmas sentiments, love this set as it has  lots of really great sentiments, in a gorgeous font.


 Stamped it in Versafine- I used the Happy Christmas in the bottom right-and heat embossed with Silver Detail EP.

 Added them to the card bases with DST, and I'm done.
Two things I must mention- first, I'm sorry but I only realised yesterday I've missed one weeks Challenge!
 And second, I have no idea if my font is a bit too small- please let me know if it is, or if it's OK. This new Blogger update is playing games!

Wednesday, 27 May 2020

WOYWW #573- The I stamped something Edition.

I did indeed, and I'll show you that in a minute. As always on Wednesdays, we're here to share our desks with the world, courtesy of our much loved Leader, Julia, at The Stamping Ground.

As you can see, folders of stamps open here, there and everywhere.


 I have ideas, you see, on what to do with these backgrounds I did a few weeks ago.


I have really bright sunlight coming through the window next to my desk, so apologies for the shadows.


This is the first one stamped up, I just need to add some colour to the butterfly, and probably the toadstool too, I will do that with pencils.
 Amazing thing is, it came out exactly as I had the idea in my head. Not too often that happens, lol. The caterpillar & toadstool , as well as the words, are all Lavinia stamps. The Butterfly is an old Papermania stamp.
My shoulder seems to be improving, thanks to a bit of Googling- despite
 the fact you should never Google medical symptoms, rofl- my shoulder pain, which we'd started to suspect was caused by a trapped /pinched nerve, well that seems to be precisely what is causing it- a pinched nerve in my neck, and after Doug feeling about on my neck,  I have one very sore spot on the right side. So, still going with the pain relief gel & painkillers.
Which brings us round to.....And Finally.........


Sunday, 29 March 2020

Christmas Card Club #7- Christmas Candles.

Finally getting to post today!Rita has chosen this theme, and she'd like us to feature Christmas Candles. You now how doing one thing can spark off another idea, and then that one gives you yet another? I started with one idea,using this tag stamp. I have no idea who made it, it's far more years old than I'd like to think! I can only tell you it's a clear stamp. I stamped it, then coloured using Prismacolor pencils. The vellum panels came from some vellum I found in my Christmas papers box, and I also added some tiny acrylic stars to the tag background. I've had those ages too, I ordered them to use as Tree star toppers, but when they arrived they were too tiny for that to work.
 I trimmed the cards upper corners to match the tag shape.
 It was while looking in my Papers box, I spotted the wallet with my glittered pieces in, and recalled I had some lovely Celtic Knot style candles in there. So that made another half dozen cards.

The sponged/brushed strip is an idea I've seen Eileen Godwin use a lot, just masking off the front of the card, and gently applying inks of your choice. I'm not brave enough to work directly on my card base yet, lol, so mine are matted and layered.
 The candles are attached with a little Matte Medium, and I've used some peel off sentiments.


These were the final 4, I have a Card-io stamp set called Christmas by Candlelight, and wanted to use that.

To get the candles standing in Holly took a bit of thought, but finally figured it out.


I stamped two Holly Branches, which is a Lavinia stamp, and used Archival Leaf Green for that.


I wasn't going to cut masks for the holly leaves, so I tore roughly a sheet of kitchen paper, and used that to cover the holly.


Any spaces left between the candle and holly I could draw in afterwards. I'd stamped in Distress Archival Ink Barn Door, so I could use the Distress Marker for that.


Finished the stamping by adding the candle flames, then coloured the candles with the Prismacolor pencils again.


I also added some half pearls to the holly for berries, and then finally some Glossy Accents to the flames, sprinkled with a tiny bit of Glamour Dust for some sparkle.


Again, I added a peel off greeting. Partly because I'm trying to use them all up, and partly because I forgot about heat embossing until I'd matted & layered the card front, and the heat would have released the adhesive!
 So, after starting with 3, I ended up with a massive 13 for this fortnights challenge.

Wednesday, 5 February 2020

WOYWW #557- The 'There's stuff on the desk' Edition

There is indeed, for this weeks link up of desks far and wide, courtesy of Julia at The Stamping Ground.
 Exhibit A, m'lud.
 The Lavinia stamps mentioned last week, a few Distress Oxide Sprays. Once again, enabled by Jennifer McGuire, doing some fab Christmas cards on dark cardstock using these. So, I will be CASE-ing what she did in the near future.
And a stamp set that I will lay at Dougs door. Not that he saw them until they arrived, but he started the whole 'Just Because' thing back last year. I have a small Just Because sentiment stamp, and a small die cut too, but this Altenew set, called Just Because Builder, seemed to be a must have. It's those two words in a variety of fonts, so you can mix and match as you like. It all came about when he mentioned that when he buys me flowers, which he does now and then, he usually gets comments like 'who's in trouble then?' to which he replies, 'No, they're Just Because', and he said cards with that on would be useful. So thats the reason for them. Bought from Bumbleberry Papercrafts, who stock quite a lot of US  brands.
This week its a ' two for one' scenario, this being the desk where I do my die cutting, and I have a number of dies to put away, from the making of last weekends Christmas cards, which are in the post below.


Last weeks desk showed the dies I planned on using, and some image printed vellum.
 Now I know that vellum can be a nightmare to attach with tape or glue, as it tends to be visible. However, here's a tip that works on white or light cardstock, but not on darker ones. Use Double Sided adhesive sheet over the whole back of the vellum rather than narrow tape or glue. Because the whole of the vellum is covered, there is no difference in it to show afterwards.


 So thats it for now, bringing us round to......And Finally.......


There is so much truth in that!

An End of an era

An end of an era

I write this with a broken heart, that only time can heal My beautiful, wonderful wifelet Shaz (Silverwolf) passed away peacefully in the ea...