A warm welcome to all my visitors,

Thank you for taking the time to come and look at my blog, I really do appreciate it. I would love you to leave me a comment, even if it’s just to say Hi. It means I can come visit you!

All my designs are original, so copyrighted to me. If I have been inspired by someone elses work, I have named them in the post, and where able, I have provided a link.

Please feel free to use my designs for inspiration, I just ask you to credit me, and provide a link back to my blog.

Thanks, Shaz XX

Showing posts with label CAS. Show all posts

Sunday, 16 March 2014

One Layer Bee card

 Another card on the CAS theme- this time using a hexagon shaped mask, and Bees instead of butterflies.
 The mask was cut from copy paper using a hexagon Nestie, and repostionable tape runner on the back to hold it in place.

 I used Distress Inks to sponge with, Squeezed Lemonade, Mustard Seed, Wild Honey and Spiced Marmalade.
 One thing worth noting here, I worked on a Pearl card base, and the ink does not dry as fast as on other cardstock. It is easier to dab the ink on with a sponge, then do any blending with a clean sponge, rather than trying to do it the normal way, it just spreads too far.
You can see how much excess ink blotted off after I'd finished sponging.
At this point, I just stamped the Water Droplets stamp in Spiced Marmalade over the mask, and put it aside to dry for a while.


When it was dry enough, I added the Bee stamps, in Versafine Vintage Sepia.
The large Bee is a Judikins stamp, which used to be wood mounted. The two smaller ones are both by Aspects of Design, from The Stampman.
 Finally I added some colour to the Bee bodies with Distress Markers, using Spiced Marmalade, Mustard Seed in dots, and blending them with Squeezed Lemonade.
The quote was also stamped in Versafine Sepia. How long the ink stays wet on this type of card is worth remembering when doing the rest of the stamping- its very easy to smudge parts of the design. I had to tidy up one Bees wings because I forgot.
 I am going to enter this into this weeks 'Less is More' challenge, as the brief is to use masking or stencils.


 Supplies:
 Card base
 mask
 Distress Inks in Squeezed Lemonade, Spiced Marmalade, Mustard Seed and Wild honey.
Water Droplets stamp, Designs by Ryn
Versafine Vintage Sepia inkpad
 Bee stamps- the Judikins one is still about, both from Judikins, and on E-bay. Looks like the Aspects of Design ones are discontinued though.

Sunday, 13 October 2013

Batch cards with those 'filler' stamps

So, in my WOYWW post I had a lot of small stamped images.  I'd pinned a number of cards onto this Pinterest board, which had given me an idea how to make some use of those little 'filler' stamps that every set seems to include. Usually, most of my cards are made with a folded sheet of A4 card, so they always seem too tiny for me, and just hang around never getting used.


All of these were done by double stamping the image. I used a pale and bright version of each colour, but you'd get the same effect by stamping the image, then stamping again with the ink left on the stamp.


  For this one, the grasses in the bottom card were stamped in Versamark, then heat embossed with White detail embossing powder. The shades of yellow & orange Distress Inks were sponged over the top, then the white image wiped over with some kitchen towel to take off any ink.


These three are done the same way, mounted onto a smaller card base- A5 folded.In the top two, I punched out parts of the images, using a Woodware punch, which measures about an inch & a quarter. I added some dry embossing detail to two of them, and the Dandelion heads have Diamond Stickles added.
Some have stamped sentiments, others have peel-offs, coloured with markers to match.Something else I have loads of, as I bought a lot of sentiment peeloffs in the days before I had many sentiment stamps!
 Its given me a dozen cards, and I have images left to do another half a dozen. All bright & cheerful, and I really like the Versamark & White Embossing powder technique.


Sunday, 19 May 2013

Using those Shadow stamps.....


Three cards made with the Fun Foam shadow stamps, accompanied by some lovely sunshine coming through my blind!
Very easy Clean & Simple cards- shadow stamps, a post-it mask, Distress Inks, an image & a sentiment.

I moistened the foam stamp with a baby wipe before each inking- it gives a much more even ink coverage.

The first circle was stamped with Spiced Marmalade, and I stamped a mask onto post-its with the same inking. I cut out 3 or 4 post-its together to give me some spares. I also cut just inside the stamped shape, so I could position it without getting a 'halo' around them when I stamped the next one.

 
The second circle was coloured with Mustard Seed.

Mask removed- that worked quite well, lol.


Replaced the mask again to add the third circle, in Rusty Hinge.


 All three circles stamped.
 I found a Penny Black image to use as the focal point, and stamped this in Gathered Twigs.


Then added a sentiment at the bottom.


    Creating the second card- First (masked) circle was Barn Door, top one Rusty Hinge,Bottom one Spiced Marmalade.
Then I added a smaller circle at the bottom with Mustard Seed.    


 The same Penny Black image, this time curved slightly on the block, and another sentiment, using Gathered Twigs again.

  Something to be aware of with Fun Foam stamps- they have a VERY low profile on an acrylic block, and its way too easy to get ink on your block & not realise it. You can see the yellow on this one, which I tried- and failed- to hide with the sentiment.  I found it wisest to wipe all around your foam stamp with a baby wipe/piece of kitchen roll, then hold it over a white background to make sure you can't see any ink on it. And to wipe your fingers- DI is very wet, and transfers off them.

     The third card, using, from top to bottom, Mustard Seed, Scattered Straw, Spiced Marmalade & Rusty Hinge. Theres a bit of a smudge of darker ink on the second circle down. That was caused by re-using the post-it mask too many times! Even though I cut out 3 or 4, I used at least one of them too many times. I think this is a one time use situation.

I did try heating the larger foam circle first to see if it helped give a smoother surface,but not the smaller one. Looking at the circles, I can't see any difference. I found they started to curl a little, and pressed it flat with my fingers. Big mistake! The heat softens it, and your fingers leave indents. If you look at the second couple of pictures, you can see where I practised stamped first, and you can clearly see the dents left in the surface. I reheated it, and pressed it between two acrylic blocks to smooth & flatten it.                          

Supplies:
 Distress Inkpads
Fun Foam/ Shadow Stamps
Baby Wipes
 Penny Black 'Ascent' 3139K ( Link goes to Penny Black UK suppliers list)
Word stamps are VAP Stamps, I think via Dovecraft. I bought them as a box set of about 20, a few years ago.


Saturday, 18 May 2013

Playing with shadows


Back on my WOYWW post, I had some shadow stamps on my desk, and Queen Lightwell asked what that was about, so I thought a little (?) post was in order.
 This particular one is by Whispers (Do-Crafts), but a number of companies make them.
  What made me get them out was seeing a few cards on Pinterest using them, mainly Clean & Simple ones.

This is a perfect example, and you can see more on Kris McIntoshs' blog, HERE.


I spent some time playing , just stamping onto an A3 paper pad. I like to have one of these to hand, its only a cheap one from a pound shop, but its a great way of trying things out without wasting 'good' card & paper.
I inked up the stamp with a Marvy pad for starters, and found that you need to sort of tap & swipe the ink on,turning the stamp around too to avoid getting lines. I also found that brayering the ink on gets a smoother result.


This was the print from just tapping the ink on.


This one was brayered, which gave a smoother, paler impression.


This one has the Blue Marvy tapped on, then DI Walnut Stain gently dragged around the edge.


This is my favourite- DI Mustard seed & Spiced Marmalade. I put the yellow on first, then dragged the orange around the edge- obviously not too cleanly, as I got Orange in the middle too- but I like how it came out. Of course, I have zero chance of recreating it, but never mind.


 I overstamped  this with a Penny Black flower stamp, using Walnut Stain DI.


 Another thing you can do with Shadow stamps, is put colour on them, then overstamp with another stamp, in a darker colour.


I said earlier that brayering gives a smoother finish- on this image I've dragged the inkpad across the stamp, not sure if it shows up well enough to see, but this is the print you get from it:


Another technique for shadow stamps is also called the 'kissing' technique. Using an un-inked stamp, you 'kiss' it against the inked shadow stamp, to remove ink.


I tried this with the Adirondack & DI, but it didn't do so well. I thought maybe a thicker ink would work better, as both of those are very 'wet' inks. I used a Brilliance Pearlescent Crimson pad, which is a Pigment Ink.

The stamps are 4 leaves from a Judikins cube stamp, and you can see the impression here after I pressed them against the inked shadow stamp.


That worked much better, and I think if it was done on a better quality cardstock, you'd be able to heat emboss the image after.
 Coming up in the next post, I had a bit of inspiration for making my own shadow stamps!

Thursday, 24 January 2013

Guess What? Yes, More Birthday Cards!


So, two more cards. The blue one uses a stamp called 'Graffiti', from Kaisercraft, which was stamped in Adirondack Denim, on top of a background sponged with a variety of blues. The sentiment is also stamped in Denim. The Eiffel tower image is a Tim Holtz clear stamp, from the set 'Urban Grunge'.


The green card is a strip sponged in a variety of greens, and an assortment of modes of transport randomly stamped in black. The hot air balloon was stamped onto another piece of sponged green card, then mounted with foam tabs, as was the Happy Birthday, which I cut into a banner shape.


Yet more Birthday cards

So, you remember my sample try outs from the other day, for the CAS cards? I just thought they looked too nice to waste, even though they were only on copy paper. I didn't want to use them as they were though, as there were bits I wasn't happy with.


 So I cut them into squares, and matted them onto card.


Stared at them for a bit, and decided I diodn't like that either.

So I cut them back down into squares.........


...and gave each one three coats of UTEE.


Four became this card, with some navy organza ribbon tied in a knot.


And the other four became this one, with the centre two 'cracked'. Okay, I confess, the first one cracked by accident, so I thought a second one would sort of even it out a bit :) .

Tuesday, 22 January 2013

Clean & Simple- Easy Birthday cards

So, some real crafting at last! These are the results of todays first efforts for a while.  While I've been unable to do anything, I discovered Pinterest! I knew about it, but hadn't actually investigated it before. I discovered a wealth of amazing cards on various boards, and best of all- I don't have to physically store my 'inspiration' pictures anywhere. Anyway, I saw a lot of ' CAS'- Clean & Simple cards- and decided this would be worth having a go at. One thing I want to do, having learnt how life, and accidents, can seriously get in the way of crafting, is to get myself a stock of 'everyday' birthday cards. I constantly find myself being caught unawares, as it were, by too many birthdays creeping up on me. So if I can get myself a batch done, I won't find it so much of a struggle to do the special cards, or cards I get ordered. I hope.


So these one layer cards-they were actually really easy to do! I think it took longer to decide on the colours than to do the card. This one is various dye inks (Adirondacks, Distress, Marvys) in yellows & oranges, with the images stamped in Adirondack Espresso.


First off, I tried it out on some scrap paper, just to get a feel for the process.

 To start with I made up some post-it note masks, which I then trimmed along the top edge with a deckle blade. I stuck two post-its side by side, and made two pairs for the card, as I started off with topfold DL sized cards.

 I masked my paper, and I found it easiest to line the masks up with the lines on my cutting mat, so I knew they were straight.I started sponging on various blues.


  Then I started to add a few patches of 'background' - a crackle stamp here, in slightly darker shades of blue than I had sponged with.
Next I used a Paperartsy stamp, which I inked up with a darker blue, then smudged off some of the colour. I also stamped it off first, and used the second impression, so it was light, then did the same with a script stamp.

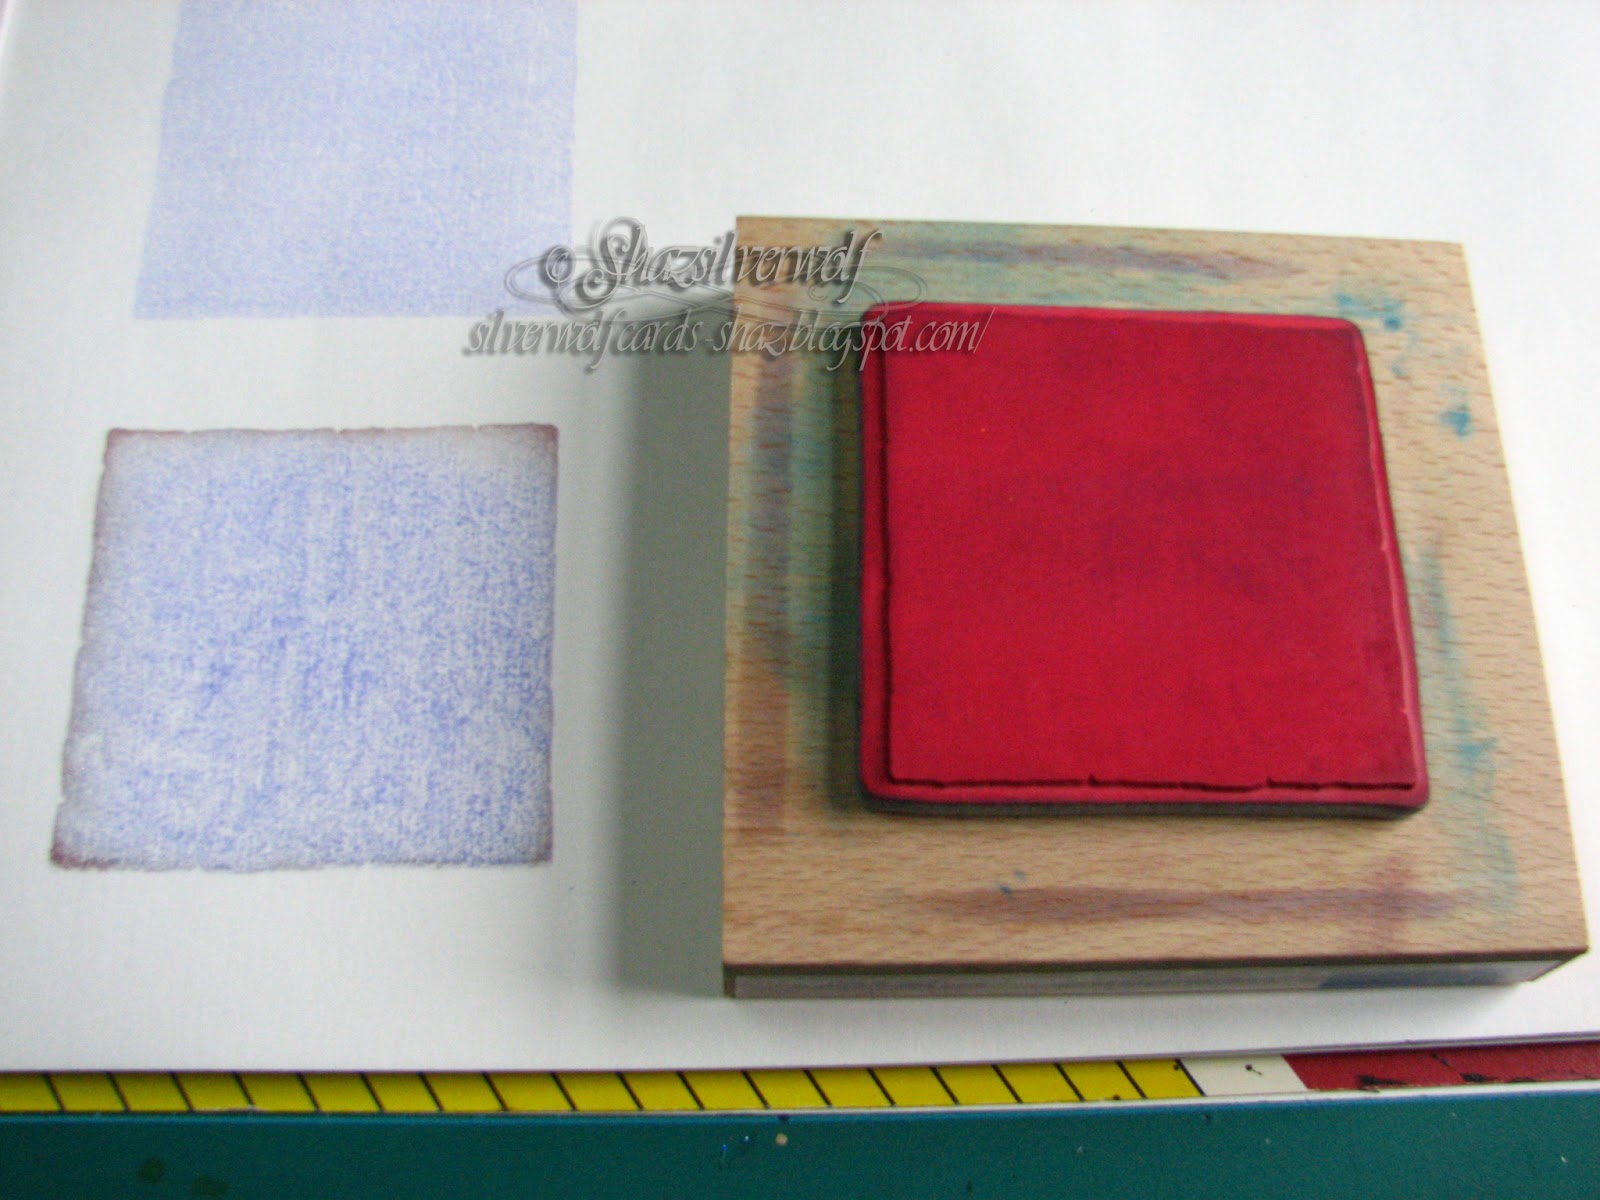
Random overstamping with various foliage stamps, and a flock of birds. All going well, then I dropped my inkpad- thats the square on the left. Have you noticed a dropped inkpad always lands ink side down!

Anyhow, I tried out another couple of strips.


Exactly the same process, just changed the colours and stamps. I decided I quite like these, although there were a few problems- I thought the bottom one too busy, and I had that ink pad mark, but I have a plan for these, even though they are on scrap paper.


So onto the cards then.


Sponged with yellows & oranges.

Overstamped with grasses, willow & birds, all by Inkylicious.

Next one up was yellows & browns. I added some mesh, then a flourish or two.


Changed the format slightly, I took the mask off, and stamped a Stampscapes tree on the right. I also stamped some of the tree on the left, before I unmasked.That flock of birds is in there again, lol.


Last one of the day, I did in yellow & greens. The  dandelion heads are Inkylicious again, and the little dragonfly is part of a Lavinia Stamps set.


I've stamped them all with Happy Birthday, but you could leave that off, and stamp them up with whatever sentiment you needed at the time.


The three little blue flowers were never intended to be there- I wasn't concentrating, and didn't realise I had a little blue ink on the edge of my Happy Birthday stamp. I think it was Anna Griffin who said' there are no mistakes in card-making, only embellishments!'

There are some other cards in the first picture, and I will blog those tomorrow, as they were done differently.

An End of an era

An end of an era

I write this with a broken heart, that only time can heal My beautiful, wonderful wifelet Shaz (Silverwolf) passed away peacefully in the ea...