

Back on my WOYWW post, I had some shadow stamps on my desk, and Queen Lightwell asked what that was about, so I thought a little (?) post was in order.
This particular one is by Whispers (Do-Crafts), but a number of companies make them.
What made me get them out was seeing a few cards on Pinterest using them, mainly Clean & Simple ones.


This is a perfect example, and you can see more on Kris McIntoshs' blog, HERE.
I spent some time playing , just stamping onto an A3 paper pad. I like to have one of these to hand, its only a cheap one from a pound shop, but its a great way of trying things out without wasting 'good' card & paper.

This was the print from just tapping the ink on.


This one was brayered, which gave a smoother, paler impression.
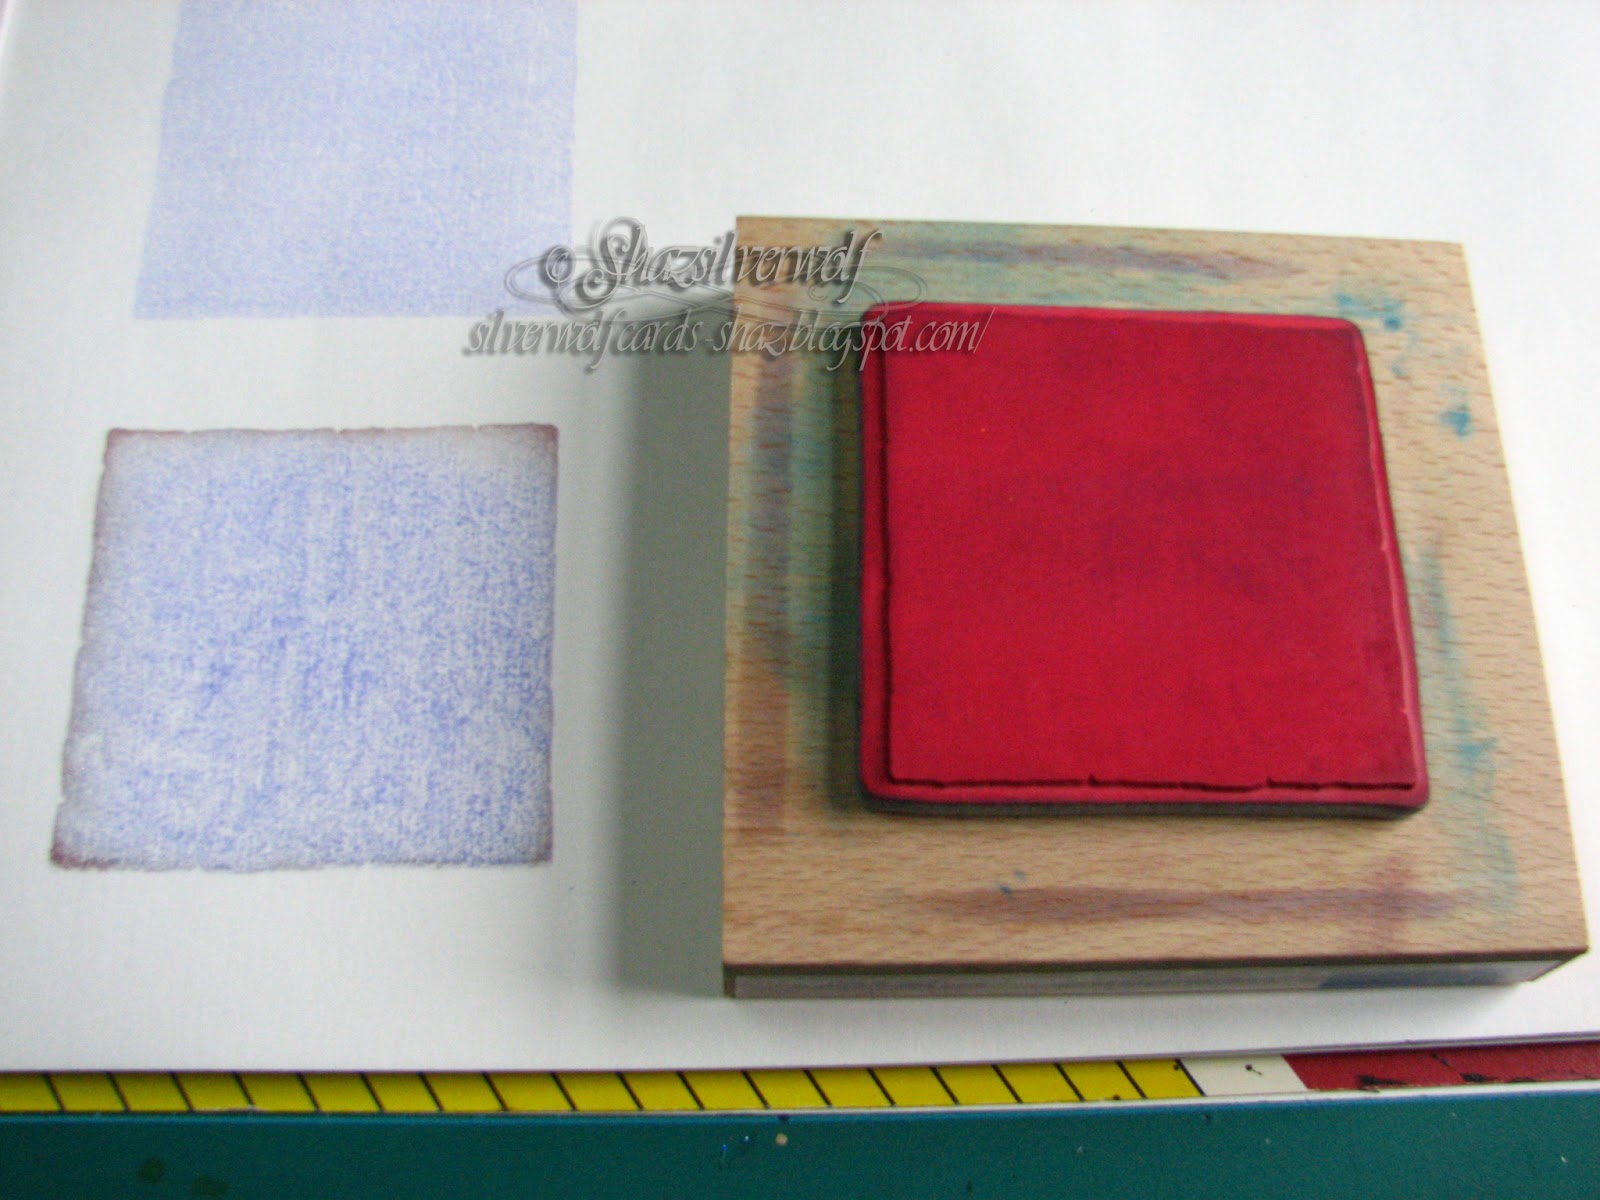
This one has the Blue Marvy tapped on, then DI Walnut Stain gently dragged around the edge.

This is my favourite- DI Mustard seed & Spiced Marmalade. I put the yellow on first, then dragged the orange around the edge- obviously not too cleanly, as I got Orange in the middle too- but I like how it came out. Of course, I have zero chance of recreating it, but never mind.

I overstamped this with a Penny Black flower stamp, using Walnut Stain DI.

 Another thing you can do with Shadow stamps, is put colour on them, then overstamp with another stamp, in a darker colour.
I said earlier that brayering gives a smoother finish- on this image I've dragged the inkpad across the stamp, not sure if it shows up well enough to see, but this is the print you get from it:

Another technique for shadow stamps is also called the 'kissing' technique. Using an un-inked stamp, you 'kiss' it against the inked shadow stamp, to remove ink.


I tried this with the Adirondack & DI, but it didn't do so well. I thought maybe a thicker ink would work better, as both of those are very 'wet' inks. I used a Brilliance Pearlescent Crimson pad, which is a Pigment Ink.
The stamps are 4 leaves from a Judikins cube stamp, and you can see the impression here after I pressed them against the inked shadow stamp.

Coming up in the next post, I had a bit of inspiration for making my own shadow stamps!


