Less than two weeks to the Birthday Crop- I'm really looking forward to meeting everyone! Me & Beloved Hubby are driving down on Friday afternoon/evening, and staying with the lovely LLJ, who has offered us a bed. Staying over Saturday night too, and going to visit some of the local places, like Avebury before going home.Bringing some ATC's with me too, to do some swaps. Haven't decided what to bring with me to do yet-fortunately, (or not) depending on your viewpoint, we have a 4x4, rofl!
For all the info about the crop, ATC Swap, and general WOYWW madness, wander over to Julias place, at The Stamping Ground, and join in the fun.
This weeks offering, still cluttered with stuff from my shadow stamping & making your own shadow stamp posts. You can see how that worked out in the previous posts.
I think I will mount thecircles & so on onto Kling-on, just keep the embossed ones as they are, that should help with the smudge issues.
This is the table behind my desk- the idea of having this was to cope with the overspill when I'm cardmaking! I always seem to have so many folders out- stamps, vellum, dies etc, plus tools & cleanup stuff, it used to be all over the desk, the floor- you name it. At least now I can have it handy, but not in the way.
Now a piccie from the garden the other day-
Ambrose completely disinterested in the squirrel, gorging himself on the fatballs.
I'd just finished filling the planters on the right. Those stacking plastic ones are from one of the pound stores/99p stores. I've filled these with herb seeds, and the Orange thyme, Oregano & Marjoram are sprouting already. I love herbs, they smell gorgeous, and the bees & butterflies adore them too. Have a great Wednesday, see you all later.
Pages
A warm welcome to all my visitors,
Thank you for taking the time to come and look at my blog, I really do appreciate it. I would love you to leave me a comment, even if it’s just to say Hi. It means I can come visit you!
All my designs are original, so copyrighted to me. If I have been inspired by someone elses work, I have named them in the post, and where able, I have provided a link.
Please feel free to use my designs for inspiration, I just ask you to credit me, and provide a link back to my blog.
Thanks, Shaz XX
Showing posts with label Shadow stamps. Show all posts
Wednesday, 22 May 2013
Sunday, 19 May 2013
Using those Shadow stamps.....

Very easy Clean & Simple cards- shadow stamps, a post-it mask, Distress Inks, an image & a sentiment.
I moistened the foam stamp with a baby wipe before each inking- it gives a much more even ink coverage.
The first circle was stamped with Spiced Marmalade, and I stamped a mask onto post-its with the same inking. I cut out 3 or 4 post-its together to give me some spares. I also cut just inside the stamped shape, so I could position it without getting a 'halo' around them when I stamped the next one.
The second circle was coloured with Mustard Seed.
Mask removed- that worked quite well, lol.

Replaced the mask again to add the third circle, in Rusty Hinge.

All three circles stamped.
I found a Penny Black image to use as the focal point, and stamped this in Gathered Twigs.

Then added a sentiment at the bottom.

Creating the second card- First (masked) circle was Barn Door, top one Rusty Hinge,Bottom one Spiced Marmalade.
Then I added a smaller circle at the bottom with Mustard Seed.
The same Penny Black image, this time curved slightly on the block, and another sentiment, using Gathered Twigs again.
Something to be aware of with Fun Foam stamps- they have a VERY low profile on an acrylic block, and its way too easy to get ink on your block & not realise it. You can see the yellow on this one, which I tried- and failed- to hide with the sentiment. I found it wisest to wipe all around your foam stamp with a baby wipe/piece of kitchen roll, then hold it over a white background to make sure you can't see any ink on it. And to wipe your fingers- DI is very wet, and transfers off them.
The third card, using, from top to bottom, Mustard Seed, Scattered Straw, Spiced Marmalade & Rusty Hinge. Theres a bit of a smudge of darker ink on the second circle down. That was caused by re-using the post-it mask too many times! Even though I cut out 3 or 4, I used at least one of them too many times. I think this is a one time use situation.
I did try heating the larger foam circle first to see if it helped give a smoother surface,but not the smaller one. Looking at the circles, I can't see any difference. I found they started to curl a little, and pressed it flat with my fingers. Big mistake! The heat softens it, and your fingers leave indents. If you look at the second couple of pictures, you can see where I practised stamped first, and you can clearly see the dents left in the surface. I reheated it, and pressed it between two acrylic blocks to smooth & flatten it.
Supplies:
Distress Inkpads
Fun Foam/ Shadow Stamps
Baby Wipes
Penny Black 'Ascent' 3139K ( Link goes to Penny Black UK suppliers list)
Word stamps are VAP Stamps, I think via Dovecraft. I bought them as a box set of about 20, a few years ago.
Making your own shadow stamps
I've seen mention before about making your own stamps from Fun Foam, and you can get this stuff really cheap. I know I've seen it in The Works, and I've also got it from our local Poundland. I think there's about 10 sheets to a pack, and they're usually A4 size.I cut myself some circles, and scalloped circles, using Framelits dies through the Cuttlebug.
I lay the dies onto the A plate, C plate stack, then the foam, then my B plate.I also did some Hexagons, and some Large Labels, both Nestabilities dies.
Then I had a thought. What if I ran them through an embossing folder? So I did.
This is the Tim Holtz Woodgrain folder. I recall reading that you could heat it with a heat gun and stamp into it, to get a reverse image stamp, so I heated it for a few seconds first. I also tried it without heating, and I don't really think it made a huge amount of difference to the impression either way.Next I tried cutting out some circles from the embossed sheet.
You also get a choice of embossed or debossed stamp, as it comes out double sided!
Now I was curious to see how it would stamp.
I stuck it to an acrylic block- I meant to use repositionable tape, I picked up the wrong one- but it cleaned up ok. Its better to put the tape on the block, it doesn't go onto the foam very well.

I inked it with DI, Salty Ocean all over, then Chipped Sapphire around the edge.

Typically with DI, it gave a grungy, faded print.
Then,I made a useful discovery. I cleaned the stamp up with a baby wipe, and it was still damp when I re-inked it. This made the ink go onto the stamp better. Just out of interest, I stamped one print after another. I got a total of 11 prints, each slightly more faded than the last, out of one inking.
Now I went into full embossing mode, lol. This is a Darice folder, Brick Wall, and I think I will cut this one into squares & oblongs.
This is a Tim Holtz folder, brickwork. I also discovered that if you aren't happy with how its embossed, if you heat it, or re-heat it, you can take the design out, then re-emboss.I did that with these Hexagons I embossed in a Honeycomb folder.
When I started this, I embossed the sheets first, then cut them out. I wasn't sure if embossing them after cutting the shapes would cause them to distort. I found that depending on the die you are using, you may get a light outline around your shape. This happened with the Honeycomb folder I cut up with Hexagons. So I reheated them, then re-embossed the cut out shape.
Good news is that the shapes don't distort when embossed.

Using Fun Foam in embossing folders through a Cuttlebug requires some trial & error.
Mine would not take the normal sandwich for an embossing folder with card, plus some Darice & Tim folders are thicker anyway, and already require a bit of re-jigging. And some foam is thicker than others!
The sandwich that worked for me is:
A plate
C plate,
Embossing folder with foam
2 or 3 sheets of cardstock shim

So I gave the stamping a go- I wiped the stamp first with a baby wipe, to moisten it, then added the ink. DI Mustard Seed & Spiced Marmalade again.
I think I was a bit heavy handed with the Spiced Marmalade, so tried it again adding it with a sponge this time.
Another experiment with how many prints I could get. This time I got 10 from a single inking.
A quick try out with a different combo- Adirondack Raspberry & DI Dusty Concord. Sponged on the edge colour again trying to avoid any hard lines, and this seems to work best.
5 nice prints, and I would have got 2 or 3 more paler ones.
I've been thinking that if I coated the foam stamp in Clear Embossing ink, or Versamark first, then added colour, I would be able to heat emboss it. And I think that if I heated the foam up, then let it cool before inking, I'd get a smoother surface.
Something to try out next.
Supplies:
Darice embossing folder, Honeycomb
Darice embossing Folder, Brick Wall
Tim Holtx texture fades folders, Woodgrain & Bricked, which comes as a two-pack. (I could find it on Amazon, at a silly price, but there have to be other stores that have it)
Fun Foam/Funky Foam
Dye inks.
Saturday, 18 May 2013
Playing with shadows
Back on my WOYWW post, I had some shadow stamps on my desk, and Queen Lightwell asked what that was about, so I thought a little (?) post was in order.
This particular one is by Whispers (Do-Crafts), but a number of companies make them.
What made me get them out was seeing a few cards on Pinterest using them, mainly Clean & Simple ones.

This is a perfect example, and you can see more on Kris McIntoshs' blog, HERE.
I spent some time playing , just stamping onto an A3 paper pad. I like to have one of these to hand, its only a cheap one from a pound shop, but its a great way of trying things out without wasting 'good' card & paper.
I inked up the stamp with a Marvy pad for starters, and found that you need to sort of tap & swipe the ink on,turning the stamp around too to avoid getting lines. I also found that brayering the ink on gets a smoother result.
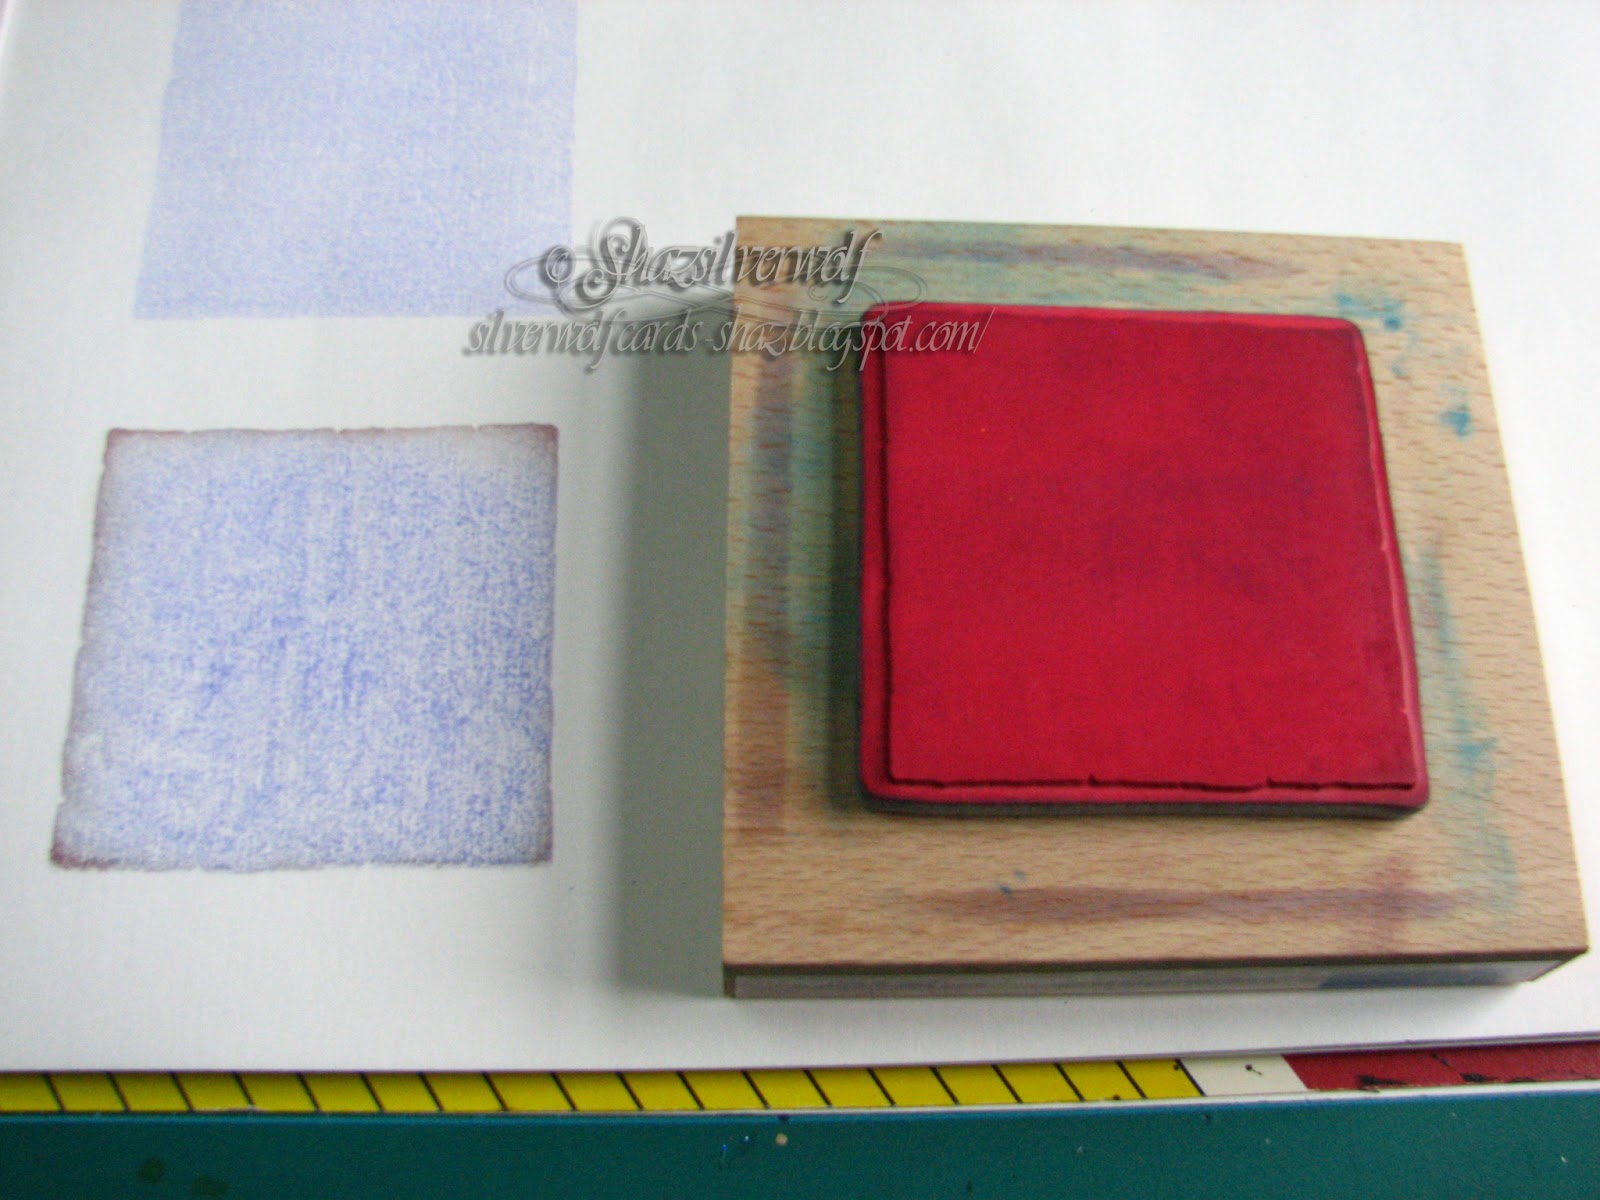
This was the print from just tapping the ink on.

This one was brayered, which gave a smoother, paler impression.
This one has the Blue Marvy tapped on, then DI Walnut Stain gently dragged around the edge.
This is my favourite- DI Mustard seed & Spiced Marmalade. I put the yellow on first, then dragged the orange around the edge- obviously not too cleanly, as I got Orange in the middle too- but I like how it came out. Of course, I have zero chance of recreating it, but never mind.
I overstamped this with a Penny Black flower stamp, using Walnut Stain DI.
Another thing you can do with Shadow stamps, is put colour on them, then overstamp with another stamp, in a darker colour. I said earlier that brayering gives a smoother finish- on this image I've dragged the inkpad across the stamp, not sure if it shows up well enough to see, but this is the print you get from it:

Another technique for shadow stamps is also called the 'kissing' technique. Using an un-inked stamp, you 'kiss' it against the inked shadow stamp, to remove ink.


I tried this with the Adirondack & DI, but it didn't do so well. I thought maybe a thicker ink would work better, as both of those are very 'wet' inks. I used a Brilliance Pearlescent Crimson pad, which is a Pigment Ink.
The stamps are 4 leaves from a Judikins cube stamp, and you can see the impression here after I pressed them against the inked shadow stamp.
That worked much better, and I think if it was done on a better quality cardstock, you'd be able to heat emboss the image after.
Coming up in the next post, I had a bit of inspiration for making my own shadow stamps!
Subscribe to:
Posts (Atom)
An End of an era
An end of an era
I write this with a broken heart, that only time can heal My beautiful, wonderful wifelet Shaz (Silverwolf) passed away peacefully in the ea...
-
A couple of weeks ago I mentioned that I had bought these, the new Tim Holtz Embossing Diffusers. You have probably seen, like me, the...
-
I take no credit for this discovery, a lady posted this on Pinterest HERE .Like any of us, I hate having to spend money on 'consumables...
-
This is the first of the batch of seven cards I made, thanks to some Pinterest inspiration. Here is the card that caught my eye,...