A warm welcome to all my visitors,

Thank you for taking the time to come and look at my blog, I really do appreciate it. I would love you to leave me a comment, even if it’s just to say Hi. It means I can come visit you!

All my designs are original, so copyrighted to me. If I have been inspired by someone elses work, I have named them in the post, and where able, I have provided a link.

Please feel free to use my designs for inspiration, I just ask you to credit me, and provide a link back to my blog.

Thanks, Shaz XX

Monday, 16 March 2020

Christmas Card Club #6- Wreaths/Garlands

Well, a day late, but finally here. Silly thing is, I looked at the list I have pinned up a few days ago, and thought 'That's OK, I've got a week yet!' So where my lost week went, I have no idea. Lorraine chose our theme this time, which is for Wreaths or Garlands, and fortunately, I have some wreaths amongst my UFO's/Left overs, so catching up was a bit easier than it might have been!

 I managed 5 cards,the top three using a Sweet Poppy stencil and stencil paste, from my UFO's.

I cut them out, added to card fronts with some foam pads, then added a few acrylic gems to each one. The backing papers are all from my off-cuts folder, and the peel off sentiments also helping to stash bust.


These next two use an Imagination Crafts Poinsettia stencil as the background,from my UFO's, and the wreath is a Penny Black stamp, called Adornment, from my left overs. Stamped in silver and heat embossed with glitter EP, then a few small acrylic gems added and a small silver ribbon, which is hard to see in the photo, to finish off.

 I'd made a batch of the Poinsettia backgrounds back last year, some just using plain stencil paste, some with glitter.
 I had a couple of small pots of Glitter stencil paste from amongst some craft stuff I was gifted, but they are really small pots, and for their size, I thought them expensive. For mine I used some Translucent Sweet Poppy stencil paste, and mixed in some glitter. It works really well, and is a much cheaper way of doing this. Once dry, the glitter is totally non shed. You don't have to use translucent paste, you can mix Gold glitter into Gold paste, and so on.
This was the Wreath stencil before I cut them out, it's called Bubble Wreath. The two multi colour ones were done by adding small blobs of two or three colours of paste to one side of the stencil, then just pulling it across with the spreader. You can get the paste in various colours, or you can add reinker to either translucent or white paste. Both pastes will make the colours slightly lighter, so if you do this, pick a slightly darker colour ink to mix in, as you don't want to have to add too much ink and make the paste runny.

Wednesday, 11 March 2020

WOYWW #562 - The Mothers Day card Edition.

Because that's what I'm working on right now.
I stamped this image twice, using Versafine Clair Nocturne, then left that to be totally dry before colouring in with those Zenacolour pencils I bought a while back.


One in pink, and one purple.
 Then I took an idea I'd seen someone use on Fb, where she'd added Glossy Accents to some Lavinia Pods, then covered them in glitter. I didn't quite do that, I added the Glossy Accents, then sprinkled a very tiny amount of
Glamourdust onto it.


Any really ultra fine glitter would work,not just the Glamourdust.
The Glossy Accents do slightly intensify the colours of the pencils too.


A couple of close ups so you can see the sparkle, just a little, not in your face. Beauty, of course, is that it won't shed.
 Not coloured the centres, as I'm going to add acrylic stones to them.

 The stamp is by Honey Doo Crafts, called Daisy Display. I must admit, I thought they had the look of Polyanthus/Primroses, rather than daisies.


Something else I'd seen on Fb, was a product called Brusho Wax Resist. This lady that used this had mixed ultrafine glitter into some of it, then painted over her scene for a delicate glitter sparkle. I had a look for it, and thought it was a bit expensive. Had a look on Amazon, and found the Zest-It version much cheaper. Tested it out on some scrap, and it works really well. It also dries completely, so no glitter shed.
I do like the Zest-It products as they have a nice citrus smell, rather than a chemical one.
It is supposed to be used in the same way and uses as Masking Fluid, this is just an entirely different use for it.


And so I'm done.As always, it's our desk sharing day over at Julias place, The Stamping Ground, so I'll look forward to seeing everyone there later. Which brings us round to.....And Finally.....


P.S.
Just thought I'd mention, for those in the UK- Postage prices are going up on March 23rd, 6p for 1st class,and 4p for 2nd. As stamps are just marked 1st and 2nd, it's worth grabbing some before the increase. I worked it out, and that increase equates to almost a free stamp in every book if you buy them now. So yes, I did bulk buy,lol.

Wednesday, 4 March 2020

WOYWW#561- The Boring Edition

It is really. As we all link up over at Julias place, The Stamping Ground for this weeks desk fest, my desk is full of pretty boring stuff.
 I'm at the bit of putting in inserts and stamping my Made By on the back.
Those are copy paper cut to fit the smaller cards I've done, as I made a couple of big batches recently.Now they have to be folded and stamped. The wallets are for any-hopefully- extras I may have when I'm done. And having just collected together all the ones I need to do, I discovered there's a lot more than I thought.

The two piles on the left are assorted ones,the other 5 piles are all Christmas cards. Left it a bit longer than I should have.


I did come across these print outs in a box. I think they are from a crafting CD bought from Joanna Sheene, but can't remember which one.Might be Thomas Kincaide? I ripped all the stuff I wanted off the CD's, and have them stored in folders on my pc. But they'll be useful for larger cards.


This is the batch of cards I made using those self cut stencils.
 Stamps are by Cardio, and I covered them with Glossy Accents after. The How To is in the post below.


Paid a visit to The Range in the week, and picked up these storage boxes. There's 2 in each pack, and cost a £1. They'll be good for storing small beads/acrylic gems/sequins etc.

And I'm done. A really cheap bit of enabling this week, lol.
 Which just leaves.....And Finally.....


Particularly relevant to us deskers, I think. 😁

Monday, 2 March 2020

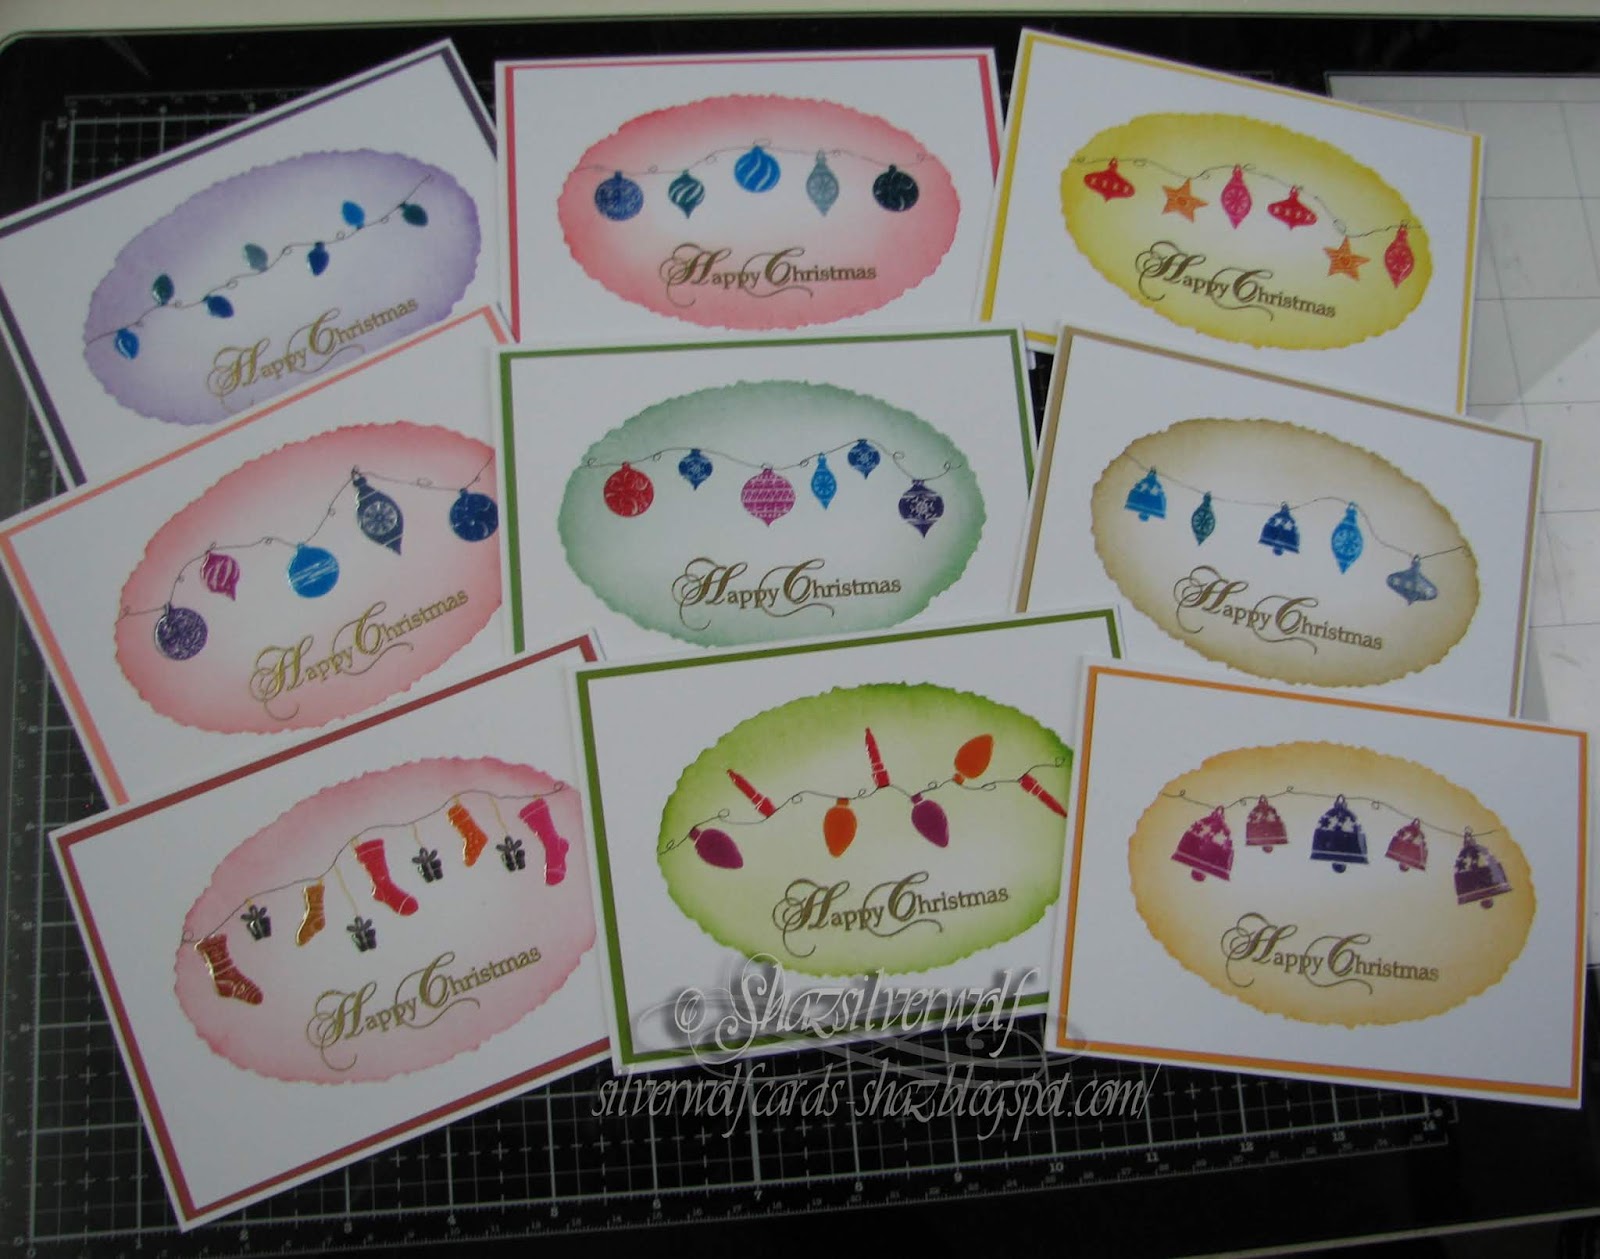
Christmas cards with Cardio stamps

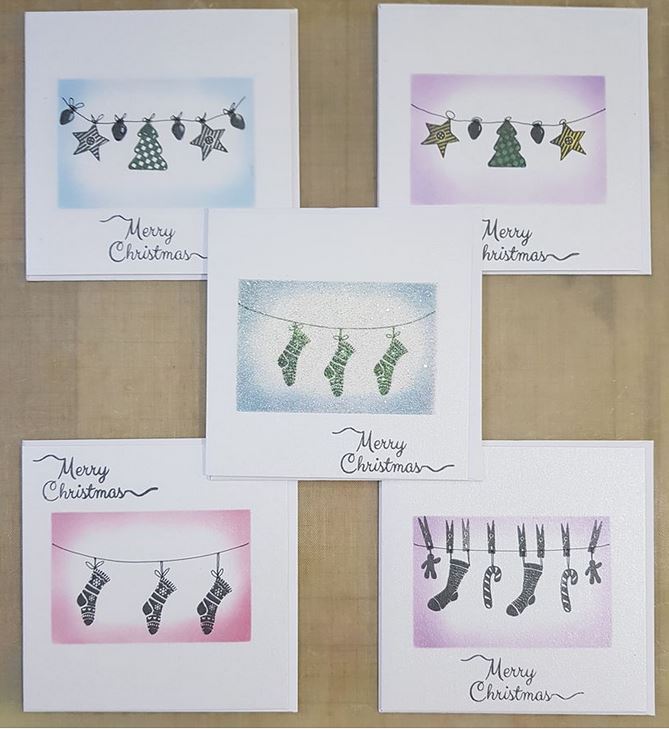
So, on a Fb group I'm part of, a lady had posted pics of some simple Christmas cards she'd made.  I asked if she'd mind me CASE-ing them, as the idea was great, and she very kindly said I could.
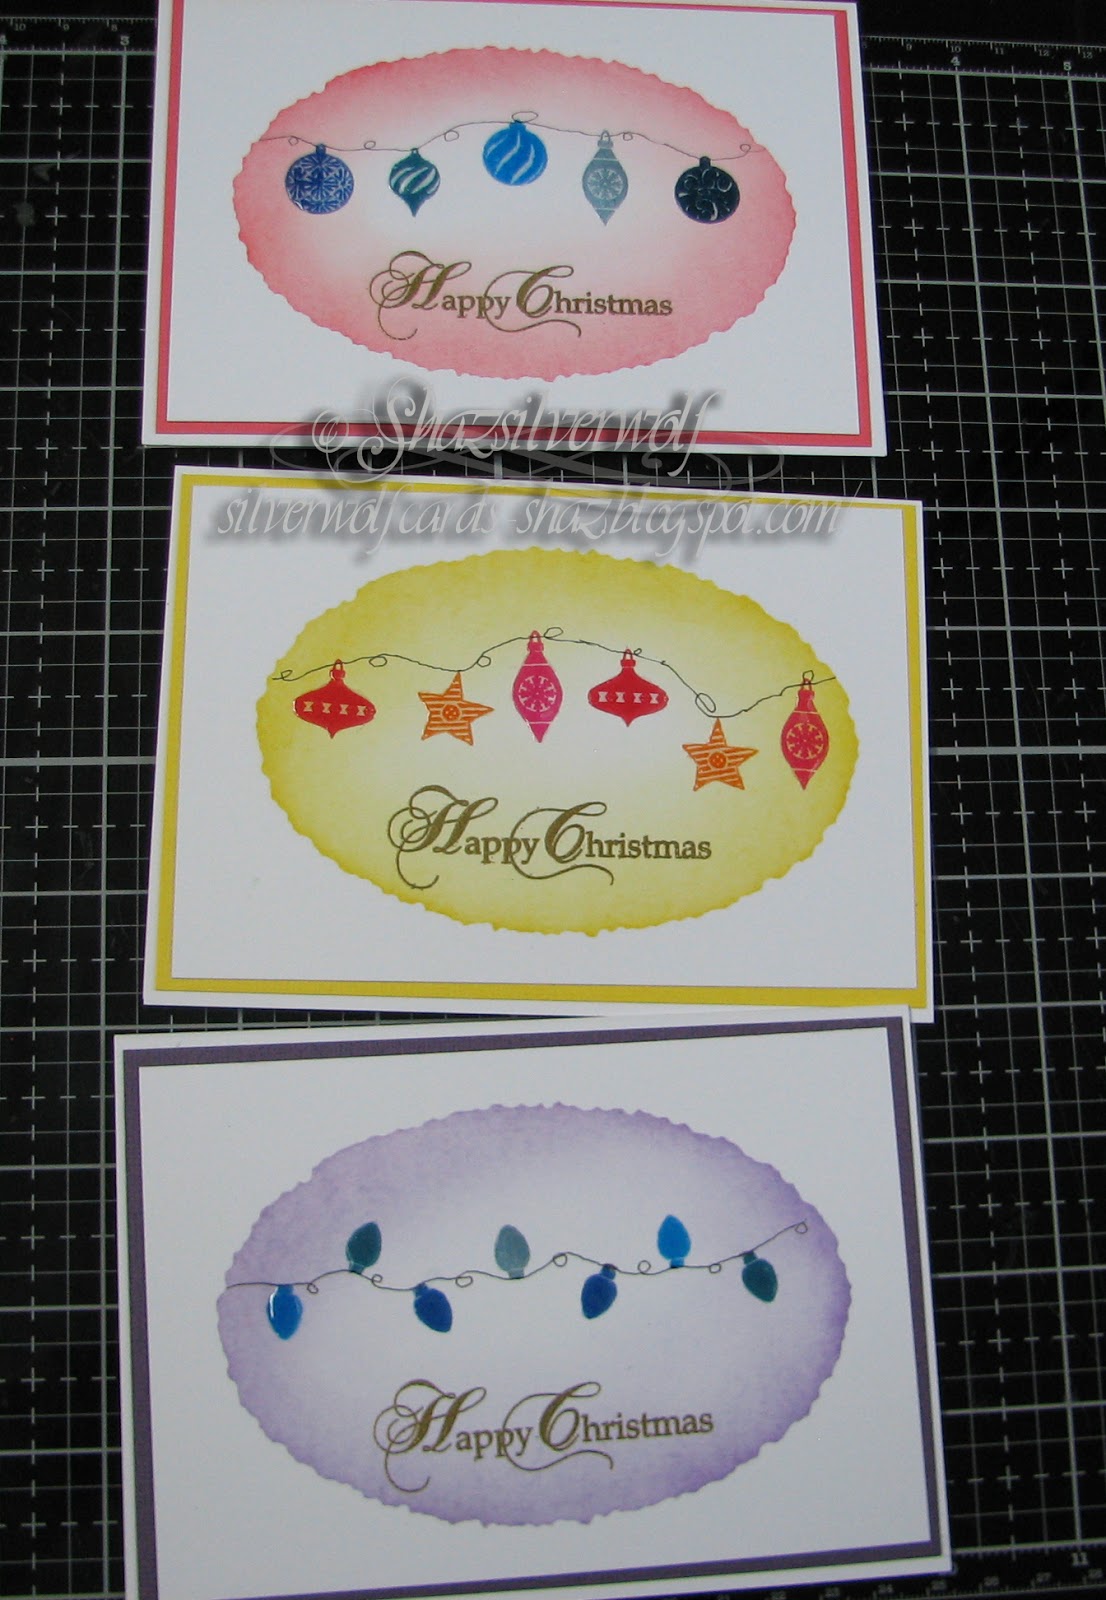
 I mixed it up a little, and created a Deckle edged oval, using my Silhouette Portait 2 to cut it out of  125 micron mylar. This is perfectly thick enough for inking through, but I'd suggest a thicker one if you wanted to use pastes/paints through.
 You can also die cut mylar, so you can create stencils that way too. I just didn't have a deckle edge oval die. I also cut deckle edged stencils in rectangles, circle & square for later use.


These were the cards created by Andrea Turner that inspired me.


Having taped my stencil down with Purple tape, I used a couple of the makeup style brushes to add colour.  In every case, I used 3 shades of Distress ink, a light over almost all the oval, a medium about an inch in all round,both using the larger brush, and finally the darkest shade just around the outer edge, using the small brush.


 All together, I made 15 backgrounds.
These are sized to fit 'notecard' size, made by folding an A5 piece of cardstock.


These are some of the Cardio/Majestix  stamps I used, and I ordered another couple with stockings and ornaments in, called Great Expectations (Stockings)  and Christmas Hang-ups.
 I did the stamping using various Memento inks, in the Dew Drop pad range. I also used my stamping platform for this, wisely as it turned out, as most needed to be double stamped. I left the drawing in of the strings till I'd finished them all, and used a fine micron pen for that.
 For a few I decided to stamp a swag across the panel, and I used a Lavinia £1 holly stamp for that.
For the holly I used Versafine Clair in Shady Lane, and sprinkled on a little sparkly EP and heat set.I'd added a small patch of yellow for the lantern light using a small round make up brush, then added Liquid Pearls for the holly berries.


 Next up, I stamped the greeting in Gold Encore Pigment ink, and heat set with Detail Gold Embossing powder. The sentiment comes from a Phill Martin set called Stately Christmas Sentiments.


All the images were matted onto a toning cardstock, leaving a narrow border.
 The final step was to add Glossy Accents to all of the ornaments, lanterns and stockings.

The Cardio/Majestix sets used were:
(Baubles) Zendangles,Bells & Baubles,Elegant Baubles, and one older Rubber Stamp Tapestry set called Embellished Holiday Wreath.

Then Christmas Hang ups, Great Expectations ( Stockings), Vintage Lights, and the smallest lantern from Christmas Scenery 3. There are two others in this pack, each slightly larger.


Sunday, 1 March 2020

Christmas Card Club #5- Post Box/Mail Box

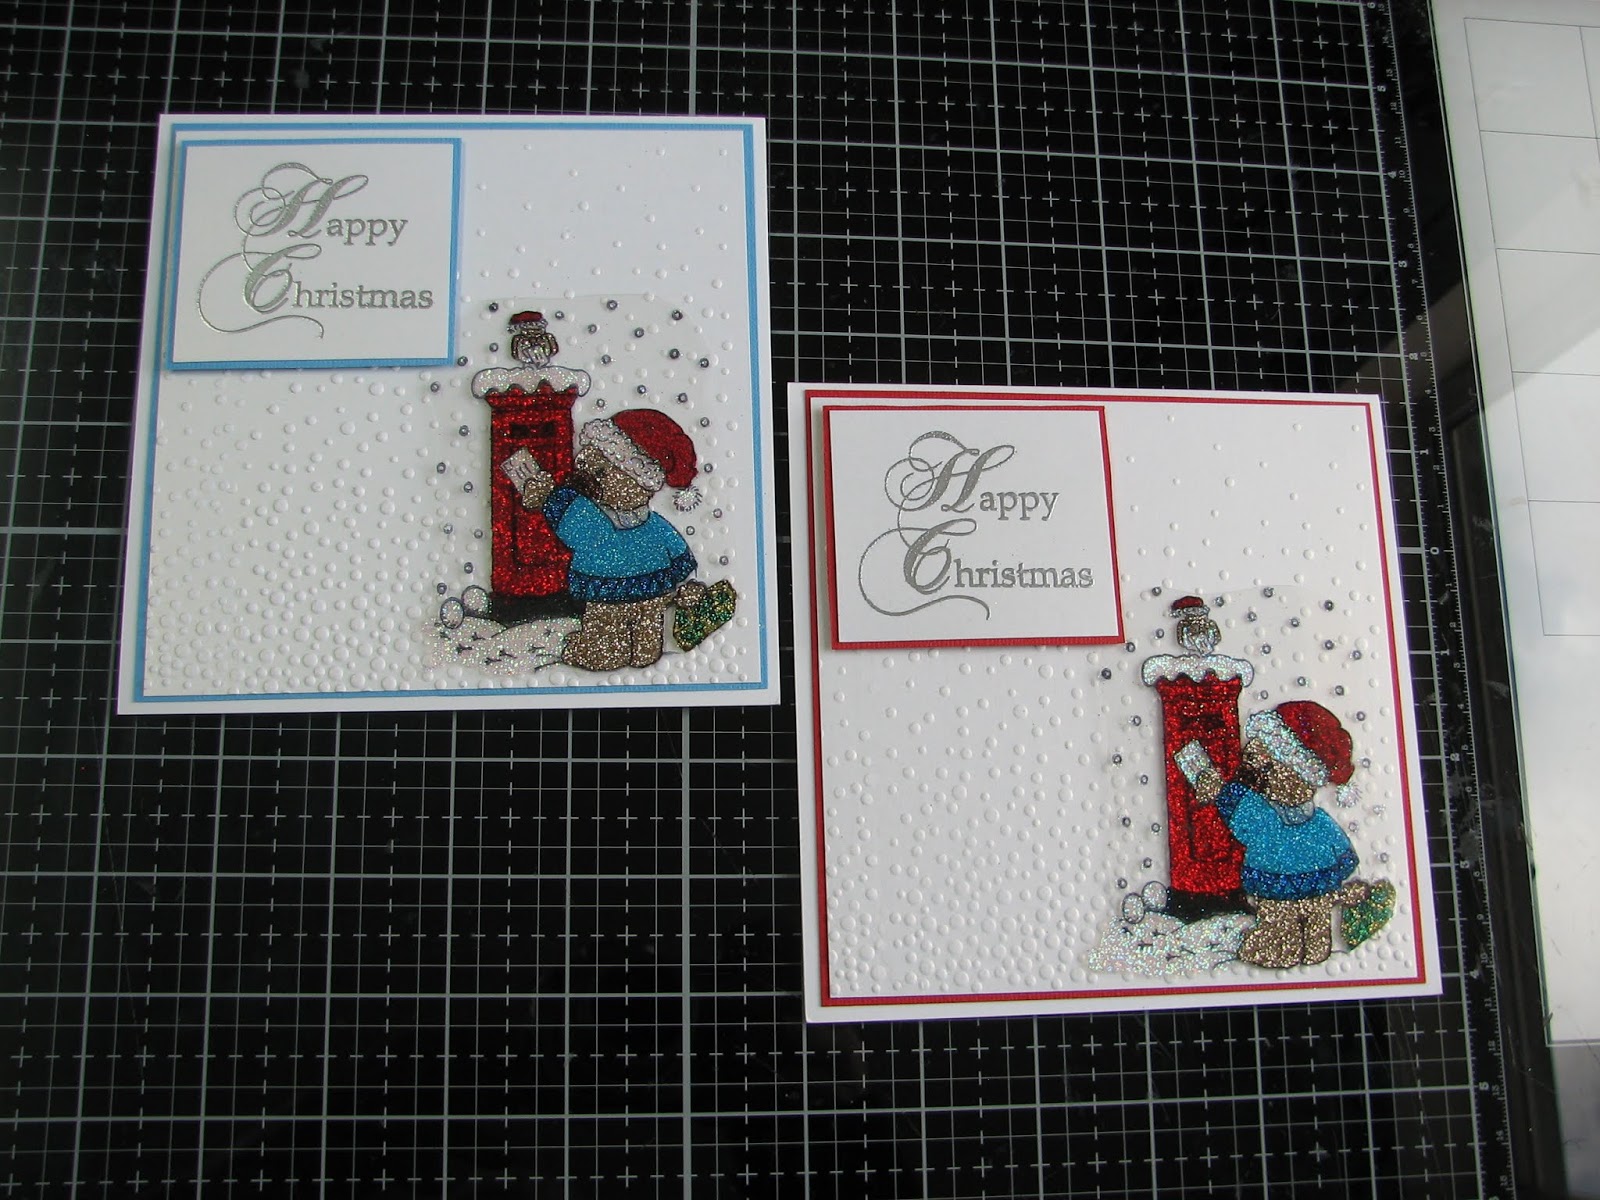
Two cards from me for this fortnights challenge, this time set by Valery Anne, who wanted us to feature post or mail boxes.
 What came to mind were the Christmas images I was glittering last year, and I recalled a Teddy Bear posting a letter image, which would be perfect.
 I embossed some pearl white card with an Embossing Folder from Crafters Companion, called Elegant Snowfall.
I cut a matt for each card, which are 6" square by the way, then matted the trimmed down embossed cardstock onto that.


I added the image with a few dots of silicone glue.

I've no idea who made the Bear stamp, I *think* it's from some sheets of clear stamps I bought a couple of years ago, when our local craft store was having a big sale.


I heat embossed with Silver Detail EP the chosen sentiment, and again matted onto matching cardstock.


The sentiment comes from a Phill Martin set called Stately Christmas Sentiments, which is a lovely font, with some great sentiments.  I originally thought that ' From our House to yours at Christmas' would be ideal for these cards, but it was too large for the card! Available still from Honeypot Crafts.

An End of an era

An end of an era

I write this with a broken heart, that only time can heal My beautiful, wonderful wifelet Shaz (Silverwolf) passed away peacefully in the ea...