A warm welcome to all my visitors,

Thank you for taking the time to come and look at my blog, I really do appreciate it. I would love you to leave me a comment, even if it’s just to say Hi. It means I can come visit you!

All my designs are original, so copyrighted to me. If I have been inspired by someone elses work, I have named them in the post, and where able, I have provided a link.

Please feel free to use my designs for inspiration, I just ask you to credit me, and provide a link back to my blog.

Thanks, Shaz XX

Showing posts with label Liquid pearls. Show all posts

Monday, 2 March 2020

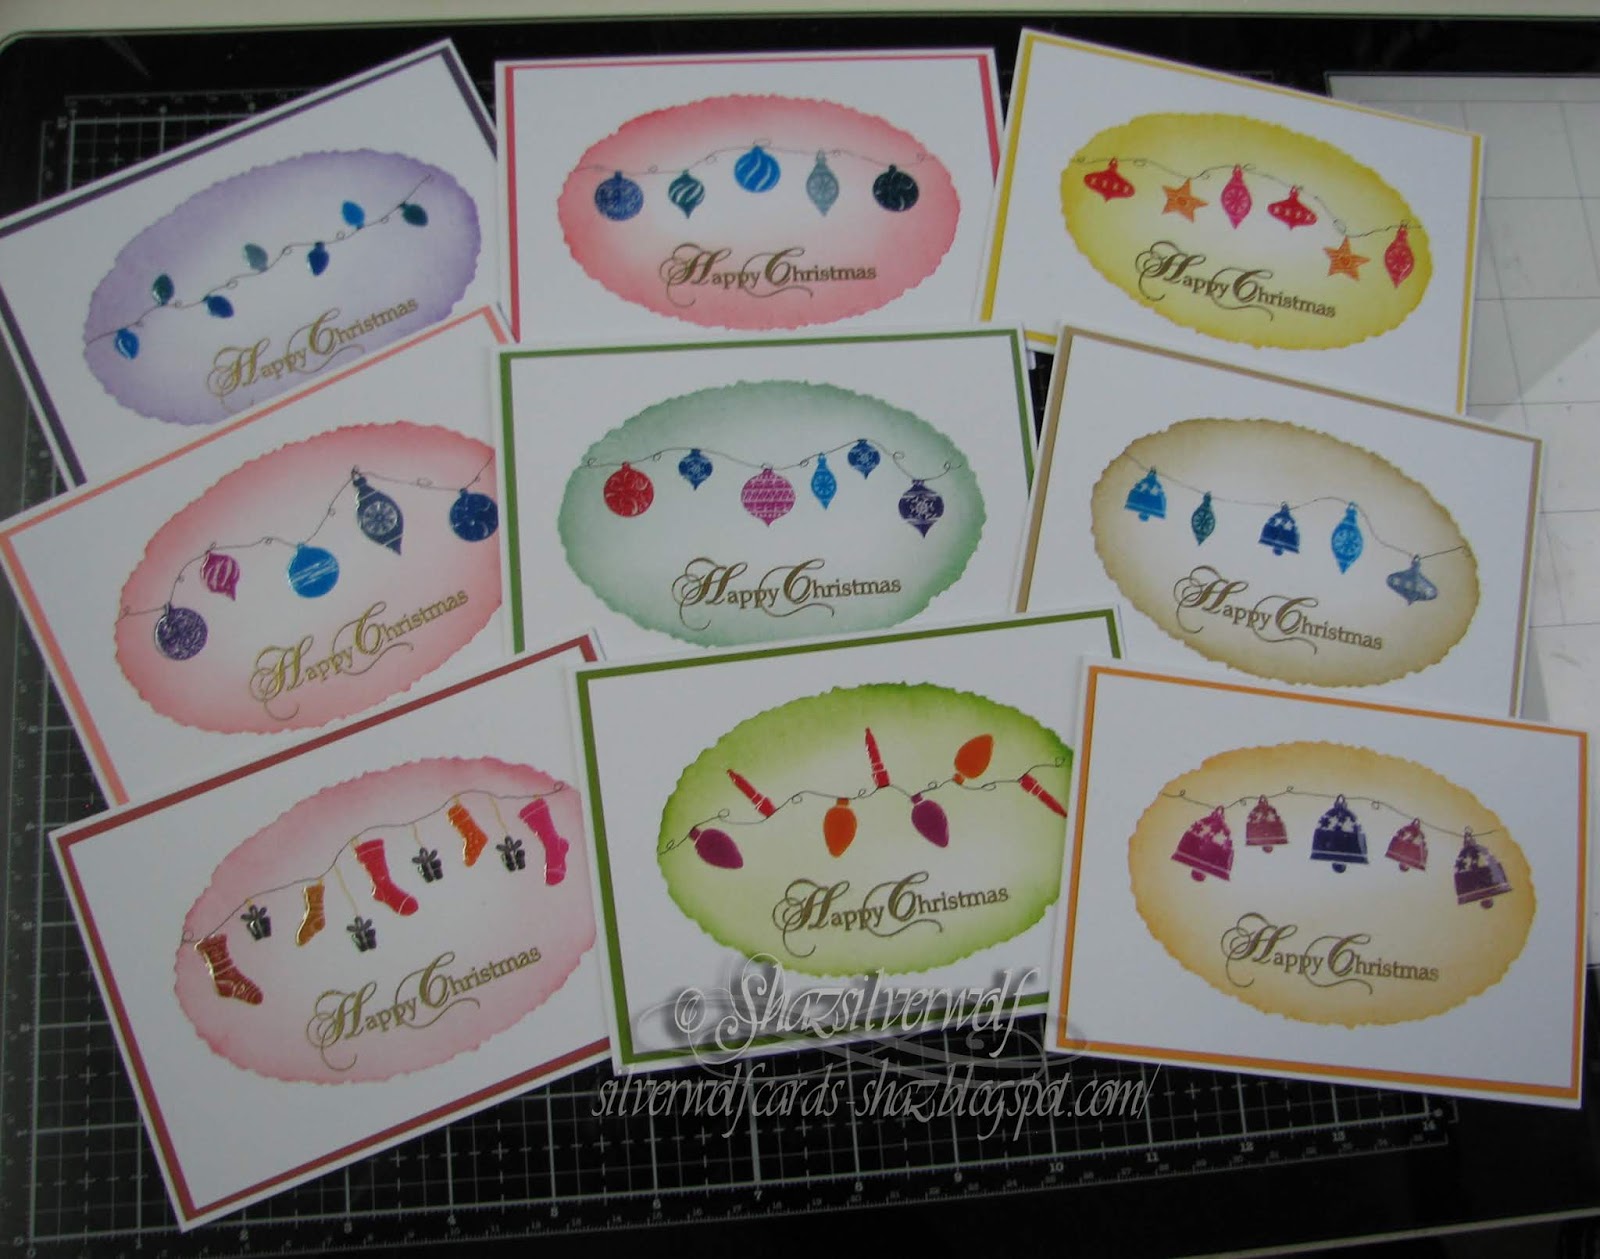
Christmas cards with Cardio stamps

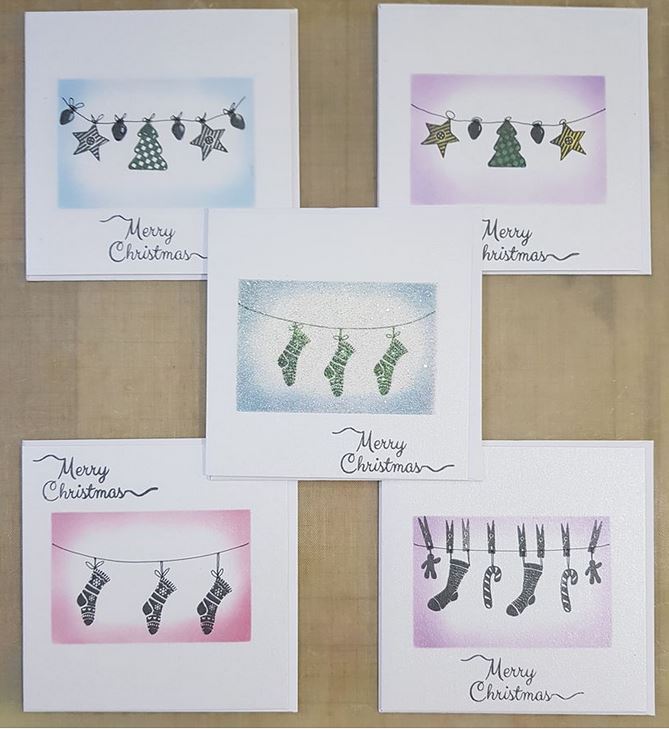
So, on a Fb group I'm part of, a lady had posted pics of some simple Christmas cards she'd made.  I asked if she'd mind me CASE-ing them, as the idea was great, and she very kindly said I could.
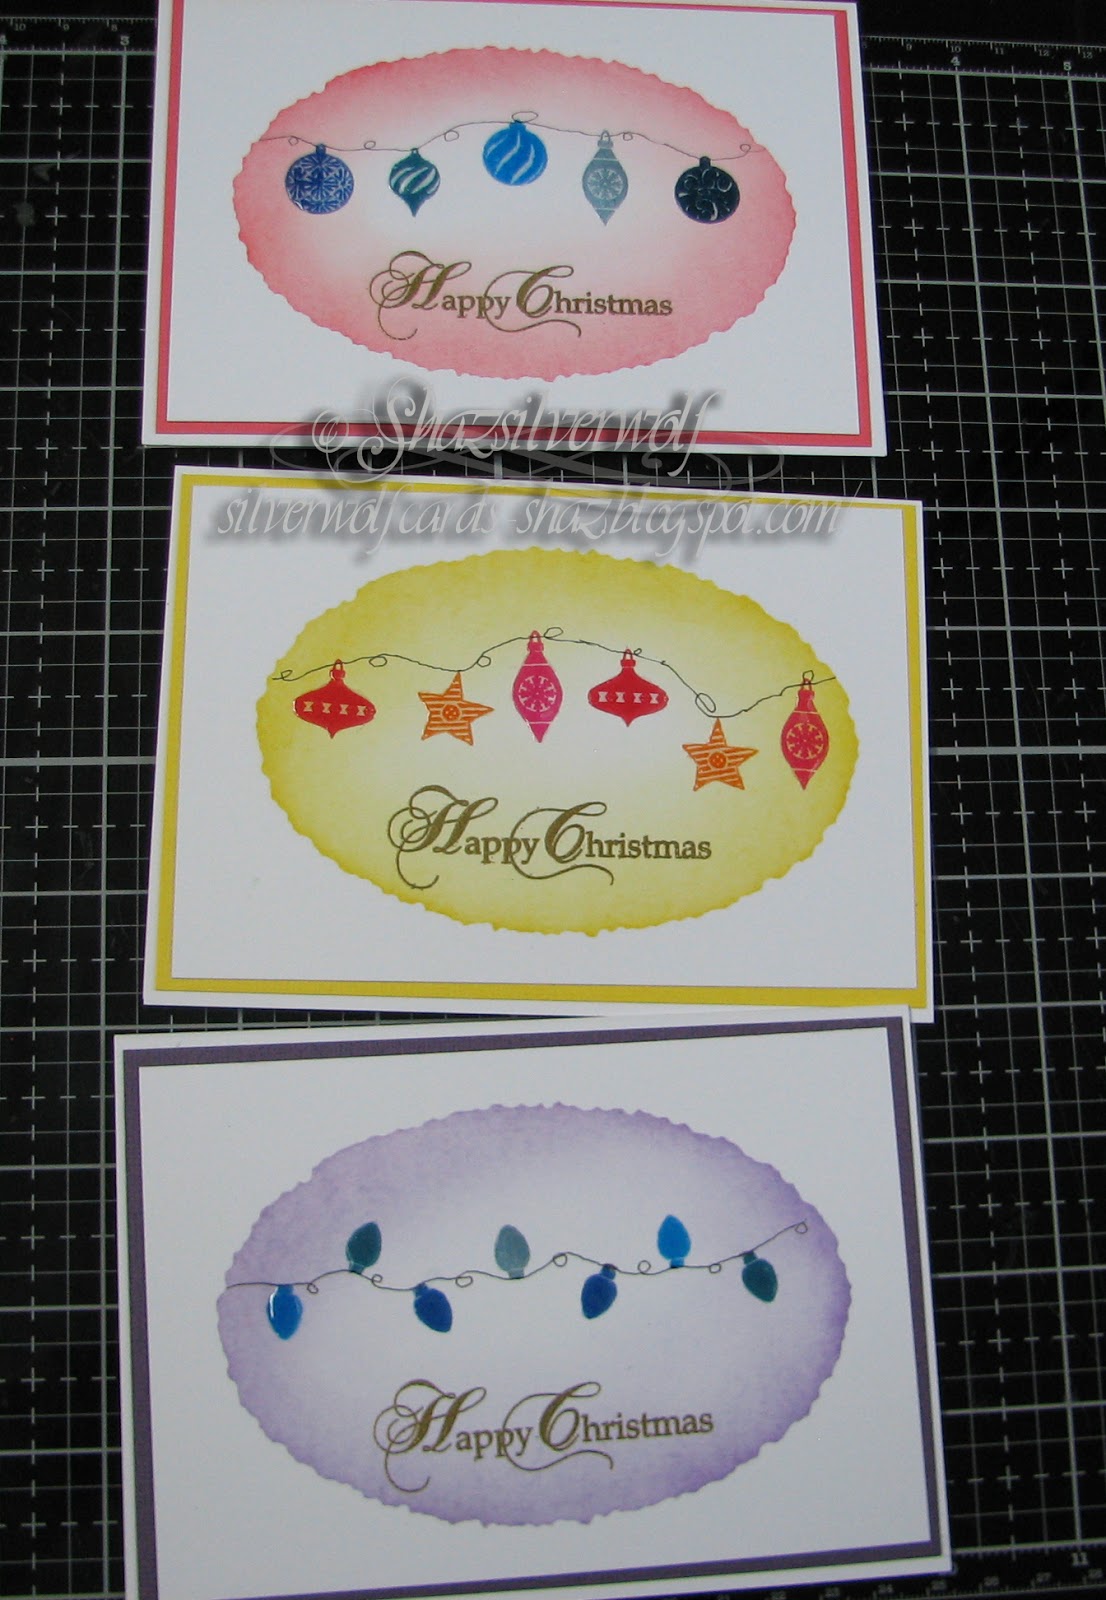
 I mixed it up a little, and created a Deckle edged oval, using my Silhouette Portait 2 to cut it out of  125 micron mylar. This is perfectly thick enough for inking through, but I'd suggest a thicker one if you wanted to use pastes/paints through.
 You can also die cut mylar, so you can create stencils that way too. I just didn't have a deckle edge oval die. I also cut deckle edged stencils in rectangles, circle & square for later use.


These were the cards created by Andrea Turner that inspired me.


Having taped my stencil down with Purple tape, I used a couple of the makeup style brushes to add colour.  In every case, I used 3 shades of Distress ink, a light over almost all the oval, a medium about an inch in all round,both using the larger brush, and finally the darkest shade just around the outer edge, using the small brush.


 All together, I made 15 backgrounds.
These are sized to fit 'notecard' size, made by folding an A5 piece of cardstock.


These are some of the Cardio/Majestix  stamps I used, and I ordered another couple with stockings and ornaments in, called Great Expectations (Stockings)  and Christmas Hang-ups.
 I did the stamping using various Memento inks, in the Dew Drop pad range. I also used my stamping platform for this, wisely as it turned out, as most needed to be double stamped. I left the drawing in of the strings till I'd finished them all, and used a fine micron pen for that.
 For a few I decided to stamp a swag across the panel, and I used a Lavinia £1 holly stamp for that.
For the holly I used Versafine Clair in Shady Lane, and sprinkled on a little sparkly EP and heat set.I'd added a small patch of yellow for the lantern light using a small round make up brush, then added Liquid Pearls for the holly berries.


 Next up, I stamped the greeting in Gold Encore Pigment ink, and heat set with Detail Gold Embossing powder. The sentiment comes from a Phill Martin set called Stately Christmas Sentiments.


All the images were matted onto a toning cardstock, leaving a narrow border.
 The final step was to add Glossy Accents to all of the ornaments, lanterns and stockings.

The Cardio/Majestix sets used were:
(Baubles) Zendangles,Bells & Baubles,Elegant Baubles, and one older Rubber Stamp Tapestry set called Embellished Holiday Wreath.

Then Christmas Hang ups, Great Expectations ( Stockings), Vintage Lights, and the smallest lantern from Christmas Scenery 3. There are two others in this pack, each slightly larger.



Wednesday, 25 December 2019

WOYWW #551- The Happy Christmas Edition.

 Here's wishing everyone a warm, safe and very Happy Christmas! I'm writing this post on Tuesday, and will schedule it, as most of us will be gift unwrapping/cooking/visiting on Wednesday.
 Not a lot to show on my desk today, I've spent some time doing a bit of organising, and making up more of those striped backgrounds.
My last bit of shopping for the year, the few items I bought in the Country View Advent sale.  The bottle next to the mini inkpads is Gel Plate conditioner,then an Archival re-inker, a Black spray mist from Dylusions, 3 bottles of Stickles and at the bottom there is 1 Liquid Pearls, and 3 Wendy Vecchi Enamel Accents, which I think are the same thing. So thats me done, very short & sweet this week, but it wouldn't be the same without an ........And Finally.......


I think we can all relate to that!

Saturday, 27 October 2018

Fairy Easel Birthday Card

The project I was working on earlier in the week. A birthday card for my Daughter in Law, Becky.
 I turned it into an easel card, as I'd made quite a large scene.


Starting to write this post, I've realised I didn't actually take any in process photos!

The image itself is done on an A5 sheet of cardstock, added to an A4 folded card base.

The fairy house is from Crafters Companion, called Fairy Wishes.
The house, drying wings, fairy path and small fairy were stamped in Versafine Clair Nocturne.
Apart from the house, most of  the other stamps used are by Lavinia Stamps. The little dragonfly is from a Crafty Individuals stamp sheet. There is also a random grass stamp used at the bottom, from an Inkylicious set.
 Colour was added to the house, path and wings using Prismacolour pencils.
 The sky and grass area is Distress inks, brushed on with a Clarity brush. They are really good for getting a light coating of ink on a background. I have one set only, as I don't use them that often, and just wash them when I'm done. The blues used in order, were Tumbled Glass, Faded Jeans and Chipped Sapphire, the greens were Mowed Lawn, Shabby Shutters and Lucky Clover.


I used a couple of older Versafine Greens to stamp the top foliage,  Olympia Green and Spanish Moss, which is all second/3rd generation stamping.
These are Leafy Trail, Whimsical Wisps,and just the Ivy part of Creeping Vine.

 Foliage at the bottom is Fairy Buttercups, Meadow Grass, Willow, and an Inkylicious grass. Same inkpads.
 The Tiny Mushrooms were stamped using a couple of Distress Markers- a brown for the stem, and Festive Berries for the tops.
Versafine Clair Paradise was used to stamp the dragonflies. Their wings, and the wings on the washing line all got a coat of Wink of Stella in Clear Glitter.
 Liquid Pearls in White Opal was used for the spots on the tiny Mushrooms, and for the mushrooms on the fairy house. Tiny spots of Stickles in Crystal added for the fairy dust being scattered by the small fairy.


The base and the piece to hold the greeting were covered with some TH backing paper, I thought the colour worked well with the image, all the better for being plain. The greeting is a Tonic die, cut from a sheet of foil laminated cardstock. I also cut 3 from dark green cardstock and layered them all together to make the greeting pop up. Matted it onto black, then attached with some foam tape, using 1 layer at the front, and 3 at the back.

Sunday, 11 December 2016

Christmas card Club- A Snow Scene.

This fortnights challenge theme was set by Rita, and is titled 'A Snow Scene'.
I thought this was time to have a go at a Card-io scene, and I'm fairly happy with how it turned out, but I need more practice, as I can see a few things I could improve on. The robins, for instance, could have done with being a little darker, they sort of get lost in with the pinecones. And some of trees could have stood a little straighter. So I shall keep practising scenes in my notebook for a while.  Speaking of notebook, this was inspired by a scene I stamped in there a while back.


I think I actually prefer my practice one,😀.


I got so engrossed I didn't take as many pictures during the process, but I will list the stamps I used at the end.


Wendy, from Card-io does some awesome scenes with her stamps, and I intend to keep practising. She makes it look far easier than it is!
I started as I've seen her do, by placing the four sides first, then filling in to get your shape, I went oval instead of round with mine.
 The image is stamped multiple times, all from the same inking,so you get a variety of shades.


 I stamped the twiggy branch from the Oriental Blossom set, in Versafine Spanish Moss.


It was now I realised I'd not taken any in between photos, but I added some Holly Sprigs in Archival Fern Green, and Holly Berries in Memento Ladybug,along with some Pine cones, which were all from Rubber Stamp tapestry Peg stamp sets.
 I punched out a small circle from a Post-it for the moon, and tore paper to create the hills. The sky was done in Memento Summer Sky and Adirondack Stonewashed. I used the Memento again to just sponge very lightly over the edges of the torn paper mask for the hills. The trees and stag are stamped in Archival Black. Robins were added to the wreath, and I used a marker to give them a red breasts, after inking in brown.
 I've matted the panel onto red, then green card, and it all fits onto a folded sheet of A4 pearl cardstock.
After it was mounted, I used Stickles in Frosted Lace to follow the shape of the hills, and Liquid Pearls in Garnet onto the Holly Berries.

Stamp sets used:
 Rubber Stamp Tapestry:
Pine Branch Border( Pine Cone)
 Cardinal in Holly( Holly branch & Berries)
Card-io
Oriental Blossom( Twiggy branch)
Christmas scenery 2( Tees and Stag)
Winter Tweets( Robins).
 There are similar stamps to the Rubber stamp Tapestry ones in the Card-io range as well.
 I'm going to add here a card I did a few years ago, as it's a snowy scene, I think I love it the most because it was almost the worst disaster ever!

  I was on a DT for a site called Craft A Scene, which doesn't exist now, but as you can guess was all about scenic stamping, a big love of mine.
Well, being my usual organised self,😱, I was doing this the day before I needed to post it up.  It had all gone well, then close to the end, I decided to stamp a reflection of the moon in the water. HUGE mistake! It looked awful!
So, I tried to retrieve it by wiping the ink off with a baby wipe. Which removed the white ink, and also took some of the other colour off around it. So I wiped over the whole thing, trying to even it out. Panic is not the word for it!
Especially when the whole piece just curled up into a roll😰.
 So, in desperation, I flattened it out, and put it under some books , hoping it would flatten out overnight. Imagine my amazement the next day, not only had it flattened out, wiping it with the baby wipe had turned it into a misty, icy scene, which was exactly the brief!
Some white gel pen  highlights, then held my breath as I added some wavy lines in the water for the moons reflection, and it was finished.
I embossed some white cardstock with a Cuttlebug Snowflakes folder, mounted it and breathed an enormous sigh of relief.😲,
 I still have the card, I've kept it as a reminder that sometimes, what seems to be a disaster can be retrieved. Happy Christmas ladies, and I'll see you all again in January.xx

Sunday, 13 November 2016

Canvas calendar

I had to wait a while to blog this, as it was a gift for a FB friend, so needed to wait until she'd received it.
 A while back I posted about some stencils I bought at Happy Stampers, and my friend Erika said she had the same one, and that we ought to make something for each other, which I thought was a lovely idea.My WOYWW visitors will remember seeing a picture of lots of punched flowers recently, which were for this project. As usual, I made way more than I need, so the rest are filed away for later use.


This was the card Erika sent to me, a gorgeous Copper paste embossed card, with a background in shades of purple.


 I also gone with a similar colour scheme, oddly enough, using a  canvas board base from The Works. I'd just roughly sponged on some shades of blue & purple Distress inks, then left it to dry.
 I added a sheet of Tim Holtz Tissue paper with Matt medium, and left it to dry again.

Next day I stencilled on the image, called Flower Tree. I used Pearlescent white stencil paste, also from Sweet Poppy.

While this part was drying, I punched out the flowers.Many years ago at the Hobbycrafts NEC I purchased some Paper Blox pads, which are pearlescent/glittered/metallic papers, some in a square format, some long narrow pads. I pulled out a selection of sheets, and gave them a blast with Crafters Companion Iridescent Glitter spray before punching.


In the end, I didn't use all the colours I punched out, but what the heck, now I have some punched flowers in stock, lol.


I used a selection that blended together well, and added one to each of the flowers on the tree, having shaped them a little first with a stylus tool.


The flower centres were created with Crystal Stickles.


I added some toning Liquid Pearls in pinks and purples to the dots in the image.


I knew the wording that I wanted to add, so sorted out some white tissue paper, to make it sort of blend into the background, rather than stand out.


The 'Believe' and 'Never let go of your dreams' are both from Lavinia stamps, and I stamped each twice, as I had to tear them out, and that was a recipe for something going wrong! I used Archival Cobalt ink to stamp, and Crystal Embossing Powder for some sparkle.
 By the way, the phrase is in individual words, which is why the stamping here looks a bit weird.


 I placed the Believe word to follow the shape of the tree,after tearing into individual letters, then added the phrase at the bottom on either side of the tree trunk. All done with Matt Medium.


So I was almost done, when I thought I could add a small calendar to the bottom, to make it functional, as well as nice to look at.
 Cue trip to the shops- I'd actually expected to be able to buy them at the NEC last week, but didn't see any. I got them in a card shop in town, in a pack of 5, for 99p, if anyone needs to get any. Pretty sure it was called 'A Write Card'. If your shopping centre is anything like ours, there are so many card shops, they sort of all merge together!


 I added the calendar with a couple of strips of pale purple ribbon, and made a hanging loop from the same ribbon.
Final touch, I thought a flower tree needs butterflies, so punched out a couple from some glitter paper.

An End of an era

An end of an era

I write this with a broken heart, that only time can heal My beautiful, wonderful wifelet Shaz (Silverwolf) passed away peacefully in the ea...