A warm welcome to all my visitors,

Thank you for taking the time to come and look at my blog, I really do appreciate it. I would love you to leave me a comment, even if it’s just to say Hi. It means I can come visit you!

All my designs are original, so copyrighted to me. If I have been inspired by someone elses work, I have named them in the post, and where able, I have provided a link.

Please feel free to use my designs for inspiration, I just ask you to credit me, and provide a link back to my blog.

Thanks, Shaz XX

Showing posts with label Zenacolor pencils. Show all posts

Wednesday, 11 March 2020

WOYWW #562 - The Mothers Day card Edition.

Because that's what I'm working on right now.
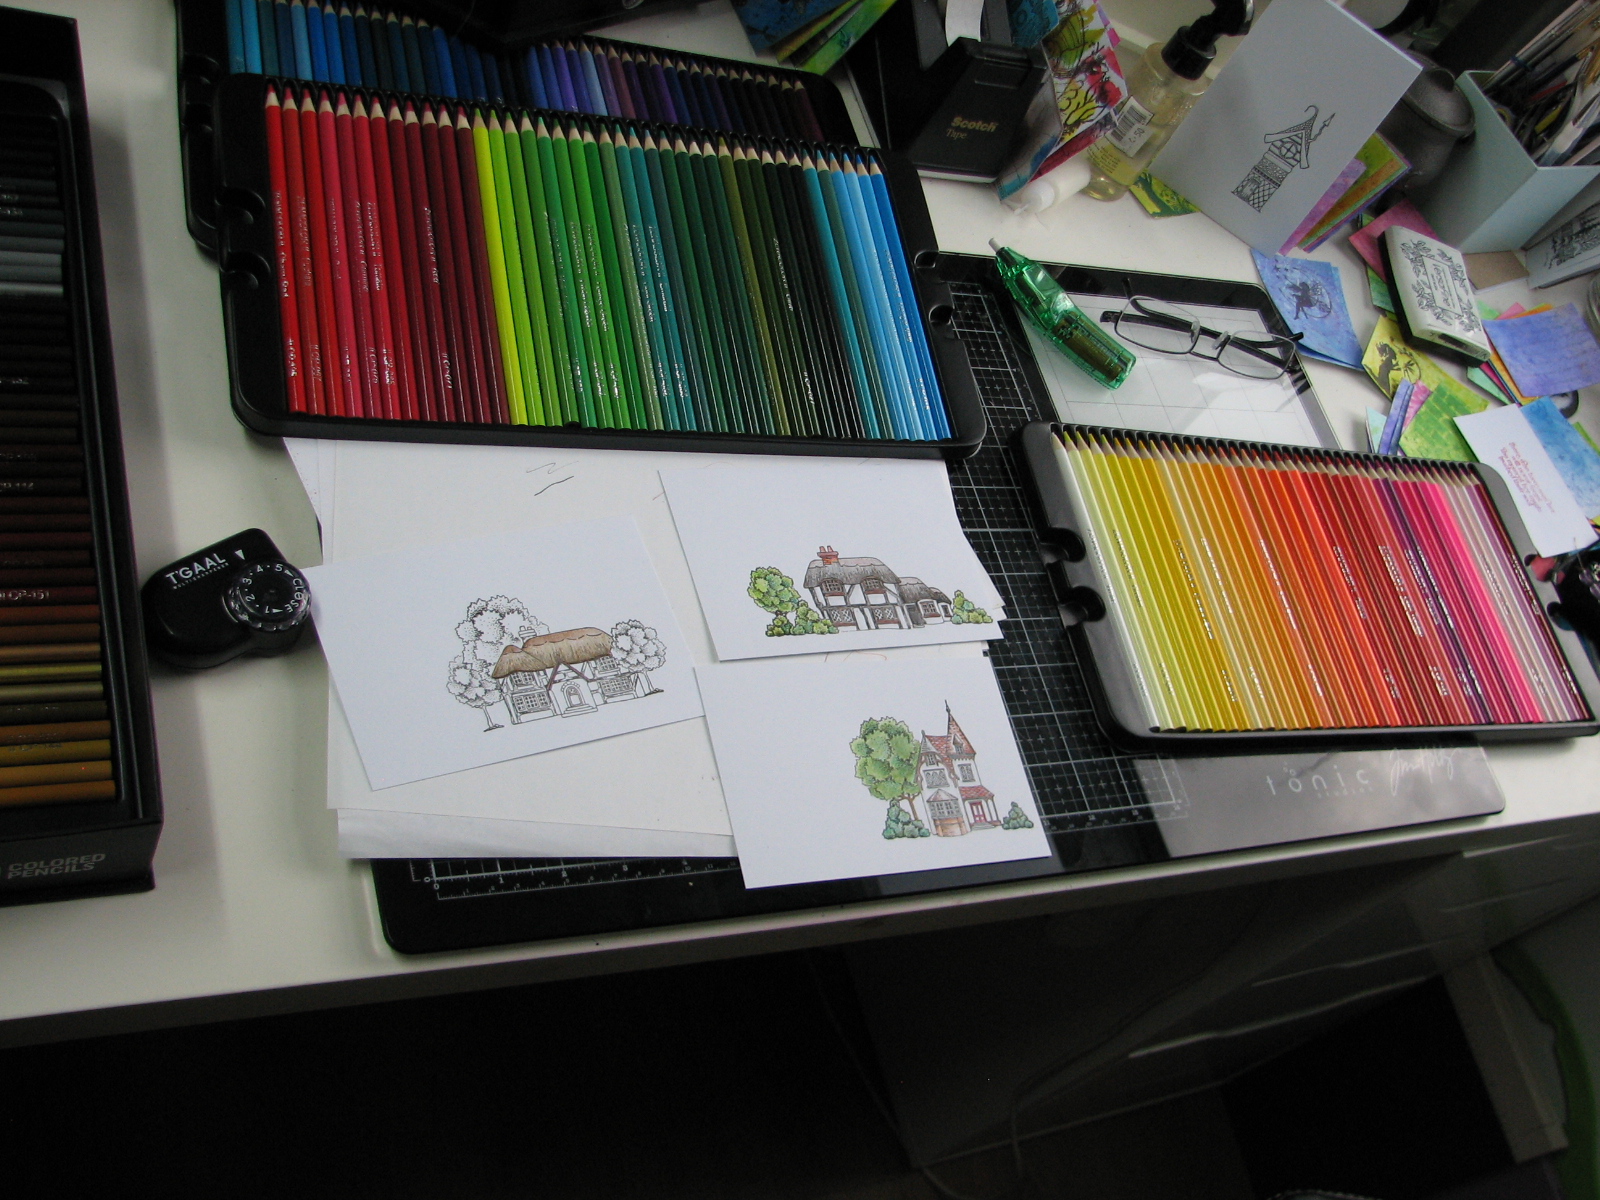
I stamped this image twice, using Versafine Clair Nocturne, then left that to be totally dry before colouring in with those Zenacolour pencils I bought a while back.


One in pink, and one purple.
 Then I took an idea I'd seen someone use on Fb, where she'd added Glossy Accents to some Lavinia Pods, then covered them in glitter. I didn't quite do that, I added the Glossy Accents, then sprinkled a very tiny amount of
Glamourdust onto it.


Any really ultra fine glitter would work,not just the Glamourdust.
The Glossy Accents do slightly intensify the colours of the pencils too.


A couple of close ups so you can see the sparkle, just a little, not in your face. Beauty, of course, is that it won't shed.
 Not coloured the centres, as I'm going to add acrylic stones to them.

 The stamp is by Honey Doo Crafts, called Daisy Display. I must admit, I thought they had the look of Polyanthus/Primroses, rather than daisies.


Something else I'd seen on Fb, was a product called Brusho Wax Resist. This lady that used this had mixed ultrafine glitter into some of it, then painted over her scene for a delicate glitter sparkle. I had a look for it, and thought it was a bit expensive. Had a look on Amazon, and found the Zest-It version much cheaper. Tested it out on some scrap, and it works really well. It also dries completely, so no glitter shed.
I do like the Zest-It products as they have a nice citrus smell, rather than a chemical one.
It is supposed to be used in the same way and uses as Masking Fluid, this is just an entirely different use for it.


And so I'm done.As always, it's our desk sharing day over at Julias place, The Stamping Ground, so I'll look forward to seeing everyone there later. Which brings us round to.....And Finally.....


P.S.
Just thought I'd mention, for those in the UK- Postage prices are going up on March 23rd, 6p for 1st class,and 4p for 2nd. As stamps are just marked 1st and 2nd, it's worth grabbing some before the increase. I worked it out, and that increase equates to almost a free stamp in every book if you buy them now. So yes, I did bulk buy,lol.

Tuesday, 10 September 2019

New Home cards with Chocolate Baroque stamps

Been a while since I did a blog post with makes, and these have finally been finished. I picked cardstock to matt them with that matched the colours used in the houses.It's from a Papermania cardstock pack called Assorted Colossal Colours, Textured Cardstock, comes in A5, A4 and 12x12" packs.
 
All the colour to the houses was done with the pencil set I bought recently from Amazon,  a set by Zenacolor, 160 pencils for £27.97. I found they blended fine, and produced good colour.


 The stamps I used are from two different Chocolate Baroque sets, Townhouses, and  English Cottages.


  I used some masking to allow me to stamp trees and bushes, either behind or in front of the houses.


For this I used Eclipse masking paper roll, again from Amazon. It's a great product, the whole of the sheet has a tacky glue like Post its on the back, and you can reuse each mask many times. It.s also 10 metres long, so will last for ages. I've stuck the masks onto some plastic from packaging, and dropped that into a page protector and stored with the stamps.


Once I'd finished colouring the houses, I wanted to just lightly add some grass & sky to them.

  For this I used two shades of green and blue Distress ink, and the Professional Make Up brushes. They are great for a very light application of colour, although you can easily deepen it by adding more ink if that's the look you want.


Again, I replaced the masks so I kept the colour around the images. I also added some paths to the door on some them, one or two with a Cobblestone path by Lavinia stamps, others just with a black fineliner. The Lavinia stamp is available in two sizes, large & small,I have the large, but I think the small would work better for this.


The sentiment was also cut from a shade of the matting layer.
 The right hand sentiment was bought from The Range,in  their £1 boxes, and the one on the left comes from a Phill Martin set of dies, called Scribbled Collection, that includes this one, plus the words Job,Baby Boy & Baby Girl.


 A really useful die set, the 'A New' part is a separate die, so can be combined with any of the other words. I particularly liked the inclusion of Job, as it's rare to see a die with that.


Wednesday, 31 July 2019

WOYWW #530- The Extreme Enabling Edition!

Indeed, due to me struggling somewhat this week- finding myself very, very breathless just moving around the house, I have done very little but sit at my PC and shop!
 I have to say that the Enabler got Enabled last week- Thanks Helen (StampingbyH)- who showed a  this fab stamp set from Paper Artsy, as well as the coloured wings from Lord Tim.
 As usual Wednesday means WOYWW, so I'll be popping over to leave my link with our Fabulous Leader, Julia, over at The Stamping Ground.


Speaking of Tim, these also happened to fall into my basket. I do love masks- except clown ones, they're creepy- and as well as the large ones, you get lots of small sizes too. And I can never have too many bats. Ever.


Occasionally, thoughts of Christmas cards wander through my mind, so this edger/cover type may well come in handy. That'll be some real fast cards.


Not newly bought, but thought I'd give you a better view of the Chocolate Baroque house stamps I've been working with.
This one is called English Cottages.


This one is Townhouses. Both come with an assortment of extras- trees/shrubs/signposts etc.


This is where I'm at so far, after they're coloured, I'm going to blend in some pale blue for a patch of sky behind them, and them maybe some footpath & lawn up to the house.

I've been doing the colouring with that set of Zenacolor II pencils I bought and showed you a few months ago, and for a real 'budget' price, they perform really well for what I want.
 And so I'm done. Second Chemo finished, and apart from it causing extreme breathlessness this time, not too bad.

Which just leaves..................And Finally................

Saturday, 4 May 2019

Reviewing a 'budget' set of colouring pencils.

Okay then, I bought this set a few weeks ago. I do have a full set of Prismacolor, but as I tend to do my colouring books downstairs, they tend to be kept downstairs. If I want to do any colouring in my craft room, this means I'm frequently taking them up and downstairs. So I wanted a second set, but wasn't intending on paying a huge price for them.

    
To give you some guidelines, current Amazon prices are looking like this:
Polychromos,( Faber Castell) 120 set, an eyewatering £136.99
 Prisma, 150 set. £86.14
Arteza, 72 set.£65.99
 Spectrum Noir Colourblend, set of 7 boxes, 144 pencils, £63.04
 Dropping down to the 'budget' ranges, we have:
Castle, 120 set, at £39.99
Zenacolor, 160 set, £27.99.

 So basically the Zenacolor gave me the most pencils for the best price. The Amazon reviews were quite acceptable, I thought, with the majority (91%) giving 4 & 5 stars.
 
 The box opened up, and as you can see, there is a colour chart on the lid.
This is the top layer of pencils.
 
 
 The lid of the box also has magnets on the flap, so the lid stays closed, which is a nice touch.


  The second layer. You can see the finger grips at either end. The plastic layers are not incredibly flimsy, but as they are quite long, care does need to be taken in lifting them out, and keeping them level. One or two Amazon reviews mention them being damaged in the corners on arrival, but mine were perfect.


The third layer


and the fourth and final one. 

All four layers here, so you can see the colour range.  And of course you can rearrange them in a flow that suits you best.                          


But of course, how they perform is the important part, so as I wanted to add a bit of colour to some images I'd just stamped, which is what I really want them for, I gave them a trial.             


 This is the piece I wanted to add a little colour to. It's stamped in Archival Cobalt, and the squares were coloured with Distress Inks.
 I intended to add some colour to the flowers, and some shading to the Pebble People.
 I have to say here that I am no colouring expert, and my biggest fault is being a little too heavy handed!


I began by adding some of a mid blue to the petals, and to be honest, I could have stopped at that.The pencils went on over the ink with no difficulty.


But I added some of a slightly darker blue over that.


 I forget to soften my strokes as I get further along! That makes blending so much easier. I think I may also have jumped shades a bit too far.


I was curious how the yellow would appear on top of the blue, but it's very well pigmented, so gave a good clear yellow on top of the blue ink. No sign of a green tinge to it.


Added a little of a more orange yellow to the edges, and to the stamens.


I went back to the very pale blue to add some shading on the people, and using a lighter hand made a big difference.


If I'd been a little more gentle with my colouring, the blend on the petals would have been much better.I did go back over them with the palest blue, which helped to smooth things out a little.
 Also, the green for the leaves covered the blue with no change of colour.


And this is the finished piece. I definitely went too dark with the petals, but thats a lesson learnt for me.

As far as the pencils go, I have no complaints. They are not quite as soft as my Prismas, but at the price I think they will be perfectly acceptable for my purposes.They seem to blend just fine, so my next trial will be on plain white cardstock, rather than over ink, so will perhaps be more fair to them.

I have only used these pencils to blend with themselves, I haven't yet tried my Prisma blending pencil with them, as I wanted this to be a test for these pencils alone.

An End of an era

An end of an era

I write this with a broken heart, that only time can heal My beautiful, wonderful wifelet Shaz (Silverwolf) passed away peacefully in the ea...