Yes, I'm inking up a load more of those panels, as there are going to be a mountain of thank you cards needed in the near future, and I thought those would be an ideal starting point, but more of that later.
I've also pulled out my Adirondacks to use this time round, couldn't tell you how many years I've had them, and as soon as I heard they were being discontinued a few years ago, I bought re-inkers for them all. They have lots of lovely pale colours as well as some nice bright ones.


Cutting a stack of panels, I'm using up some packs of Matt cardstock I bought from Lavinia, also a few years ago.
Brushes at the ready!

Something arrived from Max, (Tilly Tea Dance) today, part of my eldest sons birthday present, a needle felted bookmark.

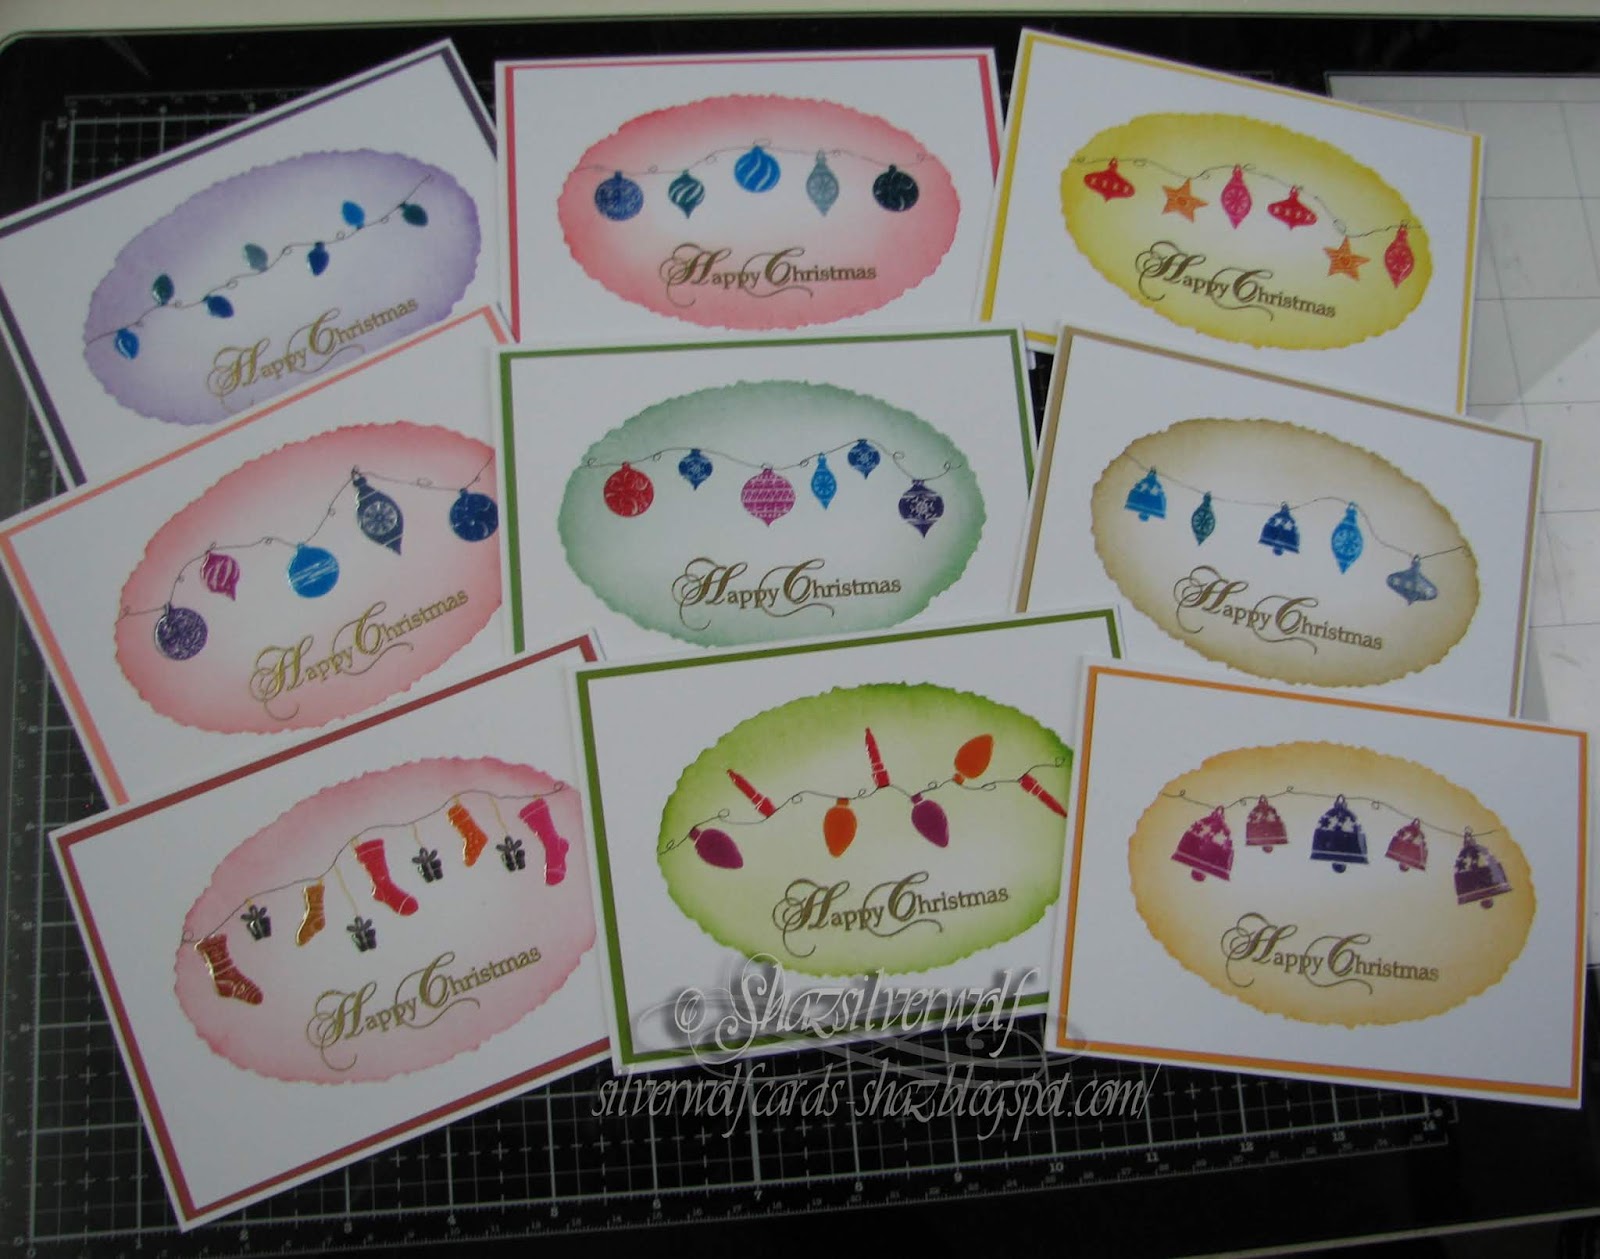
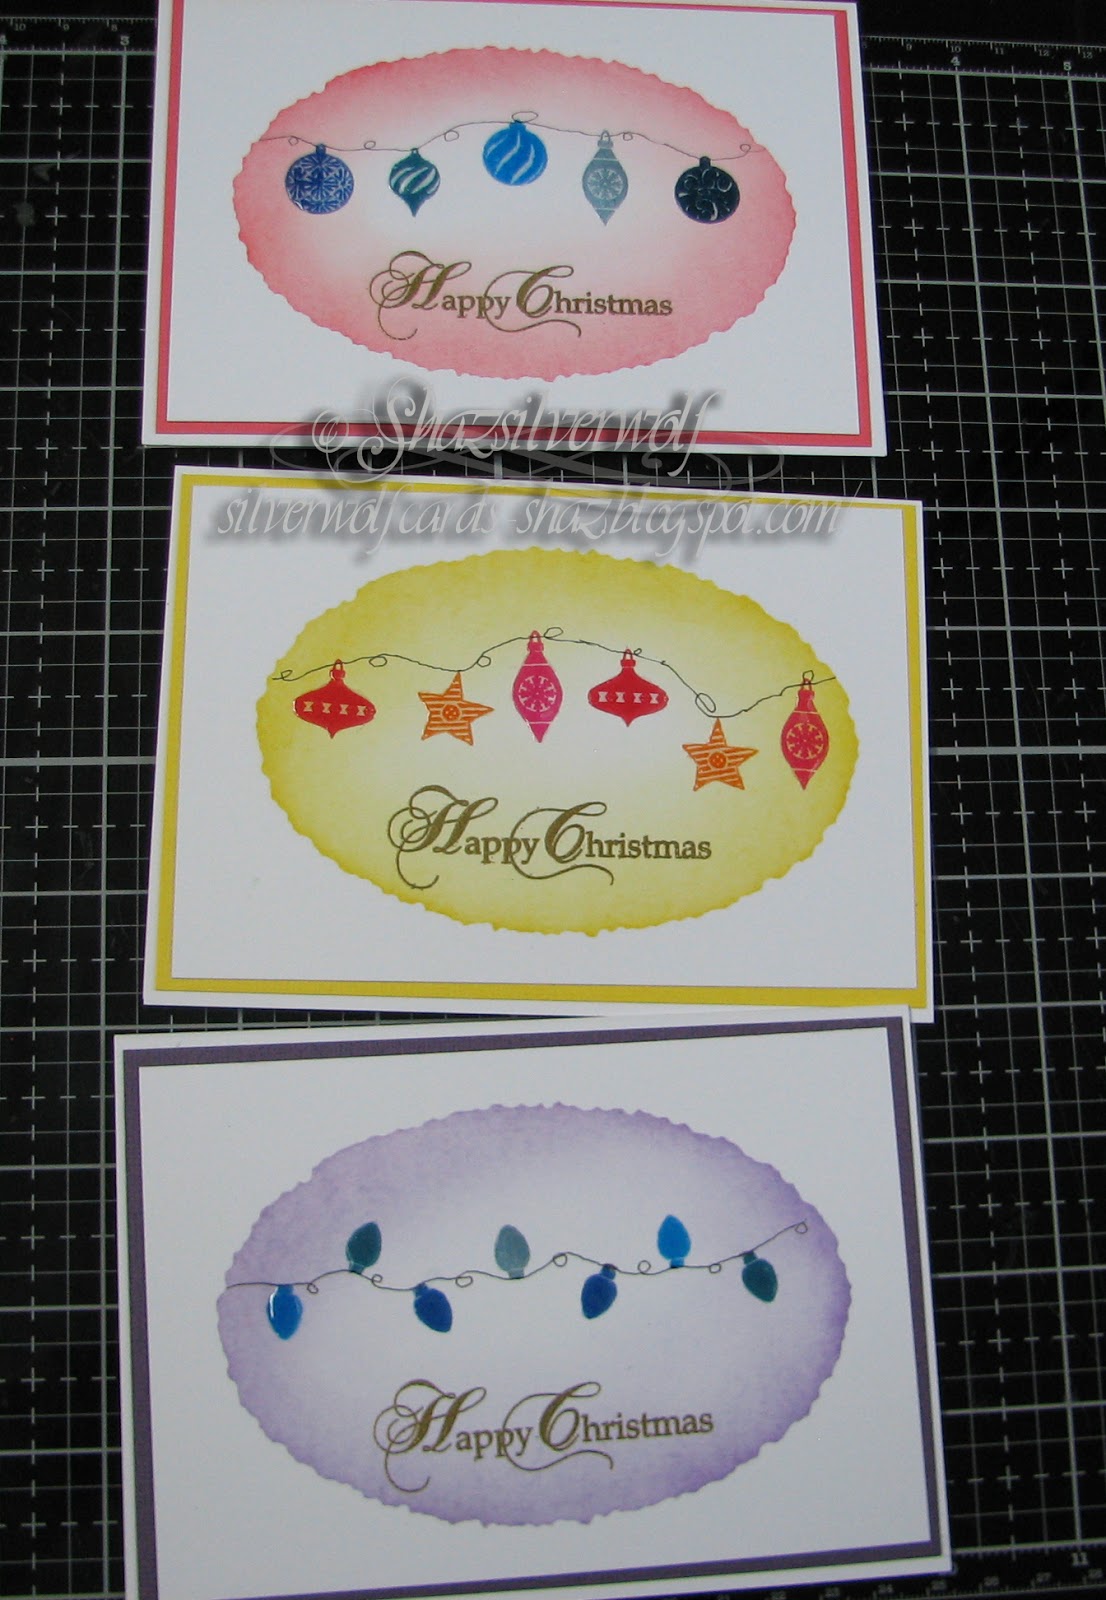
Quick shot of the Christmas Cards made from the dies I had out last week.
 And so I come to the reason for needing so many Thank You cards.
 The house you see here is Dougs youngest brothers families home. In the
early hours of Sunday the 14th, there was a really fierce house fire,
the house is completely gutted, but the good news is they escaped with
their lives, even though it meant jumping from upstairs windows, so
there are a number of burns and broken bones between them. It's going to
be a long haul back for them, but the wider family have pulled
together, and have been helped by many friends. Those of you who know us
on Facebook will have seen the GoFundMe, to which I know some have you
have donated, and shared,you have no idea how appreciative we are. If
anyone would like to share it on their pages, the link is HERE.
The house you see here is Dougs youngest brothers families home. In the
early hours of Sunday the 14th, there was a really fierce house fire,
the house is completely gutted, but the good news is they escaped with
their lives, even though it meant jumping from upstairs windows, so
there are a number of burns and broken bones between them. It's going to
be a long haul back for them, but the wider family have pulled
together, and have been helped by many friends. Those of you who know us
on Facebook will have seen the GoFundMe, to which I know some have you
have donated, and shared,you have no idea how appreciative we are. If
anyone would like to share it on their pages, the link is HERE.I know the family, as well as Tim & Lyndsay, are going to want to say a Thank you to so many people, friends of theirs who have reacted by buying clothes, made offers of furniture, to hospital staff who are caring for them, and so many others.
And so I'm at the end of my post for today, which brings us to....And Finally......