

After it had dried, I matted it onto toning shades of pearl cardstock, and finally onto black cardstock, just leaving a narrow border.
Then I had a thought, as I was planning to put this onto a 7x7" card blank, and had space to fill. I saw a gorgeous card on Sunday ( Not sure if it was a Sweet Poppy DT piece, or one of Pink Tulips own), where the card had a lovely paper ribbon & bow on a narrow panel.
 I had already bought the die set, another Sue Wilson one, so set about cutting the
pieces out. I cut two of the ribbon pieces, one of the smaller rounded bow, and one centre piece for it.
I have to say I'm unsure what the paler pieces are shown on the ribbon for, as it doesn't actually cut them out. Presumably it's what you could emboss onto it.
I had two lengths of ribbon, as one alone wasn't quite long enough to do the full length, and fold behind. So I made the join underneath where the bow was to go. The bow was added with a glue dot, which was also what I used to secure the bow when I folded it. When it was on the card, I felt it needed something, so found out some square acrylic gems in purple.
I do like this die, as it has a number of possible permutations. I believe there are some other styles in the range too.
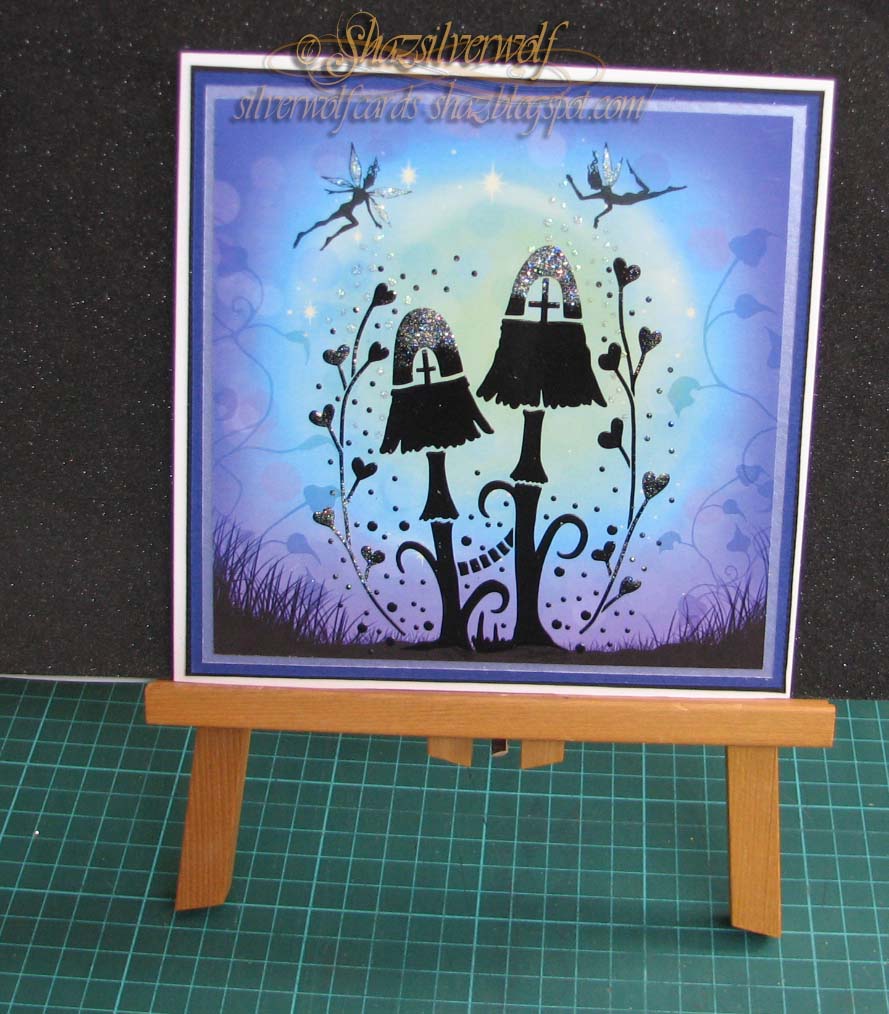
The second card also sits on a 7x7" card base, and was also matted and layered on toning card to fill the front. This one also uses Glossy Black paste, and again it was sprinkled with glitter over the tops of the mushroom houses before it dried. I did that as I planned to stamp a couple of Lavinia Stamps fairies sprinkling fairy dust from the top of the card. Although you can't see it in the picture, I have dotted Crystal Stickles for the fairy dust, and have also added it to the fairies wings.


