
To do this, you need 7 count plastic canvas, not 10 count. I got mine from Amazon, a pack of ten sheets. Depending how many drawers you need to do, you may need more than one pack. I bought two, and only used a couple of sheets from the second pack.
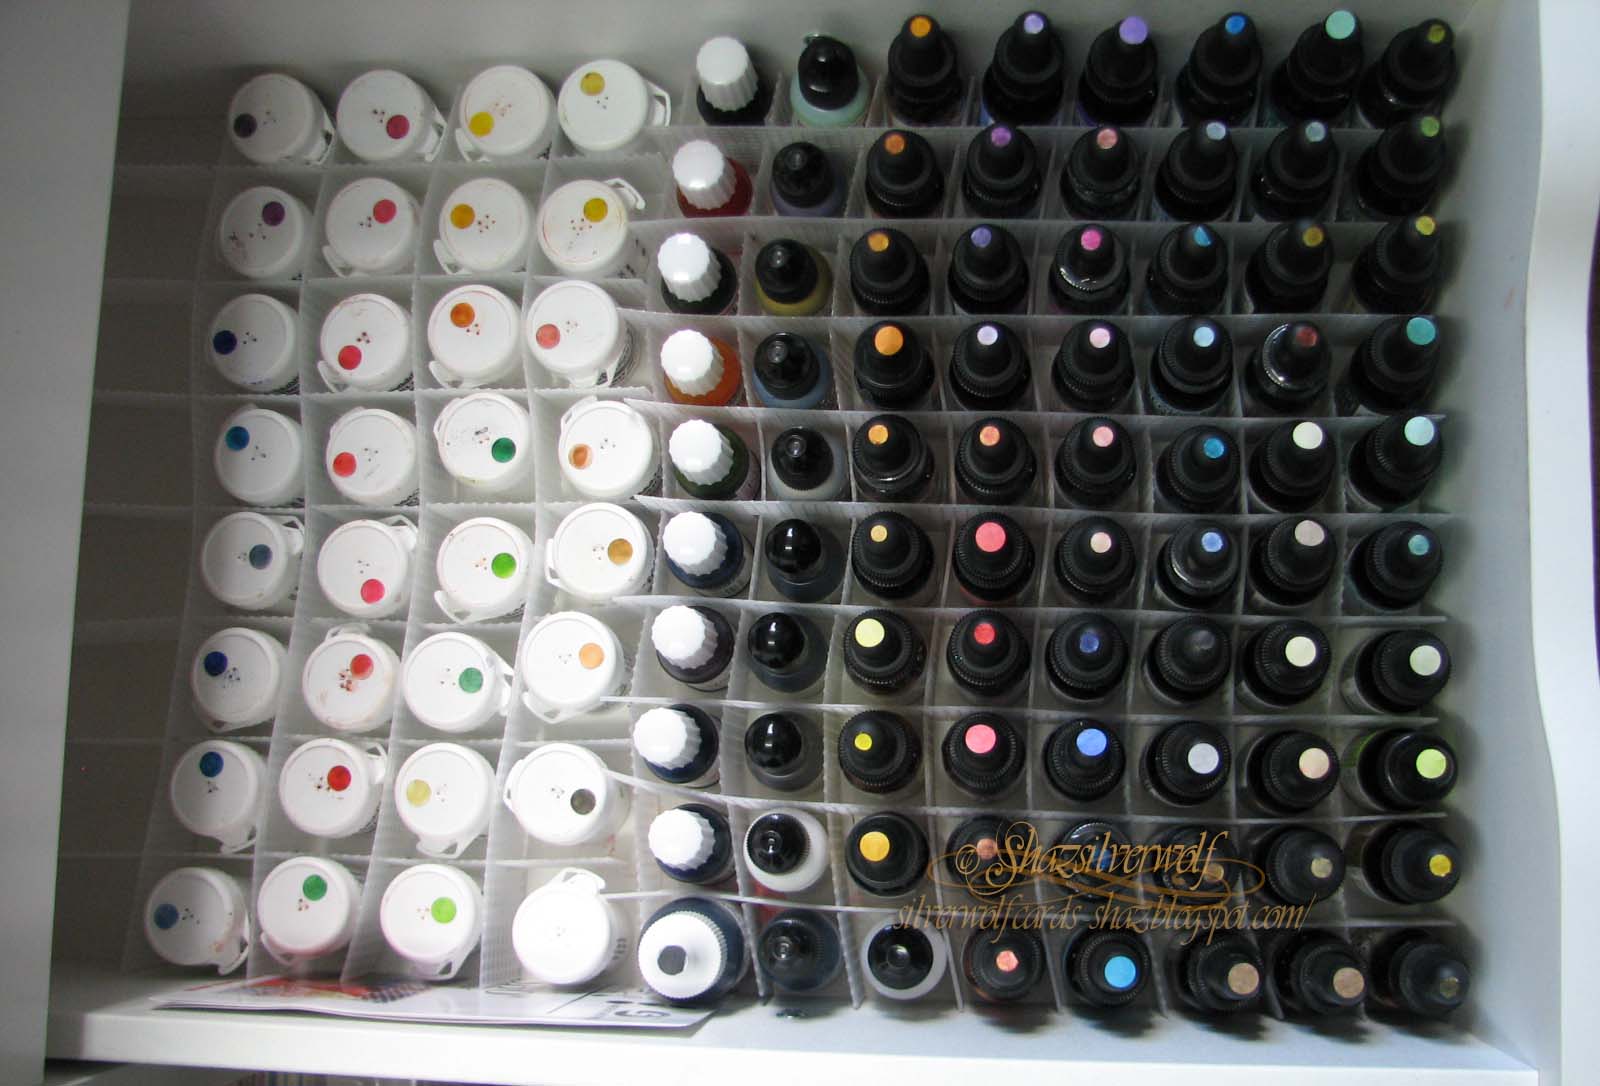
 I'm not going to give measurements, as what you need will depend entirely on the size of the drawers you are making the dividers for. I can say that my ALEX IKEA drawers are longer than the plastic canvas, so in a couple of cases I joined sections together to make them longer. The Pinner did say you could use a glue gun to hold pieces together if needed, and that would be one solution. I just did it by overlapping the lengths. You can see that in this picture.
If you do need to make the front to back lengths longer,and don't want to use a glue gun, I'd say make your first section with the lengths cut from the sheet, then add on to extend it afterwards.
First thing you need to do is decide how tall you want your dividers to be- I chose to go about two thirds of the height of the bottles.You also need to work out how many lengthways strips you will need, and how many widthways ones.

Once you have cut all your strips,the next thing is to mark how wide each 'cell' is going to be. You want it to hold your bottles comfortably, so they don't rattle around, nor are they too tight.If you cut your first strip to the width of your drawer, then mark on it the width of your bottles, you will be able to tell how many lengthways strips you are going to get across your drawer.

Standing the bottle on the canvas strip, and marking the outside edge seemed the easiest way.
You can see here for the Dylusions spray, the mark is made 11 sections from the end. So I will be cutting a slit at the 11th section, leaving 10 full spaces between cuts.
Using a marker pen, I marked every 11th space all along one strip.


My first cutting was not quite far enough up each strip, and the pieces do not fit flush. So I snipped another square out of each strip, and retested it.

Now I know they will sit flat, and I can cut all my strips to that height. This saves getting them all cut and finding they don't sit flat, and having to go back over all the strips.


I found these were easier to put together on top of the desk, and transfer to the drawer after,as the IKEA drawers do not fully come out of the casing. First off I took a widthways section, and held it with the slits at the bottom.
 Then I added in the lengthways sections, which slid up on the slits. This first bit can be a bit fiddly, as sometimes getting one in place means another drops out, but if you lean your hand onto the ones you've already done, and just lift up the end you are putting another in, it works ok.
You could of course also use a blob of hot glue in the corners to hold this in place, and may be a bit less frustrating, to be honest! Once you have this first row in place, the rest is much easier, as you are just slotting the widthway sections down from the top.


 When your divider is completed, it's time to transfer it to the drawer. To do this, simply fold it together, by pushing towards the centre, from two opposite corners. Then it goes flat.
Lift this up and place it in your drawer. Just pull out from opposite corners again, and you have it ready to start filling.
As I said yesterday, I wanted to get my Brusho's in there as well, so did a little rejigging. Some of the smaller re-inker bottles I moved to the top drawer, and then I made a new piece that would hold the Brusho's,and sit behind the Distress Ink Reinkers.
Edited to add: Remember to keep scrap pieces- ideal for using as stencils, or adding to mixed media canvases!
Plastic Canvas
A Page In Time Blog


