A warm welcome to all my visitors,

Thank you for taking the time to come and look at my blog, I really do appreciate it. I would love you to leave me a comment, even if it’s just to say Hi. It means I can come visit you!

All my designs are original, so copyrighted to me. If I have been inspired by someone elses work, I have named them in the post, and where able, I have provided a link.

Please feel free to use my designs for inspiration, I just ask you to credit me, and provide a link back to my blog.

Thanks, Shaz XX

Friday, 15 February 2019

Valentines Day Card

This is the Valentines Card I couldn't show on Wednesday, for obvious reasons! The base card is an 8" square, which as I've said before, actually means the envelope is 8" square, the card is 7¾".
 The main focal point for the card was the hearts, die cut from a piece made with red, gold & black strips, a technique done back HERE.
 I layered the black card onto dark red, then gold cardstock. The large heart is attached with foam pads, the smaller ones added with Multi Medium Matte.


Next I created a duplicate matted layer for the whole card front, using the same cardstock. I started with the gold layer at roughly 7¼", and came down a quarter inch at a time for the red and black.


 All three pieces have some texture to them, the red & black being a hammered finish, and the gold has a cross hatch pattern.


I layered up both with DST, then added the focal piece to the Matt layer.


I didn't add it to the card front yet, as I wanted to add a die cut ribbon, and wasn't sure exactly how this would fit, so decided to wait till after I'd done this bit.


 Normally, I'd die cut these ribbon parts from paper, but I wanted it to match the rest of the card, so used some scraps of the red & black card. This did make the bow a bit thicker, but I found that if I curled it around a stencil brush handle, I could get the bow to curve, without it getting a crease.


 The dies for this bow are both Sue Wilson dies, Classic Bow, and Lattice Bow. The Classic, on the left, is used as a base for the Lattice on the right.
The ends of the bow were stuck down with glue dots, which I also used to attach the bow to the 'tails', and then onto the ribbon.
 I matted the whole thing onto an offcut of the gold card, then added it to the card front, before adding the whole panel to my card base with DST again.

Now all I needed was a sentiment, and chose one from Inkylicious, Today, Tomorrow, Always & Forever. This comes in two sizes, and the smaller one (approx 1¾" square) is used here. Stamped onto an offcut of the black hammer card with Versamark, then heat embossed with gold EP.
 Trimmed it down to fit the space, then matted it on red & gold again.


Stamping was done on the Tim Holtz Platform, as the cardstock surface is quite heavily textured, but this gives a nice solid print.

Wednesday, 13 February 2019

WOYWW #506-The Cheat Edition

Yes, I have to admit that this weeks desk for WOYWW over at The Stamping Ground, is a bit of a cheat. Staged, you see. Because what's actually on it, is Hubbys Valentines card, and as he reads my blog, I can't show it yet.
So this is a throwback to Sunday, when I stamped onto some of the Bleeding Art Tissue pieces.


These two I added some extra colour to the butterflies with the Prismacolor pencils.


 There's a post about the whole process below this one. Another to come as I make them up into cards.


Something I actually got last week, and forgot to include, was this colouring book. Got it in Tesco. I've since seen it in WHSmiths too.


Full of awesome images,including some in Greyscale.


Only worked on one image so far, I'll photograph it when I've finished.

Then Doug spotted another cool one on Amazon, and that arrived yesterday. 4 different books in one- Mermaids, Fairies, Vampires & Dragons. What's not to like?
Reckon those will keep me occupied for a while. 😁


And so, that just leaves
................................................
And Finally........................................................


It's on the Internet, so it must be true!

Monday, 11 February 2019

Bleeding Art Tissue Fun

  Had a play with this stuff again last week, mainly as I had it in my head that they'd make good backgrounds for my Woodware Quirky Birds stamps.


The Bleeding Art Tissue is different to ordinary coloured tissue paper, as generally the ordinary sort doesn't  do this, although I've heard some of the really cheap stuff will, but the pack of the proper stuff I bought was from Amazon- where else?- and cost £5.62 for 20  50x76 cm assorted colour sheets.
 Which gives you loads to experiment and play with. There's a wide colour range, with lights to darks in each colour.

The process is really simple. Just add  tissue to a cardstock background, spritz well with water, and leave to dry. How less complicated could a thing be?

The cardstock I've used is just a regular white cardstock, nothing fancy. I had some A3 sheets, so used them.
 I just tore up my tissue, but you can die cut it too, if you wanted circles/squares/ diamonds/hexagons etc. Depends how regular you wanted the background to be. Also, depending how carefully you lay the tissue down and spray will give assorted results. You can see white gaps in my areas of colour, which is from creases in the paper.


You can allow it to overlap, or leave spaces. You can spray the cardstock with water first to help the tissue stay in place whilst you spray it properly.
 The tissue needs to be wet through, but you don't need water running off the cardstock.


 On some sheets I gave a light spritz with spray inks first, before adding tissue, others I just left white.


These took about an hour or so to dry, then I peeled off the tissue. Don't discard this tissue- it's good for at least a couple of uses at full colour, and further uses after that the colours will gradually get paler.


Mine all went into a document wallet for next time.


All the tissue peeled off, and if there were any that you felt needed more, you could place more tissue and respray.


In order to find the best placings for my stamps, I stamped them onto OHP film, with Staz-on.


These were the 4 images I started with, but I added some more afterwards.


Now, I've read that it isn't Staz-on Ink that is harmful to Photopolymer stamps, but the Staz-on Cleaner. I'd also heard that you can use hand sanitiser to remove it from stamps, so gave it a go.


And after. It definitely does do the job.
 And while we're on the subject of cleaning, the colour from the tissue will come off on your fingers, and I can tell you that Imperial Leather soap is ace for removing ink from your skin.


These were all the images I stamped out, after they'd been trimmed down.


These two butterfly ones I've added some colour with Prismacolor pencils.

There'll be a part two to this as I get them all made up into cards.


Wednesday, 6 February 2019

WOYWW #505-The REALLY Untidy Edition!

I know, that doesn't look too bad, don't worry, I'm saving the best- or worst- till last!
 I'm having a go at a technique I've seen used by a lady on Facebook, but- wisely, as it turned out- I decided to have a practice at it in a journal first. I've used this journal a lot for trial runs/practice stamping, and it's useful.
Linking at Julias place, The Stamping Ground, as always.


I'm using my good old Adirondacks- I think what everyone used before Tim and Distress!
 Anyway, the stencil I cut on my Silhouette, using OHP film. I got a great deal on a couple of 100 packs when our local Staples was closing down, and it's great for making your own stencils, either  with a digital cutter, or dies. Although I find with the dies, they cut best if you're using the Precision Baseplate for Intricate dies. Probably because dies don't actually cut through material, they crush their way through it, and that doesn't work so well with the film.
 Anyway, got my base inking down, so the second part is adding in more colour, like this, using a circle mask.Not happy with it, needs more practice. And I'll watch her video again tonight, lol. Link for that is HERE, if anyone wants to see it done properly. 😃 She also has a link there to the blog she first saw it on.


So, what else has been going on. Some Bleeding Art Tissue over the weekend, for starters.


Made up 4 or 5 sheets, using various colours. Brilliant for making random backgrounds. I got mine from Amazon, Not expensive, and you can use the pieces more than once, although they will start to get paler after about the second use.


I want them to stamp some Woodware Bird stamps on I bought back last year.
What I've done is make use of that OHP film again, and stamped the images onto that, so I can move it around on my background to find the sweet spot.
 This is one of the Quirky Birds, I've a second, and also an owl.


Speaking of Woodware stamps, got these in sales online this week. Reckon the Butterfly will work on this background too.
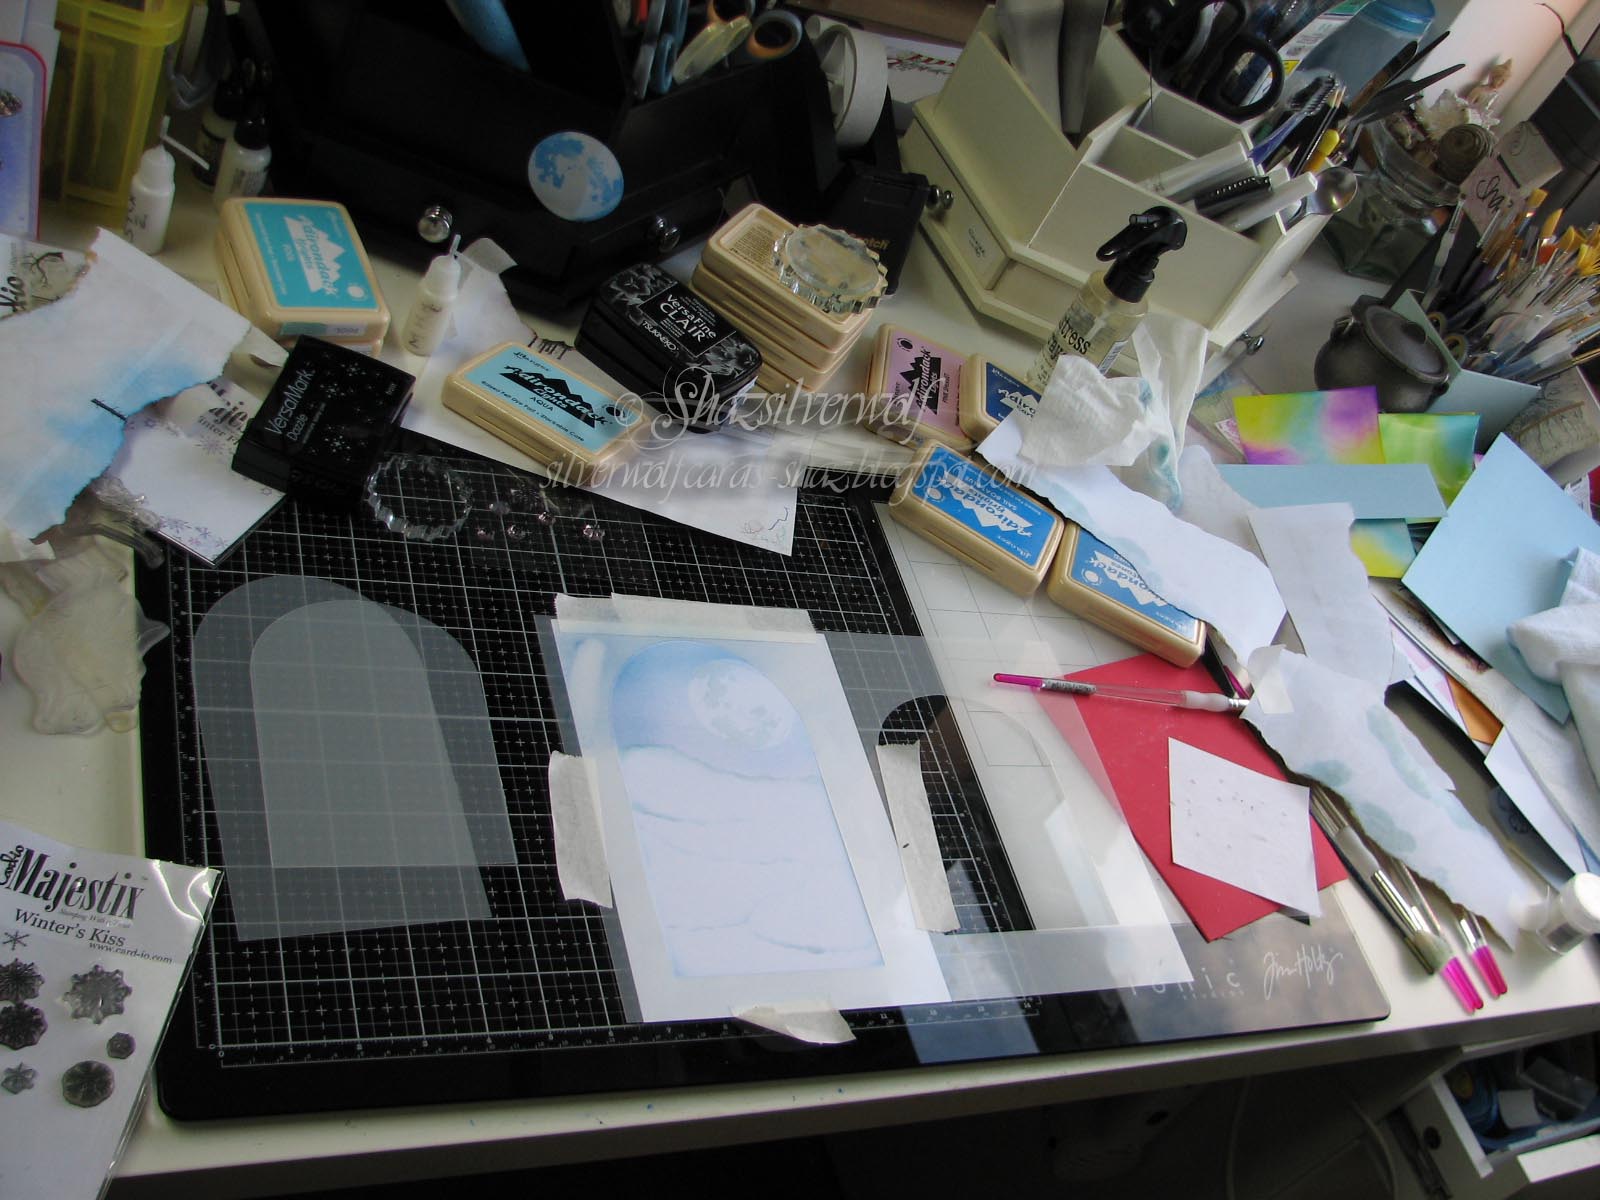
So, that Untidy Edition bit? Well, over the weekend was the latest Christmas Card Club Challenge,(post below), and my desk from then ties in really nicely with this weeks And Finally. Bit like an explosion in a craft factory.


Inks, stencils,stamps,paper masks- notice the moon mask stuck to my craft tidy, so I didn't lose it?


So here it is, this weeks And Finally....................................


Plenty of potential for fiasco on that desk, I reckon!

Oh, just remembered this- You probably know by now that Google + is finally being withdrawn. If you want to check out what you may need to do with your Blogger settings, I'll share THIS BLOG that one of the CCC ladies posted. She gives clear info, with pictures on any settings you may need to adjust.

Sunday, 3 February 2019

Christmas Card Club #3- Angels or Fairies.


This fortnights challenge was set by GranMargaret, and she wants us to use Angels or Fairies. I don't have any angel stamps in my stash- apart from a set of tiny ones from Card-io-, but I do have fairies. Lots of fairies.

 My scenes were inspired by this card on Pinterest, which unfortunately has no name or blog attached to it, so I can't provide credit to them.


I cut the masks I used myself from Stencil material, which I bought from E-Bay. The circle used a die, the outer circle from a Crealies Patchwork die set. The Bell & tall arch were cut on my Silhouette.


I cut two sizes of the arch, but in the end used the larger one, which is roughly 7" x4".


I used my much loved Adirondack pads for all the inking, and Versafine Clair in Nocturne for most of the stamping.
 I stamped the moon stamp in Adirondack Aqua, and blended a pink, pale blue and medium blue for the sky. All the hills were inked in using Adirondack Stonewashed.The tall tree has Liquid Pearls in Peacock & Garnet as baubles. An acrylic star added to the top. The Fairy, Fairy Fir Tree (2) & Moon all Lavinia Stamps. The treeline was created with Card-io stamps,Mini Tall Trees. The single tree is from a Visible Image set, Peace, Love Hope. Greeting from a Crafters Companion set, Festive Sentiments.

 The small snowflakes are from Card-io,an older set called Winter Flurry. I stamped them in Versamark, then added WOW! Opaque Bright White EP. This is an A4 folded cardstock base.


The inking was done the same way on this bell shape, and the stamps used here are all Lavinia stamps, Fir Tree, Fairy chain (small), and Moon. The sentiment is from a Phill Martin set, Scribbled Christmas Petite Sentiments. The fairies & the sentiment were stamped in Clair Twilight.
I outlined the bell with a pale blue gel pen, then went over that with a Gelly Roll Clear Star pen. The card base is a 7" square scallop.This one also has embossed snowflakes, but hard to see in the pic.
 Stickles instead of  Pearls used for the Baubles.
 I guess I could call this one Rockin' around the Christmas Tree!

Final card, and this one uses the same tree as the first one, Fairy Fir Tree 2, just not fully stamped. The fairy, Midsummer Night is the same one too. Again some small Card-io trees from the first set used to stamp a treeline. Same liquid Pearls used, and this time the sentiment is from a Hobby Art set, Winter Wishes. 7" card blank used again. Winter Flurry stamps used for the snowflakes, heat embossed as before.

Thought you might like to see how much mess I can create!
Entering these into :
A Perfect Time to Craft Challenge.
Winter Wonderland Challenge 
Crafty Hazelnuts Christmas Challenge 
Crimbo Crackers 
Crafty Creations Challenge

An End of an era

An end of an era

I write this with a broken heart, that only time can heal My beautiful, wonderful wifelet Shaz (Silverwolf) passed away peacefully in the ea...