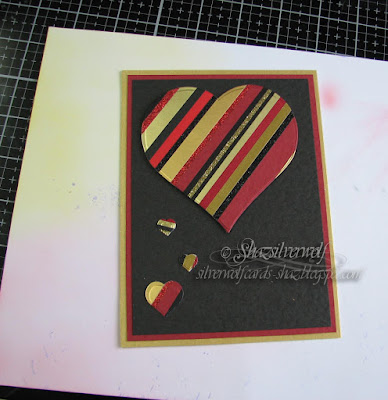
The main focal point for the card was the hearts, die cut from a piece made with red, gold & black strips, a technique done back HERE.
I layered the black card onto dark red, then gold cardstock. The large heart is attached with foam pads, the smaller ones added with Multi Medium Matte.
Next I created a duplicate matted layer for the whole card front, using the same cardstock. I started with the gold layer at roughly 7¼", and came down a quarter inch at a time for the red and black.
All three pieces have some texture to them, the red & black being a hammered finish, and the gold has a cross hatch pattern.
I layered up both with DST, then added the focal piece to the Matt layer.
I didn't add it to the card front yet, as I wanted to add a die cut ribbon, and wasn't sure exactly how this would fit, so decided to wait till after I'd done this bit.
Normally, I'd die cut these ribbon parts from paper, but I wanted it to match the rest of the card, so used some scraps of the red & black card. This did make the bow a bit thicker, but I found that if I curled it around a stencil brush handle, I could get the bow to curve, without it getting a crease.

The dies for this bow are both Sue Wilson dies, Classic Bow, and Lattice Bow. The Classic, on the left, is used as a base for the Lattice on the right.
The ends of the bow were stuck down with glue dots, which I also used to attach the bow to the 'tails', and then onto the ribbon.
I matted the whole thing onto an offcut of the gold card, then added it to the card front, before adding the whole panel to my card base with DST again.
Now all I needed was a sentiment, and chose one from Inkylicious, Today, Tomorrow, Always & Forever. This comes in two sizes, and the smaller one (approx 1¾" square) is used here. Stamped onto an offcut of the black hammer card with Versamark, then heat embossed with gold EP.
Trimmed it down to fit the space, then matted it on red & gold again.
Stamping was done on the Tim Holtz Platform, as the cardstock surface is quite heavily textured, but this gives a nice solid print.


