
 Hi ladies, back with another Christmas Card Challenge, this weeks theme has been chosen by Gwen, who wanted to see Snowflakes.
I was really pleased to see this theme, as I'd watched a Jennifer McGuire video a few weeks back, called Distress Oxide Resist, and had put it on my list of things to try. I even bought some Oxide sprays for doing it, lol. I've linked to her videos You Tube page.
The beauty- and what really grabbed me about Oxides- is that the colour shows even on dark or black cardstock- these are sprayed onto a navy blue cardstock.
These are the colours I used, the Wilted Violet only in very small amounts.

The base cards are 'notecard' size-which is roughly 10½ x 14½cm, or 5¾ x 4⅛", so I cut 4 pieces of navy cardstock to fit.
To do this, you will also need a Versamark, or Embossing inkpad, Clear Detail Embossing Powder, and some Snowflake stamps.
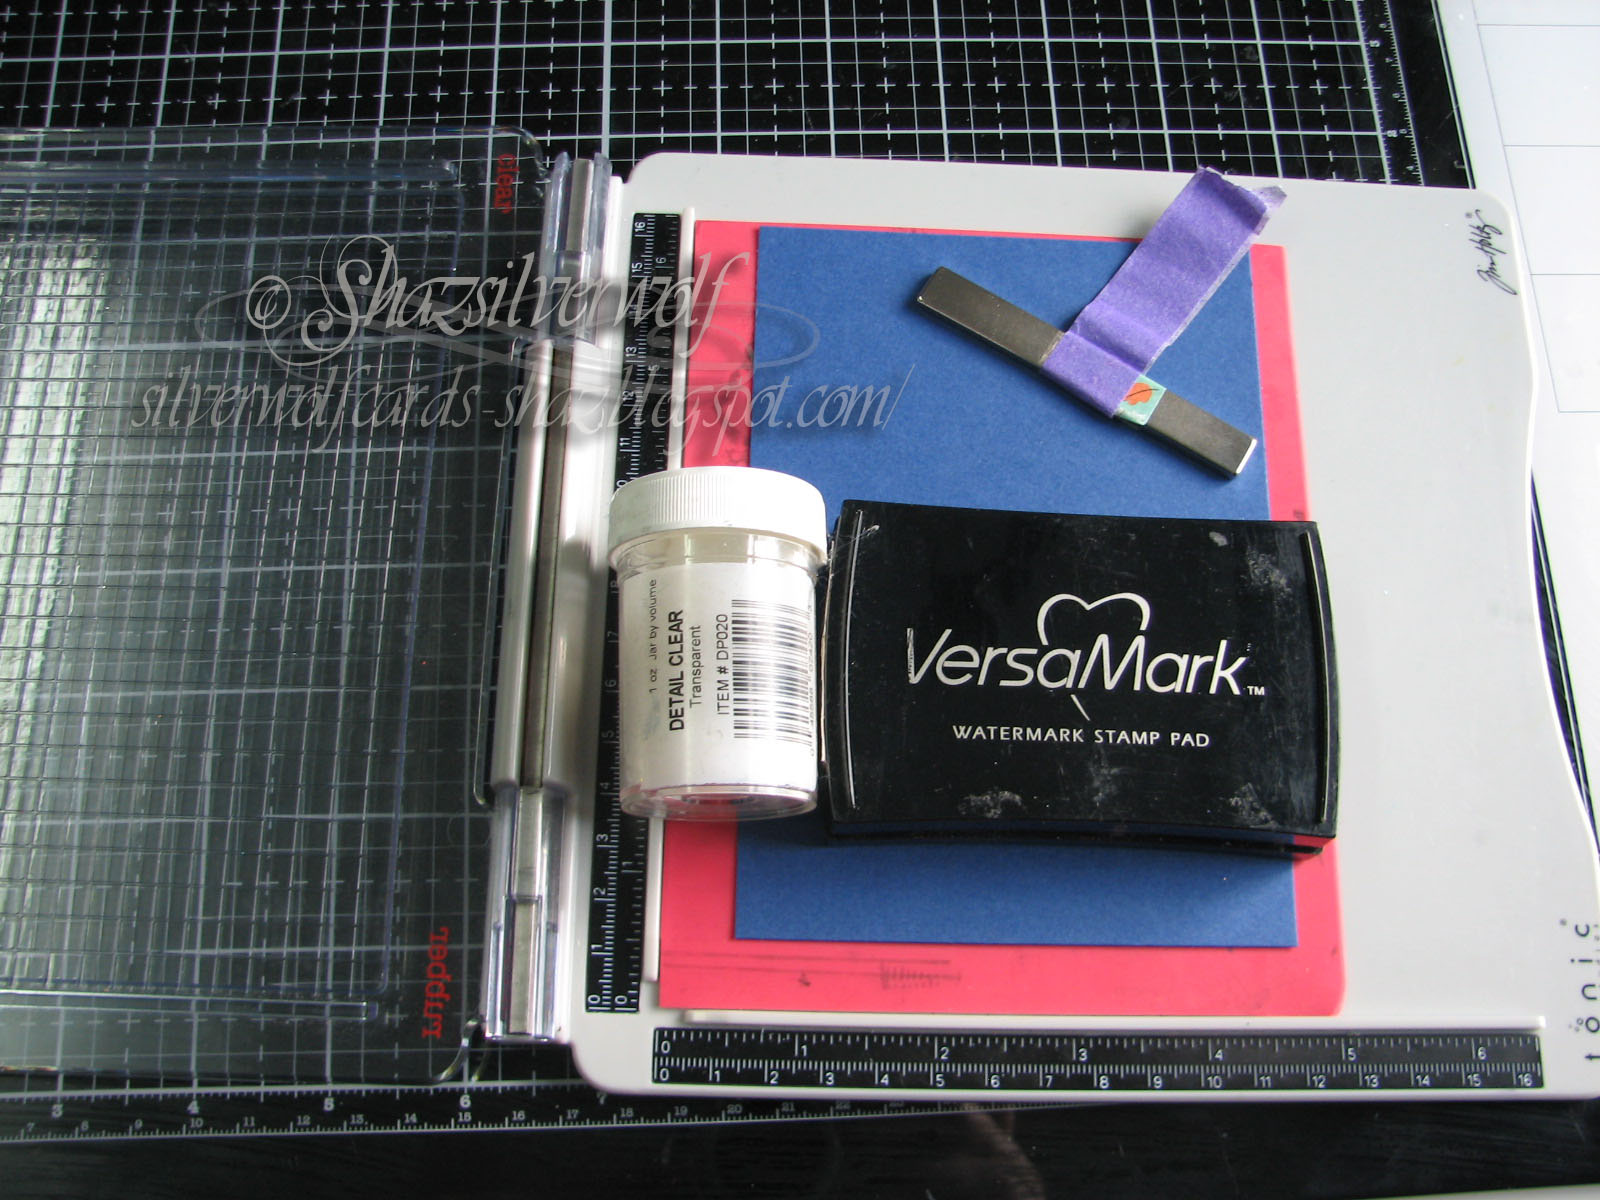
 Mine are the Tim Holtz ones, which come in two sets, one with large
snowflakes, and the second with the same snowflakes in medium and small.
Mine are the Tim Holtz ones, which come in two sets, one with large
snowflakes, and the second with the same snowflakes in medium and small. I stamped 2 large snowflakes on one, and 2 medium, then switched to 2 large and 1 medium. Heat embossed them with the Clear EP.
Now comes the somewhat messy bit, but you can help keep the mess under control by having a box to work in. Mines got some newspaper and heavy duty paper towel in the bottom too.


Starting with the lightest colour, Tumbled Glass, I sprayed from the
bottom up, concentrating the colour at the bottom. Then dried it before
the next colour, as if you do it with the first colour wet, they'll just
mix together.

Next came Broken China, dry, then Mermaid Lagoon, dry, then a little of either Chipped Sapphire or Wilted Violet.

I also flicked a few droplets by undoing the top and just flicking colour from the end of the spray tube.
Dried that, then followed by flicking a few drops of water to give a bit more background texture. I also had a bottle of Cosmic Shimmer Pearl White mist, which I used right at the end, but more about that later.

Tilted them to the light in the hope the Pearl Shimmer shows up!
Next comes the fun bit- ironing off the heat embossing.

Any iron will do- just hottest setting and no steam.


And you end up with the snowflakes revealing the colour of the cardstock underneath, any ink that was on the snowflakes comes off with the ironing, so they look nice and crisp.
The Cosmic Shimmer spray had me a bit worried- handling these pieces my fingers were covered in the mica from it! I gave them a buff over with a cloth, and that seems to have fixed it, but I will be checking them a few times before I use it again!


 All four ironed off, and then I decided I was going to stamp a sentiment on them, so used Phill Martins Stately Christmas sentiments, love this set as it has lots of really great sentiments, in a gorgeous font.
Stamped it in Versafine- I used the Happy Christmas in the bottom right-and heat embossed with Silver Detail EP.
Added them to the card bases with DST, and I'm done.
Two things I must mention- first, I'm sorry but I only realised yesterday I've missed one weeks Challenge!
And second, I have no idea if my font is a bit too small- please let me know if it is, or if it's OK. This new Blogger update is playing games!


