

Dimensions first, and the Original has a stamping area of 8½"square, (21½cm). The Travel version is 6½" square, or 16½cm.
Meaning the size difference isn't huge, and certainly accommodates a wide range of stamp sizes.
Pretty much the largest stamps I have are 6" square background stamps, and it will still accommodate them.

Like it's big brother, it has clearly marked rulers on the top and left edge- black rulers with white markings,⅛ on the inches scale, 1mm on the decimal.
Also like the original, it has an open right hand side, and bottom, so you have no restrictions on card/paper size.

That's an A4 sheet of paper.
It also has the same system of an engraved grid on the lid, and a CLEAR and a RUBBER side to flip.
It comes with two round magnets, and like many I have wrapped a strip of washi tape round them leaving a long end, to make them easier to pick up.

If you wanted longer bar magnets instead, I believe Tonic do do them, but you can easily buy Rare Earth magnets on E-Bay or Amazon quite cheaply, just be careful not to buy ones too thick. The originals are 2mm thick, so don't buy any thicker than 3mm, I'd say.

The underside is the same, with a non slip foam matting.

This is the hinge on the original, a metal bar that slots into metal lined plastic hinges.
The stamping plate is swapped between the two sides by standing the plate upright, lifting out, turn, and put back into the slots. Job done.
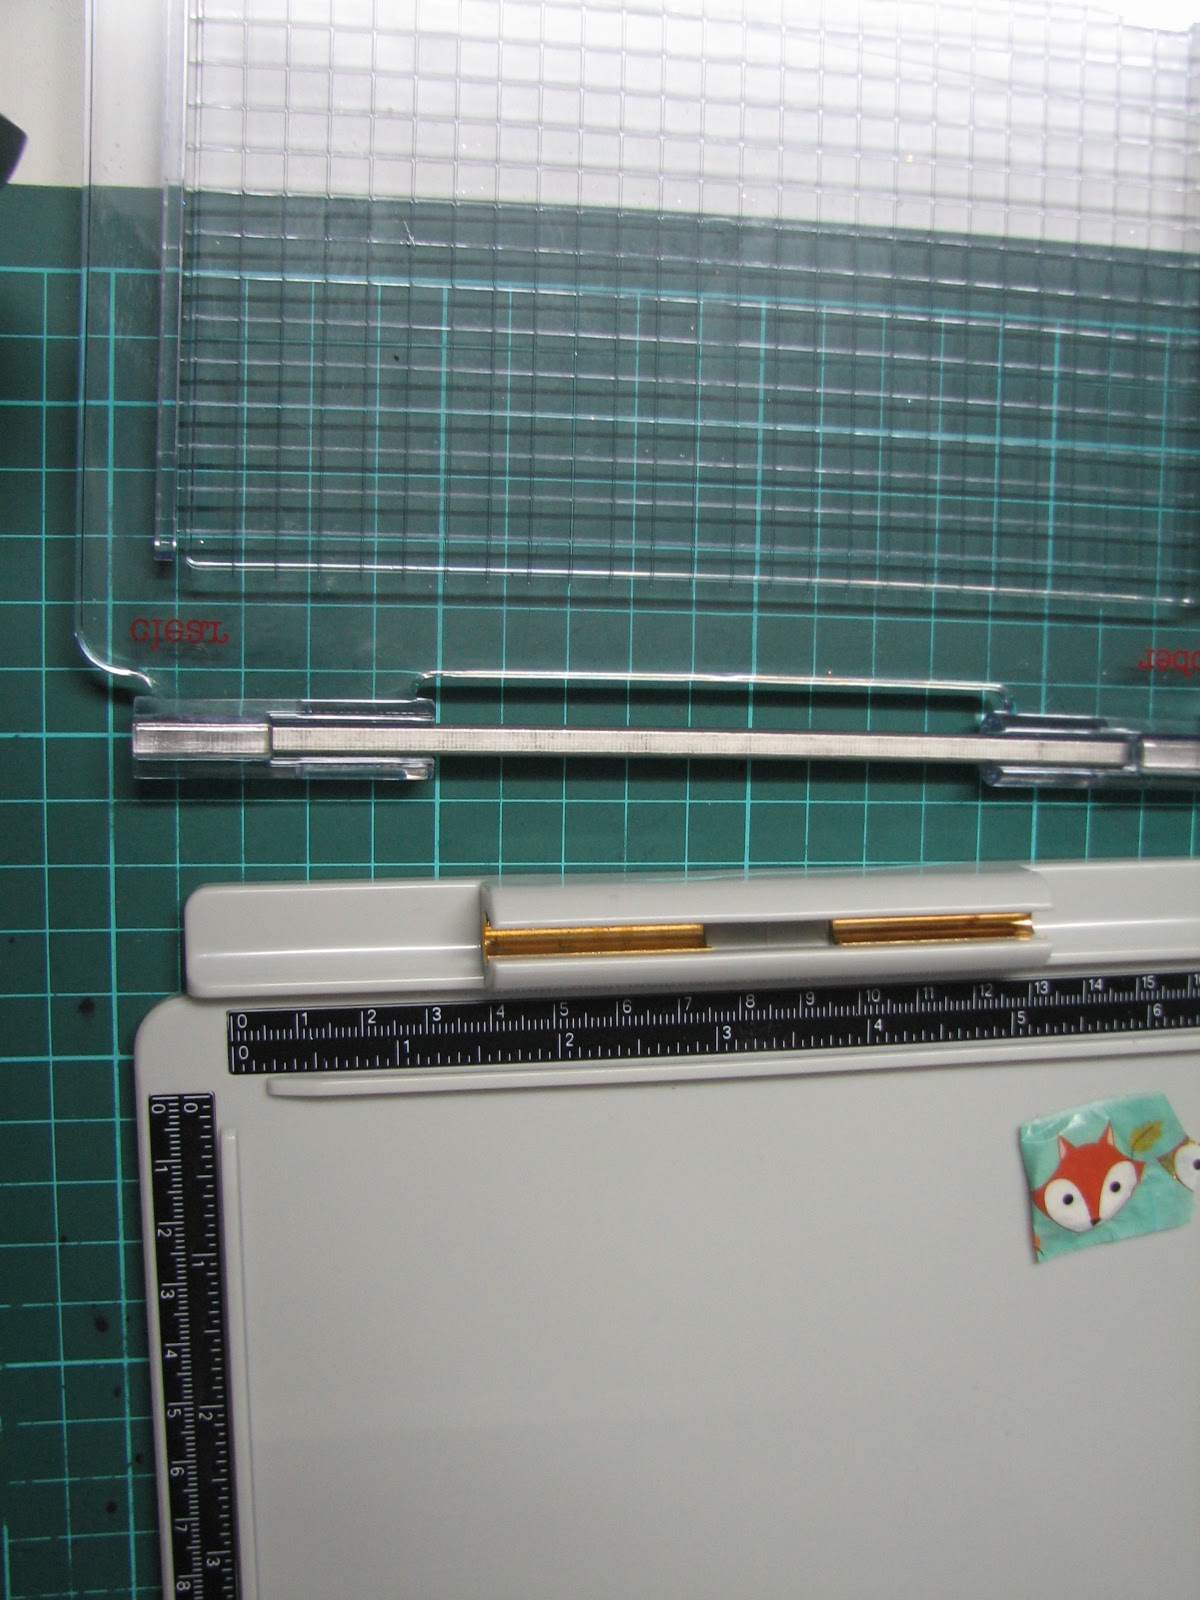
The travel version has one longer hinge, also metal lined plastic,and the same metal bar
Swapping the plate around is done exactly the same.
The only real difference in the design is the shape of the lower front.

The original has a lip to lift the lid on the left, or right side, depending which type of stamp you have it set for, and the Travel has a central one.
The lid certainly feels just as robust as the original, and Tim did say they were designed to cope with CPR stampers with no problems!
So, onto some stamping with the Travel version.

Using Versafine Clair Nocturne, perfect image first time.
This next info applies to both platforms, and indeed probably all brands of them, but not having used any others, I can only comment on this one.
 These are my favourite reasons for using a Platform. See the ink on the lid from the edge of the pad? Something I've often had happen with acrylic blocks. And very easy to accidentally get onto your cardstock too. With the platforms, it doesn't transfer.
Another problem it cuts out is when you accidentally get some ink onto your fingertips, then smudging that onto the stamped cardstock when you stamp the image, because you haven't noticed? Doesn't happen anymore, as after you've inked the stamp, your fingers don't get near the cardstock.

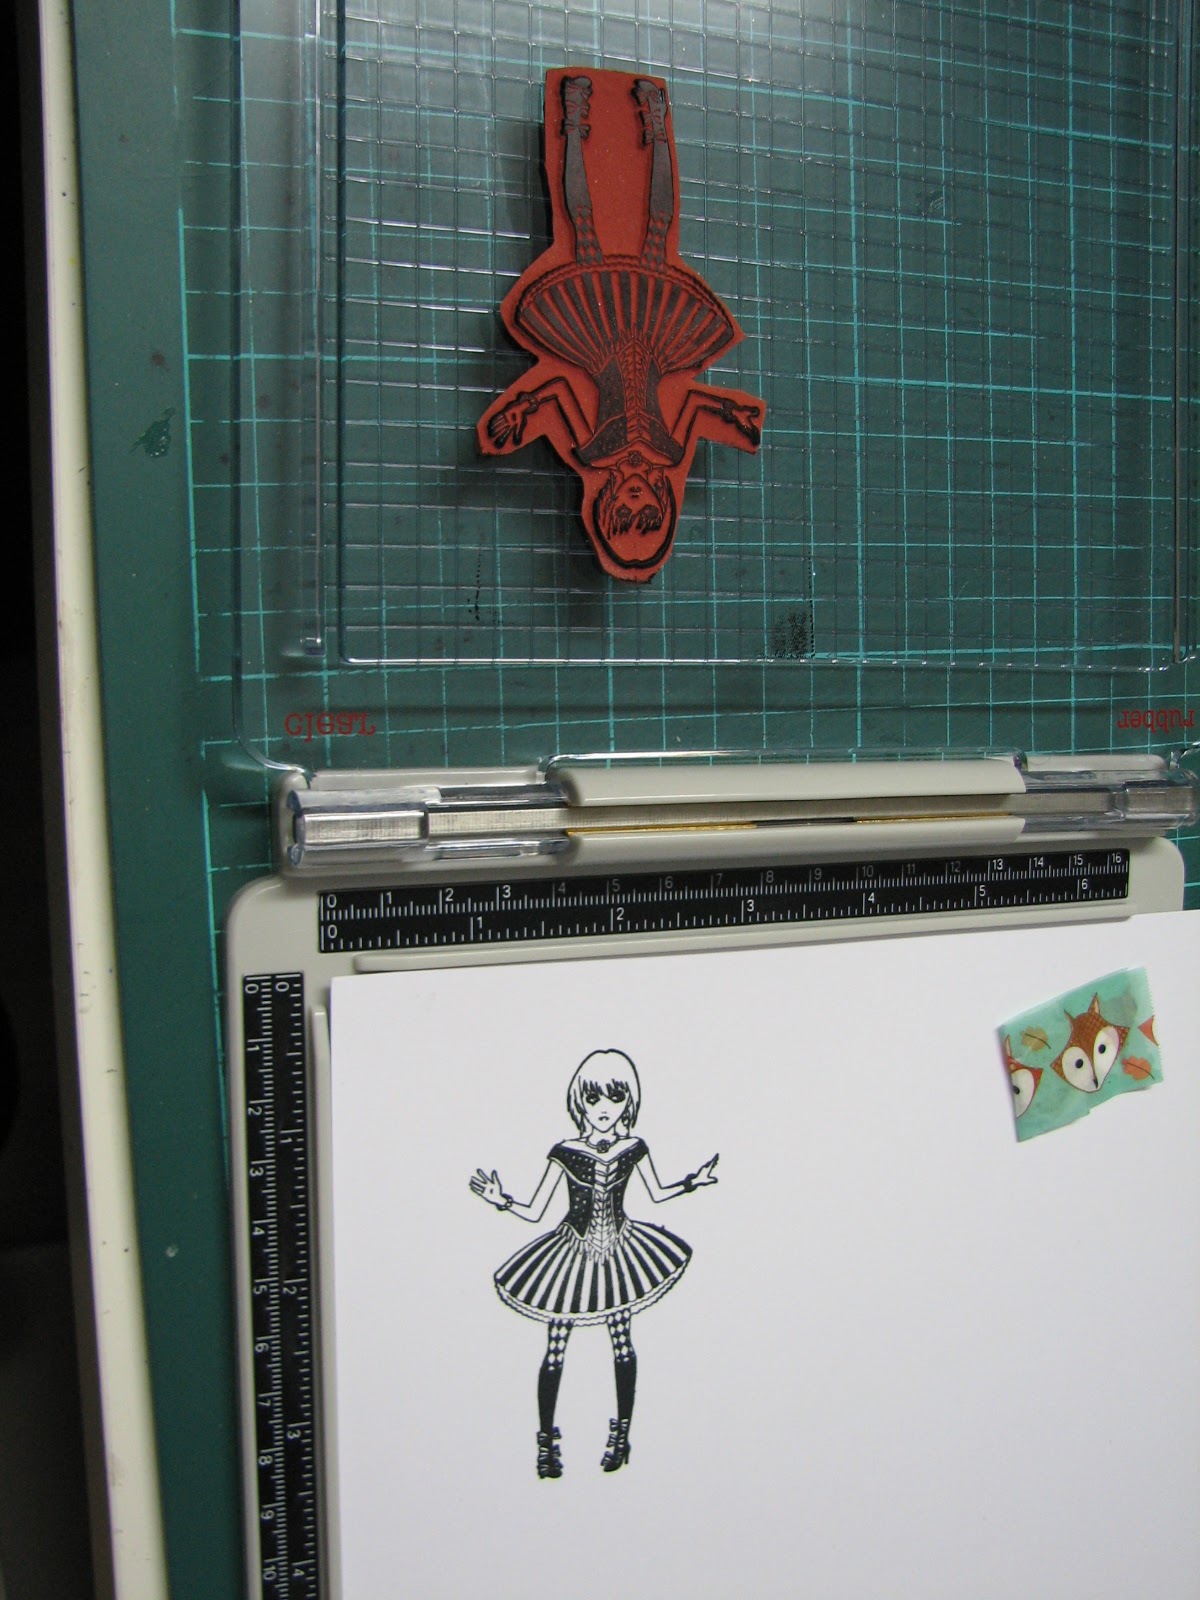
Another stamping problem can come from ink on the edges of a stamp being transferred to your cardstock, something I know I've had happen in the past. I try and close cut my stamps as far as practical, but sometimes it still happens.Often, the problem is worse with pigment or embossing inks, as the pads are much squishier.
Here, I've deliberately got ink onto the edges of my stamp. And on the lid, but that was an accident,lol. In the past, I've had had to try and clean that off before stamping.

 But with a platform, as you can see, no ink transfer at all from around the edge of the stamp.
 There is also an easy and totally free way to be able to stamp an image going off your page at the top and side that are not open. I know MISTI make 'corners' for theirs, and probably others do too, but I just cut a couple of strips of cardstock- I used the back of an old notepad- about an inch wide and use them to line things up.
Put your spacers onto the platform,
then place your stamping card where you want it, and place your stamp with however much overhang you want. You could make a variety of different spacers for doing this with.
Then pick up your stamp as normal, remove your spacers and stamp.
Using thicker cardstock means you can still butt your stamping card into the corner in case you need to restamp.

It was a while before I bought a Platform at all- the high price of the MISTI put me right off- and I didn't really think I needed it. Then when Tim was demoing his, and I saw some of the benefits, especially being able to restamp if things didn't come out perfectly, I went for it. Plus, his was much cheaper!
It's not a purchase I have ever regretted. I love that you can line things up, like sentiments, with no eyeballing it to get it straight- which it rarely was. The restamping ability is brilliant, especially for solid, or large stamps.
So, overall thoughts.
The Travel Platform is excellent. It's as sturdily built as the bigger one, and I really think it would be hard work to break it. Just remember that when you want to flip the lid, whichever one you have, make sure it's in the upright position to do so. It should just lift out and slot back in, if it doesn't you haven't got it straight.
I think, if you are buying a platform for the first time, this is the only size you actually need. It wasn't out when I got the original,otherwise this is what I'd have probably bought. My bigger one will still get used, I'll probably use the Travel for smaller stamps & sentiments. But I really don't think there is any benefit to having the larger one, to be honest, unless you have a lot of HUGE stamps!
There are Travel cases available for both sizes if you take stuff to classes/workshops etc.
One final bit of advice from Tim- you can use anything to clean your lid & base beside Acetone (nail polish remover). He recommended Hand Sanitiser, and it does work a treat. But he said any other type of cleaner would be fine, just never the acetone. I don't think the scratchy sort would be a good idea though.
EDIT:
Coming in with a bit of extra info here, based on a comment left in my WOYWW post, about stamping problems with the Platform. One of my visitors said she was having problems with U/M stamps, so here is what I have found. U/M can have cling foam on, or be bare rubber. If bare rubber, then I always use these on the CLEAR side of the platform, and I'd add that the thickness can vary a lot depending on the brand. With cling foam, it can depend on whether the stamps have the standard thickness EZMount, or the thinner one, as well as the thickness of the rubber itself. I try and gauge how they compare to a clear stamp- if they seem about the same, then I'll use them on the CLEAR side, if they are thicker, then I use the RUBBER side. Equally, I have often found that I need to use CLARITY clear stamps on the RUBBER side, as they are very, very thick clear stamps.
On occasions, some bare rubber, are very thin, even thinner than clear stamps. For that, I've found a few sheets of copy paper as a shim help a lot. A lady on SCS recently posted that she had solved this issue using a Silicone Rubber Embossing Mat under her cardstock, and speculated that a Silicone Baking Sheet- often found in Pound/Dollar stores- might work just as well.


