A warm welcome to all my visitors,

Thank you for taking the time to come and look at my blog, I really do appreciate it. I would love you to leave me a comment, even if it’s just to say Hi. It means I can come visit you!

All my designs are original, so copyrighted to me. If I have been inspired by someone elses work, I have named them in the post, and where able, I have provided a link.

Please feel free to use my designs for inspiration, I just ask you to credit me, and provide a link back to my blog.

Thanks, Shaz XX

Monday, 21 August 2017

Hot Foil & a Laminator

Right then, finally I'm here with those images I was going to try through the laminator. Firstly, let me say that it was a project shared on Facebook, by a crafter called Julie Rose, who is a DT member for sweet Poppy Stencils. I've linked her blog to her name, and you can go see the fabulous project that really inspired me.
As you can see from the pictures, it worked really well.


The ones at the back look black in the photo, but the light wasn't shining on them. You will see further on just how great they look. I will warn you this post is VERY picture heavy- some projects have 2 or 3 pictures, so you could see the colours better.


This is all of the images I ran through the laminator, but I'll show them individually throughout the post.


I also tried achieving the effect using an ordinary iron, and that works perfectly too, so you can do this even without a laminator.


 If you do want one, you can get a cheap one for about £15- Amazon, Argos & Staples all have them around this price. You only need a basic A4 one.


I sandwiched my projects inside a folded piece of A4 printer paper. Then I discovered a couple were too big to be completely covered by that. I found I had an old A3 size sketchpad, I think from Poundland, so tore out a sheet of that, folded it and trimmed it down in width to fit the laminator.


 I will say that I think it's wise to feed the folded edge through first, so no risk of anything getting wrapped around the inner rollers. You do need to let your laminator get completely hot, so make sure the 'Ready' light is on before feeding anything through.


Okay, right here I'm going to put my hand up to being a bit dumb! I'd trimmed all my images down, and run them through the laminator with  different colours of foil, then set them aside to cool. I even did the ones with the iron too. Then I  took the first one, and began to peel off the foil.
It hadn't worked! None of the foil had stuck. Now, right at this moment, there are probably quite a few of you laughing at this picture. Me, I'm stumped. So I ran them through again. Still no good. So, I tried a Google search for some troubleshooting.
 The penny dropped with a resounding clang, when in answer to someones question about which way up the foil should go, the answer was colour side facing UP!
I'd put all the foil on upside down.😀😀😀
So I picked all the foil off, and lay it the right way up.


 Incidentally, I spent a while adding foil to these two, as I wanted to have green stems, and coloured flowers. These two, along with another, are the ones I set with the iron, as I thought there was too much chance of all those small pieces moving around in the folded paper 'carrier sheet'.


After  I had run the first one through, I checked a small corner. It had worked! So now I fed them all through.


I carefully peeled back the foil, after they had all cooled down.


Isn't that stunning?  I'm amazed at how good it looks.


 The pic above was lay flat on my desk, here it's stood up facing the window, so you can see how the foil shows up in the light.


This pair both have a holographic foil on them, and it's the holographic ones that give the most stunning results.


 Here I've changed the angle slightly.


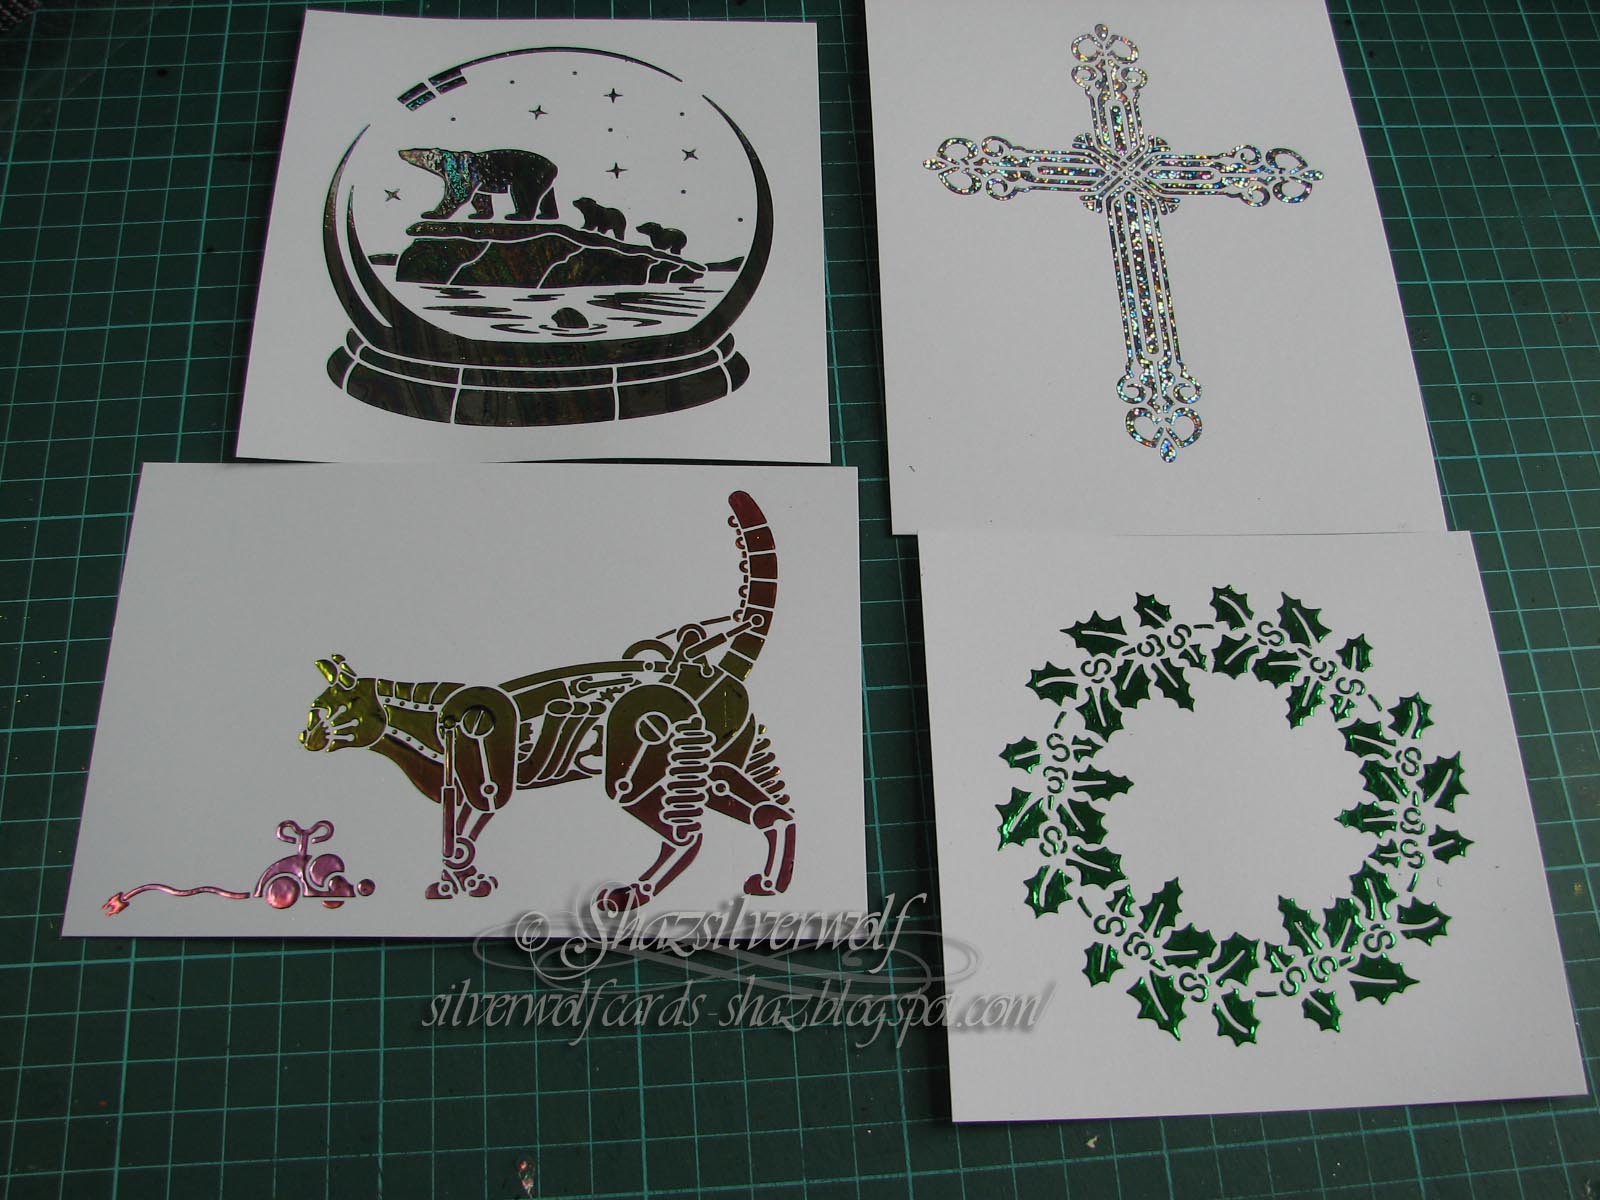
Although it looks black in this pic, the Holly wreath is actually done in Green foil.The Baubles have a Sunset Rainbow Foil on them.


This cat & mouse also has the Sunset foil on.


This cross looks fabulous, this one has a Silver Glitter effect foil on, and I love how the colours change so much.


This Polar Bear Scene has a sort of 'Oil on Water' foil on.


 The actual stencilling was done with sweet Poppy Glossy Black paste, which is how Julie did hers. The Fairy on the Moon, I did in Bronze paste, I just wanted to see if other colour pastes would work, and it seems they do.


Gorgeous warm sunset tones in the holographic foil in the top pic, and tilted a little more towards the window for more light, and there are lovely blue tones now.


This Steampunk Butterfly has fabulous jewel tones from the dark rainbow foil. I'd bought a some foil samplers from Tonertex, and this pattern had pieces about 4" square, so I laid two side by side to cover the butterfly.


Right I think for the moment, I'm going to stop there. I'll do a second post tomorrow, with the remaining pieces, or this post will go on forever.
 All the stencils I've used are by Sweet Poppy. The foils come from Tonertex, and Patsy May Crafts.


Sunday, 20 August 2017

Honey Doo Cards


 Finally getting some of those card fronts put together. All these images are from Honey Doo stamps, those on the left here are all a design called Butterflies & Flowers Large Corner. All the sentiments are from sets by Phill Martin.
 I've added some Sue Wilson Dies ribbon & bows to them, the Red one uses Lattice Bow over the Classic Bow, which is plain. The green ones use Filigree Bow over the Classic.


The sentiment on all three is from Butterfly Elegance sentiments, and the stamping was done in Brilliance Pearlescent scarlet, and heat embossed with WOW! Sparkling Poinsettia EP. I used the same ink & powder to stamp the image onto red vellum, after cutting them out, I shaped the petals using an embossing tool, the added tiny red seed beads to the centres with Glossy Accents.
 The greens were done in the same way, this time using Brilliance Pearlescent Jade, and WOW! Golden Pine EP. A corner rounder was used to add some interest, doing opposite corners in the left hand card.


Both these cards use the same stamp, Floral Corner Flourish, but in the black card I placed it centrally, and in the purple card, it's in the corner.   I added clear gems to the dots in the black card, and purple one to the purple card.Purple Glitz WOW! EP was used there, and on the black one, I used Clear Hologram Sparkle.
 The sentiments are from Scribbled Sentiments, and Scribbled Corner sentiments.
Again, I rounded opposite corners on all the layers, and also on the base card of the purple one.


This blue card is stamped with Shower Bouquet, In Brilliance Pearlescent Blue, embossed with Arctic Blue WOW! EP. Acrylic gems added to two opposite corners, and sentiment from Scribbled Sentiment Corners. The backing paper is from an old Papermania pad.


Back to Floral Corner Flourish for the pink card, stamped in Pearlescent Coral, and Clear Hologram Sparkle powder. Pink gems, a Scribbled Corner sentiment, and rounded corners finish it off.


So thats all the Honey Doo cards finished, next post will be some Emboss resist with Brushos, amongst others.


Wednesday, 16 August 2017

WOYWW #428

Well, this weeks Desk Of Delights comes to you covered in card fronts & paper! You can catch up on what all of that means over at Julias place, The Stamping Ground.
 I said last week that I intended to get some of my UFO's made into cards, and at the very least, most of them are now matted & layered. A few are now completed cards.


These need a sentiment adding, which is why some have a longer piece of backing card.


These, using Honey Doo stamps, need finishing off. I've got the vellum flowers to go on top already cut out.


The scenic card is finished, the Teasels needs a sentiment.


Same here, just waiting for a sentiment to be added.


I was fixing a bracelet the other week, and had so much trouble threading a needle with the elasticated Crystal string. So I did a bit of an internet search, and found these.
The eye is like a needle threader, which will make things so much easier.


Now, I did say I wasn't going to start anything else until I'd cleared my UFO mountain. However, I saw a fabulous card on Facebook, which basically uses a laminator to attach hot foil to stencil paste. So, I got some foil ordered- I'd not got any biggish pieces- and I've done up a batch of stencilled images, ready to give this a go.


This is a handful of the pieces I've done, they need to dry overnight, then I can try it out. I've also since read that hot transfer foil can be applied with a hot iron, so I'll be testing that out too. There should be a post about it towards the weekend.


I'll be really pleased if this works as well as the project I saw, it means my laminator will get some extra work. At the moment it gets used to laminate sheets to store my stamps on, other than that it just sits on the shelf.


Right, I'm done then. Be round to see you all a bit later. And thanks to everyone for the birthday messages, and cards for us both. Much appreciated.
As Doug was working on Monday night, we went out Saturday night for a meal. Did our exchanging of gifts when he got up Monday afternoon.

Wednesday, 9 August 2017

WOYWW #427

Hump day again, and time to meet up at Lady Julias (if the Tiara fits....) place, The Stamping Ground.
I have a cunning plan...well a sort of plan anyway. I have not really crafted a lot these last couple of weeks, I suspect my mojo is still sitting in a bar on Kos, sipping on cocktails.
 So, in an attempt to drag him kicking & screaming back, I've been sorting out my UFO box. I was actually quite shocked at what I found- loads of pieces I'd forgotten about.


Exhibit A is some Stampscapes scenes, an experiment with some glitter paste, a few masterboard pieces and the bits for some Honey Doo stamped florals.


A couple of plastic wallets with half done projects in.
A whole load of those Mixed Media die cuts, matted up and waiting to be finished.
 A Christmas snow globe scene, and another wallet with some backgrounds in.


These are the backgrounds from the wallet- some just sprayed, some had white heat embossed images done with Brushos.


I found these in the same wallet- heat embossed dragonfly images, and I think smooshed through Distress Inks on my craft mat. Shows how long they've been there, having to try and think how I did them.


The Mixed Media die cuts.


So, the project for later this week is to turn most of these into cards.


And I've barely made a dent in the UFO box! I've told myself no more experiments until I've at least made all these up.


Finally, a quick giggle for everyone.


Quick edit I forgot about last night:
 I've had my PET scan, last Friday, and Monday morning I had my Radiotherapy planning session, and my first Radio is scheduled for the 31st of August.

Wednesday, 2 August 2017

WOYWW #426

Hello everyone, and welcome to August. Eighth month of the year. Where on earth did it all go? I've been trying to empty my UFO box this week, but not got very far yet. I got distracted. That Tim Holtz fella did a couple of live feeds last week showing off some new stuff. Yeah, he got me.


But be honest, can you blame me? These are AWESOME! Love those shaggy ravens/crows.


I also fell for a couple of new stencils, and an older one while I was at it.
 There were a lot of other things, so I think I was quite restrained, in the circumstances.


I'd ordered from Art From The Heart, and what a pretty package they came in, inside a bubble wrap envelope of course.

Isn't that just a great way to package orders?


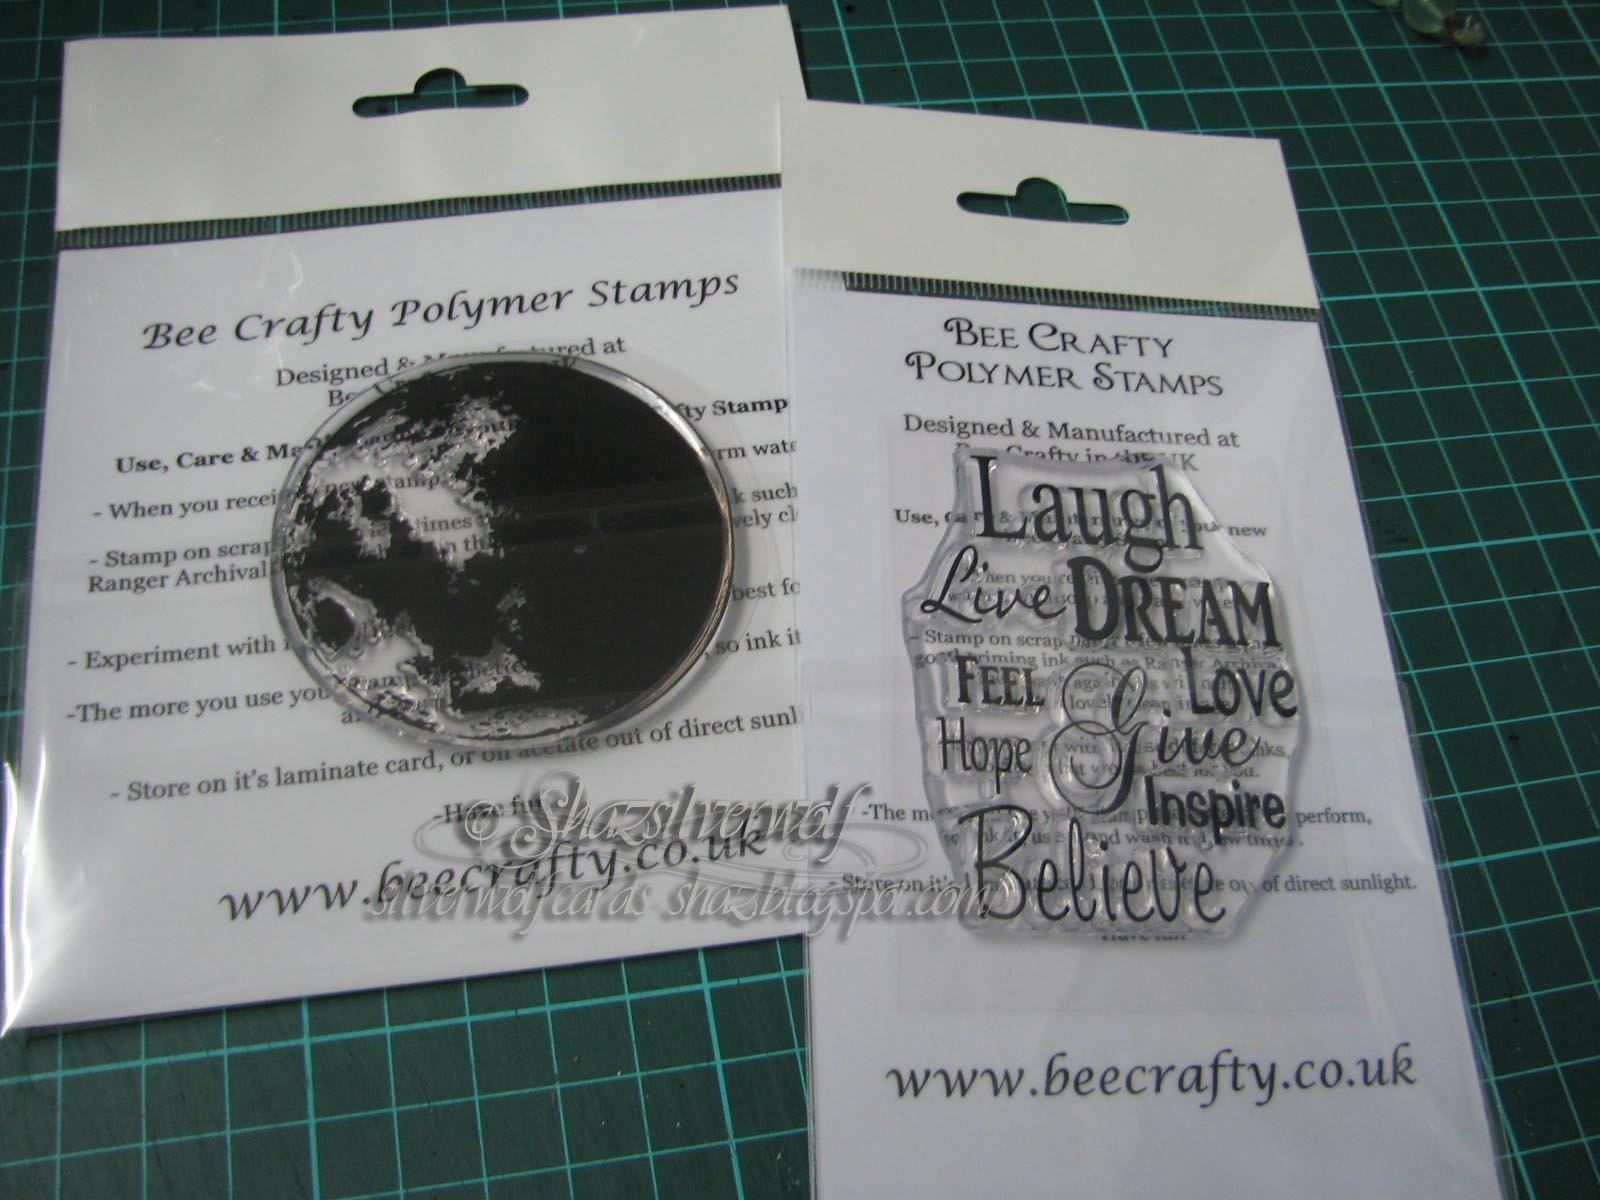
I also bought these two stamps from Bee Crafty- Love the Moon stamp, been waiting a while to get it, it sells out super fast.


All that brings me to our Thought for the Day.


And on another note,had my Oncologist appointment Tuesday afternoon. Lovely man, took to him straight away. Got a nice sense of humour. Discussing the Radiotherapy I'll be having, he's explaining that it's very new, only been in use for the last 18 months, so they are still collating data as they go on. 'I prefer to use the term Pioneer', he said, 'rather than Guinea Pig'. He's arranging a PET scan for later in the week, just to make sure there is nothing else happening, then the course of Radiotherapy. As it's a condensed form, I'll be having it 5 times, every other day, so taking just under two weeks. So at least that's sorted, and we know where we are going with it.
 So, I'll be seeing you all later, have a great Wednesday.


An End of an era

An end of an era

I write this with a broken heart, that only time can heal My beautiful, wonderful wifelet Shaz (Silverwolf) passed away peacefully in the ea...