These were really quick and easy. As I had a bunch of Poinsettia flowers left from the previous card, I wanted something to use a few up, and these cards took about 10 minutes each to make, so great if you need to batch make a lot.
The die is a Memory Box one, called Grand Merry Christmas.

The cutting area of the die itself measures 5 1/2" x 1 3/4"(140x25mm). Obviously, you can extend the length of the straight edge as much as you want to afterwards, with a craft knife & ruler. You can cut two from an A5 sheet of card, with some cardstock left over.
It also let me stash bust a bit more of my Christmas backing paper stash too.
The card bases I'd ordered from
PDA Card & Paper, to mount the glitter tree panels from a while back. They measure
150mmx105mm. You can have them in Landscape or Portrait format.I'd needed the Portrait format for the last batch, these are the Landscape option.
So, first off was to cut some backing paper to cover the front of the card.

I selected a few sheets, marked the dimensions on the back and cut
them down. They're attached to the card front with DST. A tip here I saw
a long time ago,for getting stuff stuck down straight- place your
strips of DST, then peel back 2 pieces of the backing papers to about
half way along.

Now place the corner you've uncovered, and hold in place with one hand. Smooth it down, making sure all the edges are straight, then pull away the DST backing papers. Smooth down, then raise the opposite corner slightly to remove the other pieces.
All being well, you will have a straight placement.The only thing that can throw this off is if the card bases are not cut square, then you may need to trim.
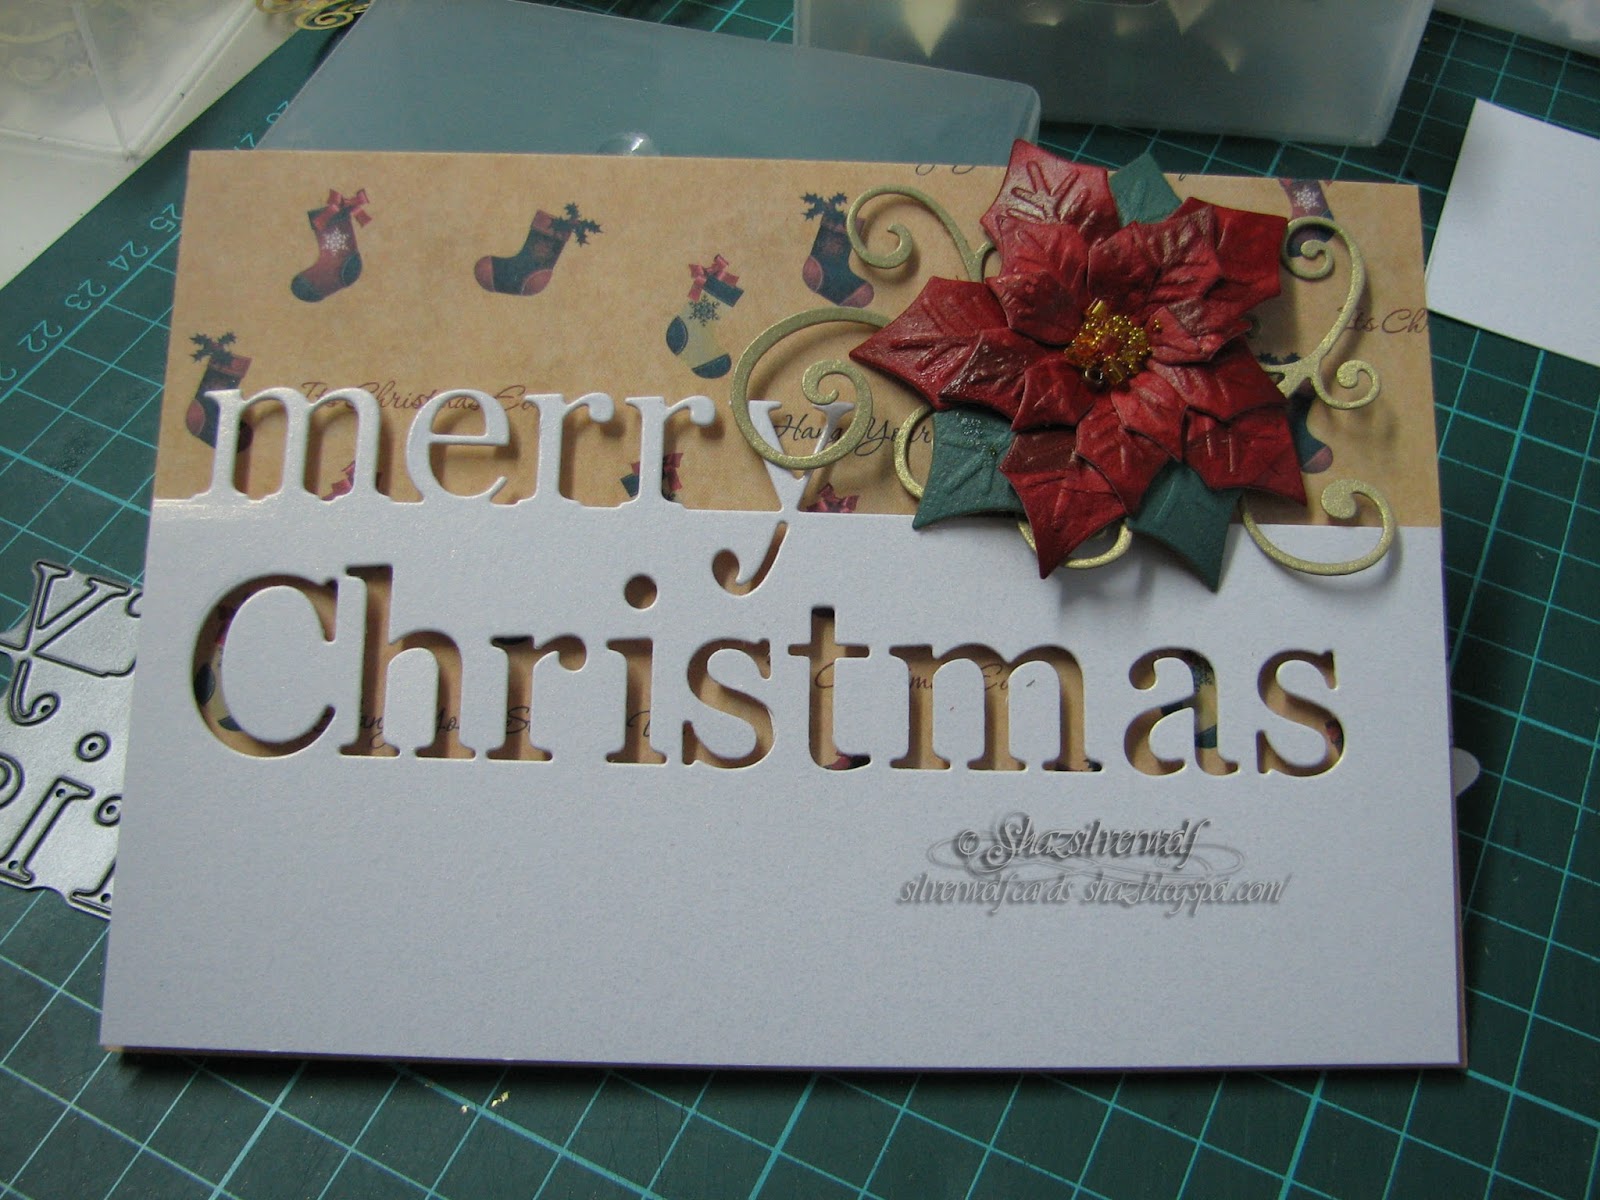
Now to die cut the Merry Christmas.
Place the die close to one edge of the cardstock, and hold it in place with some low tack tape, to keep it straight. Run through your machine of choice, and this is what you get.
If you poke out the 'Christmas' letters into a tub, you have an element for another set of cards, always a bonus.
Continue the straight edge as needed for your card base with a knife and ruler.
Now cut the panel down to fit the scale of your card. Mine averaged just under 2 1/2"(60mm). At this point, decide how you want to attach to your blank. I added some with pop dots, and some flat with DST.
To finish just add a Poinsettia flower, and a flourish.
Word of advice- don't die cut a load of Flourishes in advance to 'save time'. Trust me, it won't. No matter how carefully you lay them in a container, next time you go to get one, they will have magically entangled all the curly bits. It's quicker, and far less stressful, just to cut as you need, honestly.
Place the Flourish- the ones you haven't torn bits off, or thrown in the bin- where you want it to be, put a blob of silicone glue on the back of your Poinsettia, and place on top. The glue will hold it all, no need to glue the flourish separately.

And that is it. 10 minutes, including die cutting, from start to finished card.
Another 7 cards for the Christmas Card stash box.