A warm welcome to all my visitors,

Thank you for taking the time to come and look at my blog, I really do appreciate it. I would love you to leave me a comment, even if it’s just to say Hi. It means I can come visit you!

All my designs are original, so copyrighted to me. If I have been inspired by someone elses work, I have named them in the post, and where able, I have provided a link.

Please feel free to use my designs for inspiration, I just ask you to credit me, and provide a link back to my blog.

Thanks, Shaz XX

Monday, 11 July 2016

Cardio/Clarity Birthday Card

So, I was showing you all the backgrounds I made using the Clarity stencil, and said that I had plans for using them with small stamps- Cardio, Lavinia, Clarity, mainly.
 This is the first one I've done, and it used Cardio/Majestix stamps. These are almost all small stamps, along the lines of the Rubber Stamp Tapestry Peg stamps, and indeed, Cardio do make a few round acrylic pegs to use the stamps with, if you find that easier than small blocks, or if you don't have any.
I will list the sets I used at the end of this post.
 I used the technique I posted about a couple of weeks ago, using images stamped onto OHP( Overhead Projector Film), you could also use acetate, or indeed, plastic packaging for this.

 
 I sorted out a handful, and fiddled about till I had a basic layout  I liked, then added to it a little later.

I also picked one of the backgrounds I made using a range of Green Adirondacks.


 This was my starting point, and I photographed it with my phone, as I knew as soon as I'd moved them, I'd forget what went where!


For the scarecrow, I used Versafine Vintage Sepia.


I switched to Versafine Onyx Black for the next few images, and Versafine Crimson Red for the Butterfly. Smokey Gray for the bunny, and toadstools.


I infilled with some dragonflies,stars and flowers using Versafine Majestic Blue and Deep Lagoon. Most of these pads are the little 'cube' versions, and are really easy to use with such small stamps.I added a couple of leaf stems using Versafine Spanish Moss.


The cardstock is Clarity Stencil card, which is a 7"x7" matte stock. This size works perfectly for a 6"x6" Gelli plate.
 To mount this, I matted it onto a mid-green cardstock, then onto brown.


I'd added a thread for the spider with a fine point black pen.
The dragonflies and small flowers are from assorted Rubber Stamp Tapestry sets, you can find similar items amongst the Cardio/Majestix line.


I also left some spaces empty, so as not to crowd the image too much.


The sentiment is from a Tim Holtz set, called 'Saying Stuff', one of the Visual Artistry sets.
 It comes with a range of sentiments, and a box to stamp them in. Both were inked in Majestic Blue, then stamped onto a scrap of white card. Matted to match the image, then mounted above it with foam pads.

A suitable card for the gardeners in your life?


Card Recipe:
 Stamp sets, all Cardio:
Summer Wreath ( Butterfly, and leafy stem bottom right)
Backyard Blooms (Spider, web,caterpillar, leafty twig top left)
Pleasant Pastures (Scarecrow, Toadstools,snails, small birds)
Cottontail Capers( small bunny)
Birdsong 1 (Woodpecker)

Rubber Stamp Tapestry sets:
Triple Dragonfly Floral SFL 34015
Dragonflies at Dusk  SBI 08000

Tim Holtz Visual Artistry stamp set, Saying Stuff.

Inks:
All Versafine:
Onyx Black
Vintage Sepia
Deep Lagoon
Majestic Blue
Smokey Gray
Crimson Red
Olympia Green
Spanish Moss


Background:
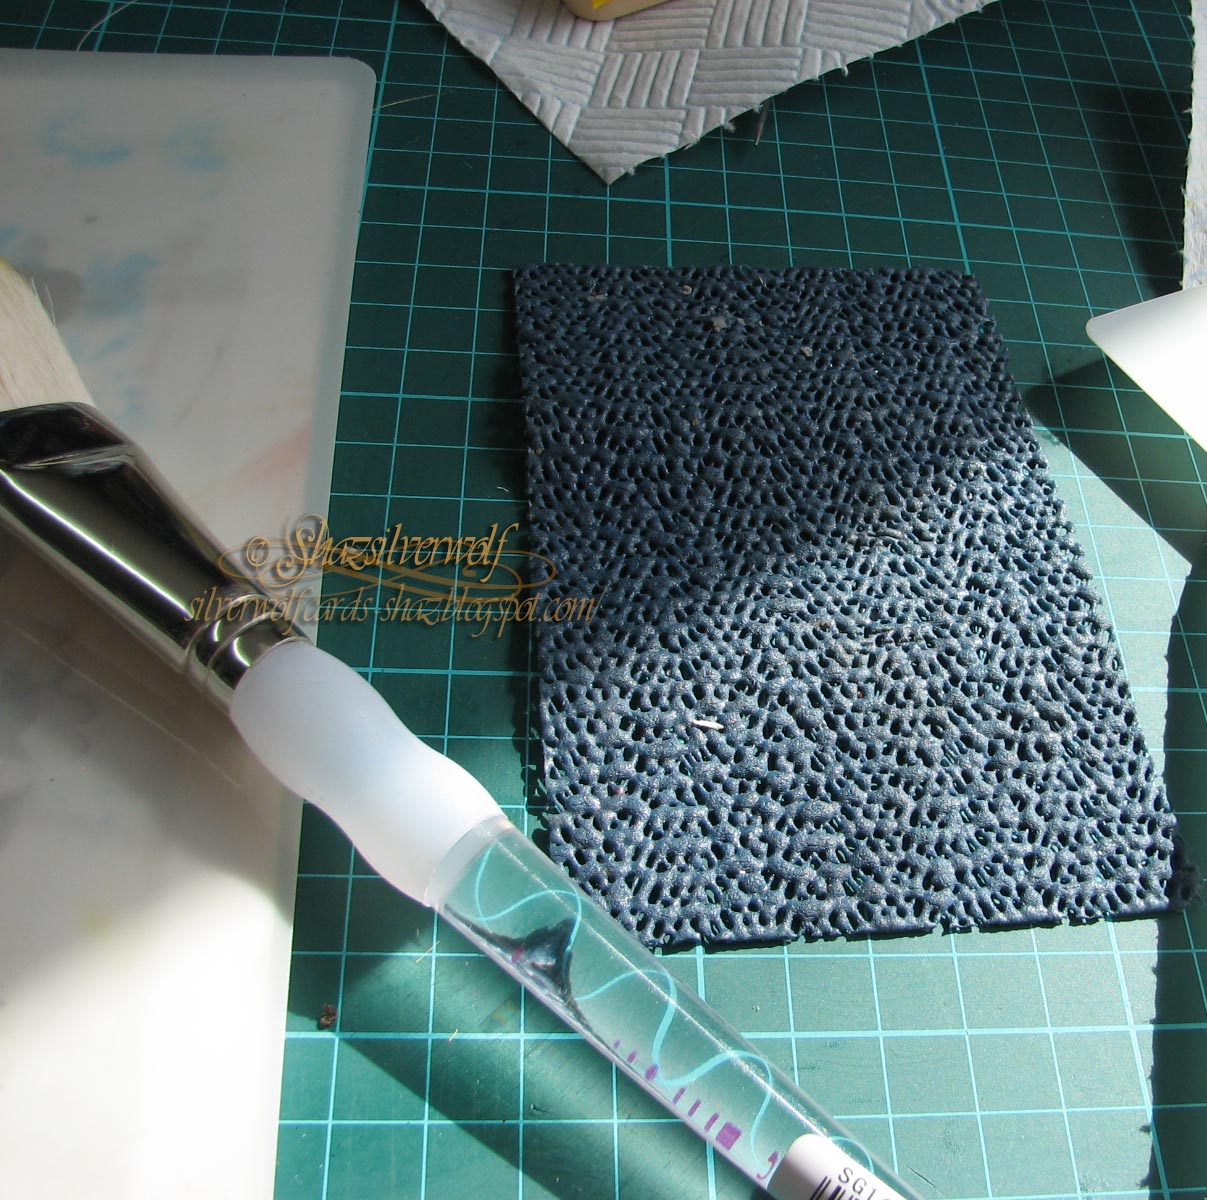
Clarity Stencil, Abstract Squares 2
Adirondack Green inks,
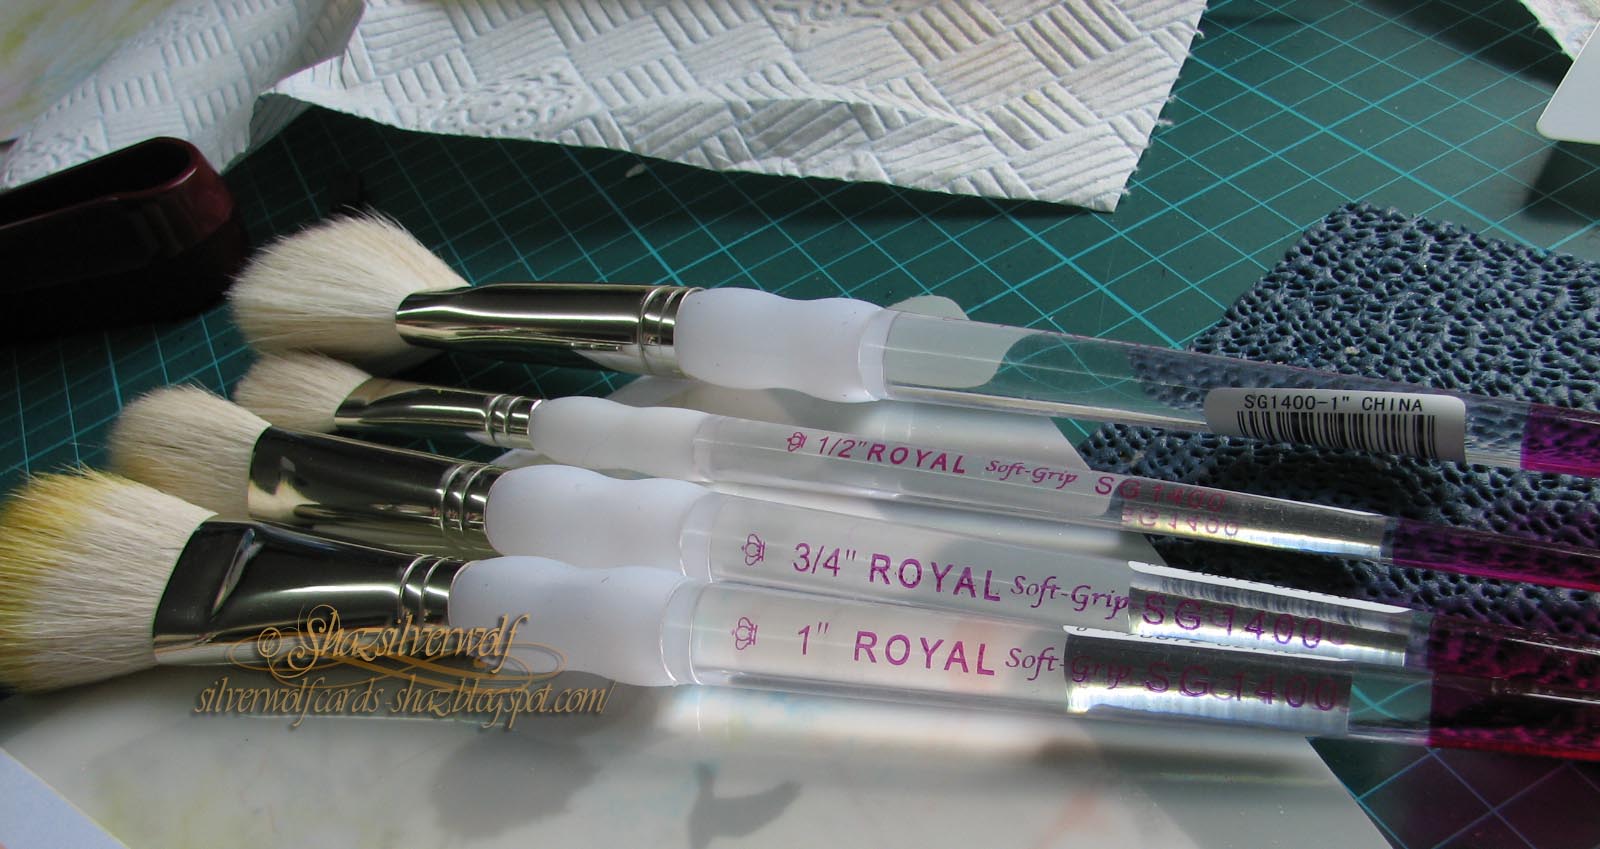
 Blending tools/brushes.

Thursday, 7 July 2016

Clarity stencils- backgrounds for stamping


Here are some of the backgrounds I stencilled, using a brayer and Gelli plate, with inks. I take no credit for the technique, I watched one of Barbara Grays videos, and this was her technique. HERE is the link to the You Tube video if you want to check it out.
 I had no plans to buy a Gelli plate, this one is part of the craft stash that was gifted to me. Everything I'd seen up to now had been using paints, and that really hadn't grabbed me. This one with inks though looked more my thing.


 Barbaras technique is to lay your chosen stencil on top of the Gelli plate, then dab your ink pad straight onto it.

Using Distress Inks here, as they are nice and wet, and they are what she used.  This one on the right was using Candied Apple and Carved Pumpkin.

 Next, take your Speedball brayer, and spread the ink out evenly over the stencil.
 By the way, this stencil with the oblong shapes is called Abstract 3, by Clarity.  The one with the squares is called Abstract Squares 2.
At this stage, you really can't see much.
 Now peel off your stencil, and put to one side. Take a sheet of cardstock- Barbara produces a 7"x7" pack especially for this, and it's very good too- and lay it down over the Gelli plate.

I had some on order, so used the plain back of some pearl card for now.
Smooth out over the back of the cardstock with a reasonable amount of pressure, and trying to make sure you cover the whole of the sheet.
Peel off your cardstock to reveal the print.


You can see I missed a spot or two, where I didn't press very well.


Now for 'Spot the (unintended) mistake'!


I repeated the inking, after cleaning my stencil, lay the cardstock down- and then realised I'd forgotten to remove the stencil. I actually only realised when I took the picture. Good job the cardstock is double sided.


This time I dabbed Cracked Pistachio and Wild Honey.


I think this one was Wilted Violet and Mermaid Lagoon.


This time around, I added a Moon mask below the main stencil. This 3 colour one didn't work out- guess who forgot to remove the stencil again?


But these three did.


 I also tried with another stencil- Jo's Bubbles.I have a feeling those are going to work well with some Lavinia stamps of fairies.


 All in all I think I love this technique. It's easy to get a wide variety of backgrounds from it. I think next I may try brayering directly onto the stencil and use some of the Adirondack inks.

Wednesday, 6 July 2016

WOYWW #370

Don't know about you, but I really can't get my head around how fast this year is zipping by. Into July already, some summer about now would be nice.Big hugs and lots of love to our recovering Head Desker, Julia, and more love & big Hugs, to our Deputy Head Desker for a while,LLJ.
On my desk this week, loads of images stamped onto OHP film. I got a bargain a couple of years ago when we made a trip to Staples, and they had some boxes of OHP film  reduced to clear. I like it for lots of things, one of them being this- I stamp the images so that I can use them as an aid to placement. I've done lots with my Stampscapes stamps, for scene building, and I thought it would be really helpful with all those stencilled backgrounds I've done lately. Doing it by eye always results in something being adrift or skewed, which irritates me.
This sort of thing is what I mean, using Cardio stamps and one of the Clarity Stencil backgrounds.

  I've made a couple of cards with them, and I'll post them over the next few days.
Because they are on film, I had to use Staz-on ink, and from some research on the net, it appears the ink doesn't harm clear stamps, it's the Staz-on cleaner that does.
So, it's fine if you don't mind stained stamps, and I don't.
 Two tips I've come across doing this- first, if you don't want Staz-on staining your stamps, then if you apply Versamark first, then Staz-on, the Staz-on will wipe straight off your stamps afterwards, but as I was doing this on film, I'm guessing that would not have dried, so defeating the object.
Second- what if you get Staz-on onto your acrylic blocks? The cleaner definitely ruins them, I ruined a few before I found out about the cleaner. Turns them cloudy, with loads of fine cracks appearing. Well, apparently, Antibacterial hand sanitiser gel will clean them up. Sounds mad, doesn't it? But, nothing to lose by trying it.
Here was one very mucky acrylic block.


I squirted a small amount on,spread it over with my fingers, wiped off with a paper towel, and hey Presto! It works! Literally, wiped over with my fingers, and it came straight off. No rubbing or scrubbing.


That was definitely a wow! moment. I really wasn't sure it would work. But it does, perfectly.
So, something useful there.


Finally, I though these may amuse you. It does prove that dying your hair in a variety of colours clearly runs in the family.
Top picture is my eldest son, Ant, with his green beard, and opposite, my youngest son, Mike, with his two tone one. Amazing, that as Mike ages, he looks more & more like his brother.
 As they say, madness does not run in our family, it just wanders around, having a good time in the process.

Wednesday, 29 June 2016

WOYWW #369

Well Hello everyone. Here we go again, with another meet-up at LLJ's place, whilst Julia carries on her recovery. Sending lots of love and huge hugs to both of you.The desk, then, as thats what you're here for.
A longer shot this week,as you can see, some blended backgrounds and blending through stencils again.
 If you like using brushes for this sort of thing, please go have a look at the previous post. There are some great bargains to be had in brushes at The Works right now, and they work brilliantly as 'colour duster' type brushes.

These are the brushes, and at 2 for £3, a real bargain compared to most 'crafters' brushes.


You can see in the previous post how well they worked, and here's another example:


The eagle eyed may well spot a Gelli plate, front left. I'd said I would never buy one, as it wasn't really my thing, but this was amongst all the craft stuff I was gifted a while back. I watched a few YouTube videos, by Barbara Gray of Clarity Stamps- where would we be without YouTube now?- and gave it a go. The result was some very nice backgrounds through stencils, using ink rather than paint. I think it was the fact most people were using paint on them at first that put me off. These two below were done with a brayer, rather than brushes, the ones on the right are with the Brushes from The Works.


I have plans for these with some small stamps- I have some Clarity Wee Folk, some Lavinia stamps,and a load of Cardio that should work nicely. I may even see if I can get a Christmas card or two out of this technique.
Reasonably short, and hopefully sweet, this week.
Quick update, saw the Registrar from the Oncology team last Friday for the results of my CT scan. Sort of ok, there is something they wanted a better picture of, so wanted an MRI. I told him my own GP was already sending me for one, due to the sciatica, and got him to refer me back to our local hospital's Oncology team.Travelling to Birmingham and back is a bit of a nightmare for the traffic, it can easily take an hour each way, and a lot more at rush hour. Local hospital is 10 minutes away.
So, I have the MRI date, it's the 13th of July, and will be a couple of weeks after that that I get any results. Hopefully it's nothing, he said it may well just be how the bone is healing.

Monday, 27 June 2016

'Colour Duster' Brushes- A Bargain!

So, heres the thing. I have some Colour duster brushes, the Inkylicious ones, and they work well. They have quite stiff bristles, rather like a mens shaving brush. Which I also have a few of, and use for the same purpose.


 Last weekend, after a bit of a browse at YouTube videos, I took the plunge and bought a set of Clarity brushes. These come in a set of four, differing sizes, and have much softer bristles, very smooth and silky feeling. The only problem with all these brushes- they are not cheap, are they?


I also bought a new stencil, but we'll get to that in a while.

Today, I took myself out for a walk, for some exercise. I only live a 5 minute (10 for me at the moment) walk from our shopping centre, and it has plenty of places to have a sit down and get my breath back.
In our centre is an outlet of The Works, and I freely admit I always drop in on my way past, they have some amazing bargains usually. Today proved to be no exception.


They have a special offer of 2 for £3 on 3 different ranges of paintbrushes. What caught my eye were the range with the Fuschia coloured ends- they have a 1", 3/4" and 1/2", as well as many smaller ones.They felt lovely and soft, and I thought stood a good chance of working well as colour dusters, and being smaller than usual, could provide a great opportunity for some detailed work with stencils. They only had two of the largest left, so I got the two smaller sizes as well.
 So, I hear you ask, did they work? Well, here's what happened when I got home:
 
You remember the Clarity stencil I mentioned? This one is called Double Bubble, and comes with the cut out bits as well, for masks, which I though a great idea.


I got out 5 Adirondack inkpads, Sunshine Yellow, Butterscotch, Sunset Orange, Citrus and Lettuce. The stencil was attached on a couple of sides with some low tack tape, and I'm ready to try out the 1" brush.
 It seems to be working well,I started with Sunshine Yellow, and it's going on really easily.
 Time for the second colour, Butterscotch.
That blends into the Yellow with no problem, no harsh lines.
 Then swap to Sunset Orange, and it's blending in so easily I'm actually really amazed.
 
From Sunset Orange through Citrus and ending with Lettuce, I am really, really impressed.


By the way, off on a side note here- do you find you have problems getting your inkpad to stay in place when you are using colour brushes or a brayer?
Here's my solution:
I bought a roll or two of rubber matting from Poundland- I have one sheet under my craft mat on my desk. This little offcut keeps my inkpads in place for hands free use!


Anyway, back to the ink blending.
The big reveal-look how smooth that blend is. I am really, really very impressed, for brushes that work out at £1.50 apiece, I couldn't be more pleased.They are really nice in your hands too, as they have that lovely softgrip area in the middle.
So much so, I shall be having another walk over later this week, to see if they've had any more delivered! They have some great multi buy deals on many art and craft products too, I noticed.


An End of an era

An end of an era

I write this with a broken heart, that only time can heal My beautiful, wonderful wifelet Shaz (Silverwolf) passed away peacefully in the ea...