
 Right then, just a couple of versions of this card, then I'll give the Christmas Card posts a break for a while. The Holly Wreath is a Sweet Poppy stencil, and I did two versions, on black card and on white.
You can see the holly looks a little variegated, and that came about quite by accident.
I used white stencil paste, and a dark green glitter to start with, on the white card.

I maybe should have patted the glitter down a little harder at this stage, as after it had dried, and I was brushing off the excess to reduce the shedding, I ended up with quite a few white patches. Which led me to a couple of solutions.

Firstly, for the next card I coloured my white stencil paste with a green re-inker. Be very sparing with the ink you add- you don't want to make your stencil paste too runny. So try to pick a reinker close to the colour you want, rather than the usual method of starting light and adding ink to get darker.

Have a tub with a lid handy to save any excess paste in too.
I also decided to patch up the bare spaces using Indigo Blu's Flitter Glu through the original stencil.

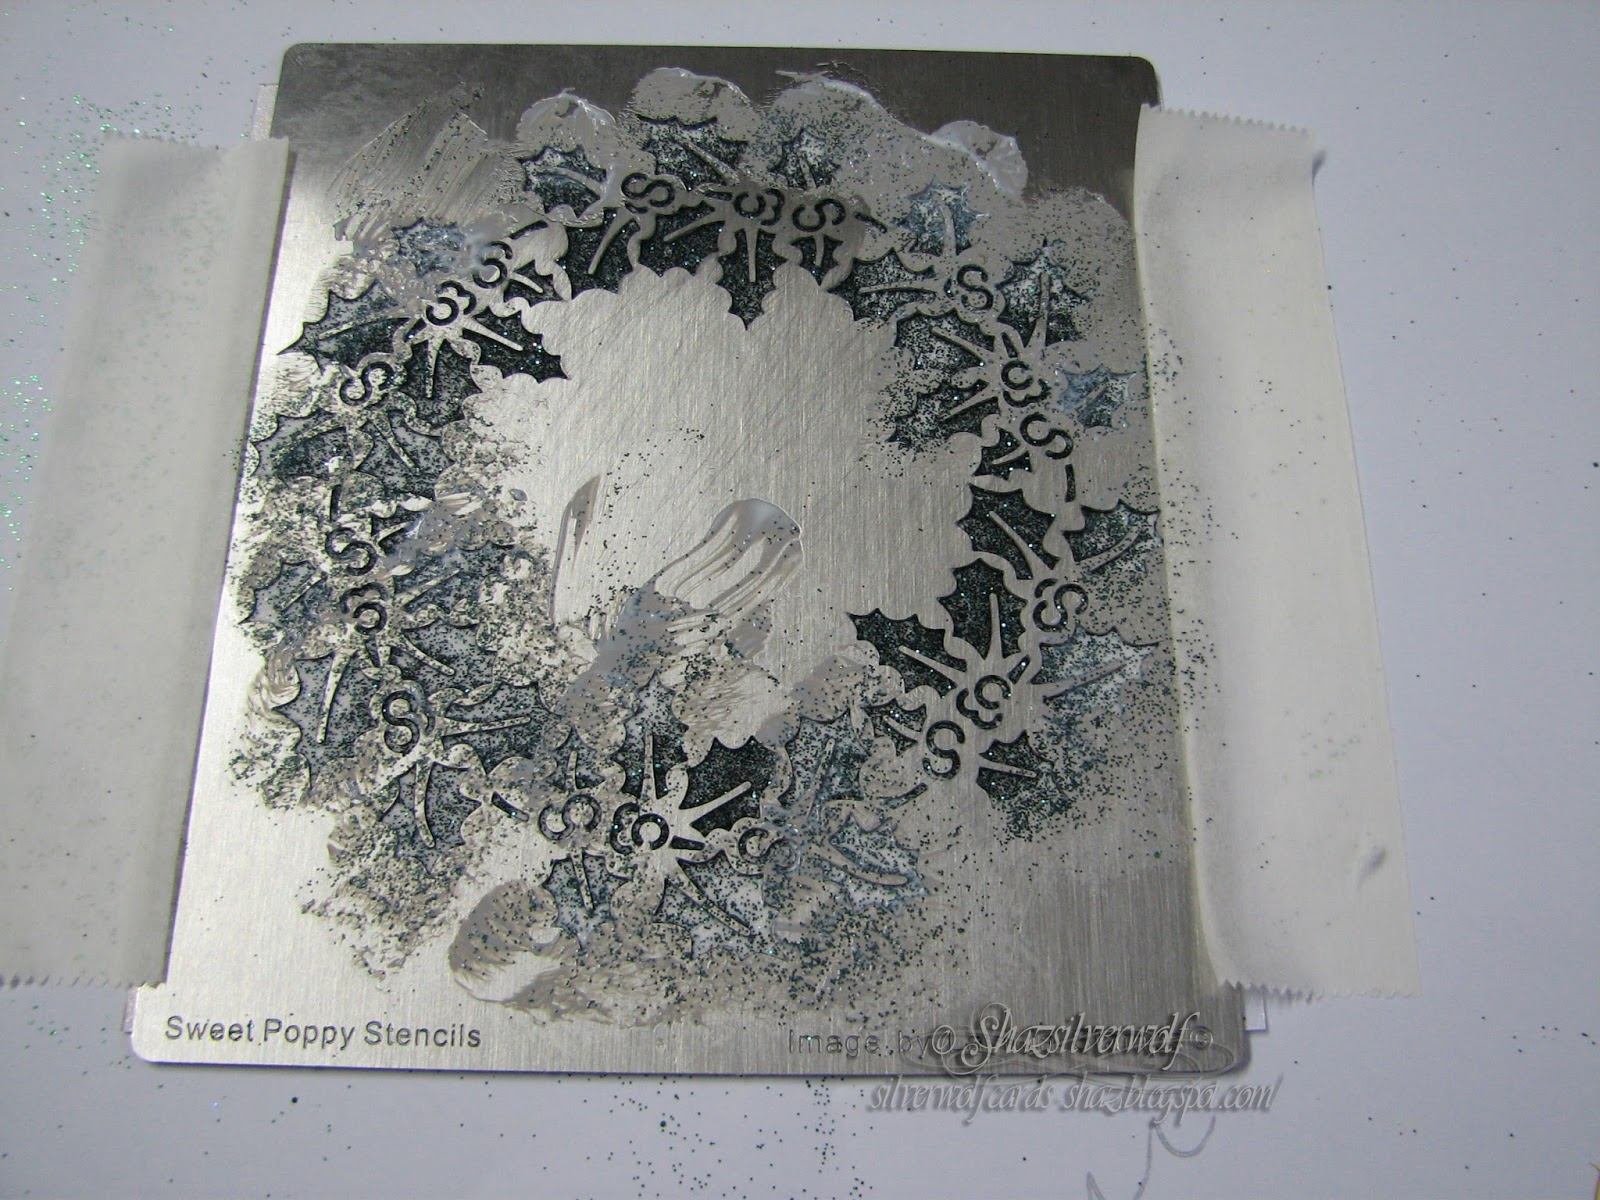
I re- attached the stencil, then worked my way around the bare patches.

Then I added a brighter shade of green glitter than I used the first time.
 As you can see, there are lots of places for holly berries, and this was where I used up most of my red acrylic gems.
I used a mix of 3mm and 4mm ones.
There is also no greeting in this stencil, and I solved this by using a green marker to colour some silver Christmas Peel-offs. I'll get down them one way or another!

This was the wreaths on black card after a touch up.
Final addition was a torn corner of Christmas Paper- something else I have way too much of- and a little green ink sponged around the edge.The image was matted onto black card, both had their corners rounded, then mounted onto a 5x5 card base.


