
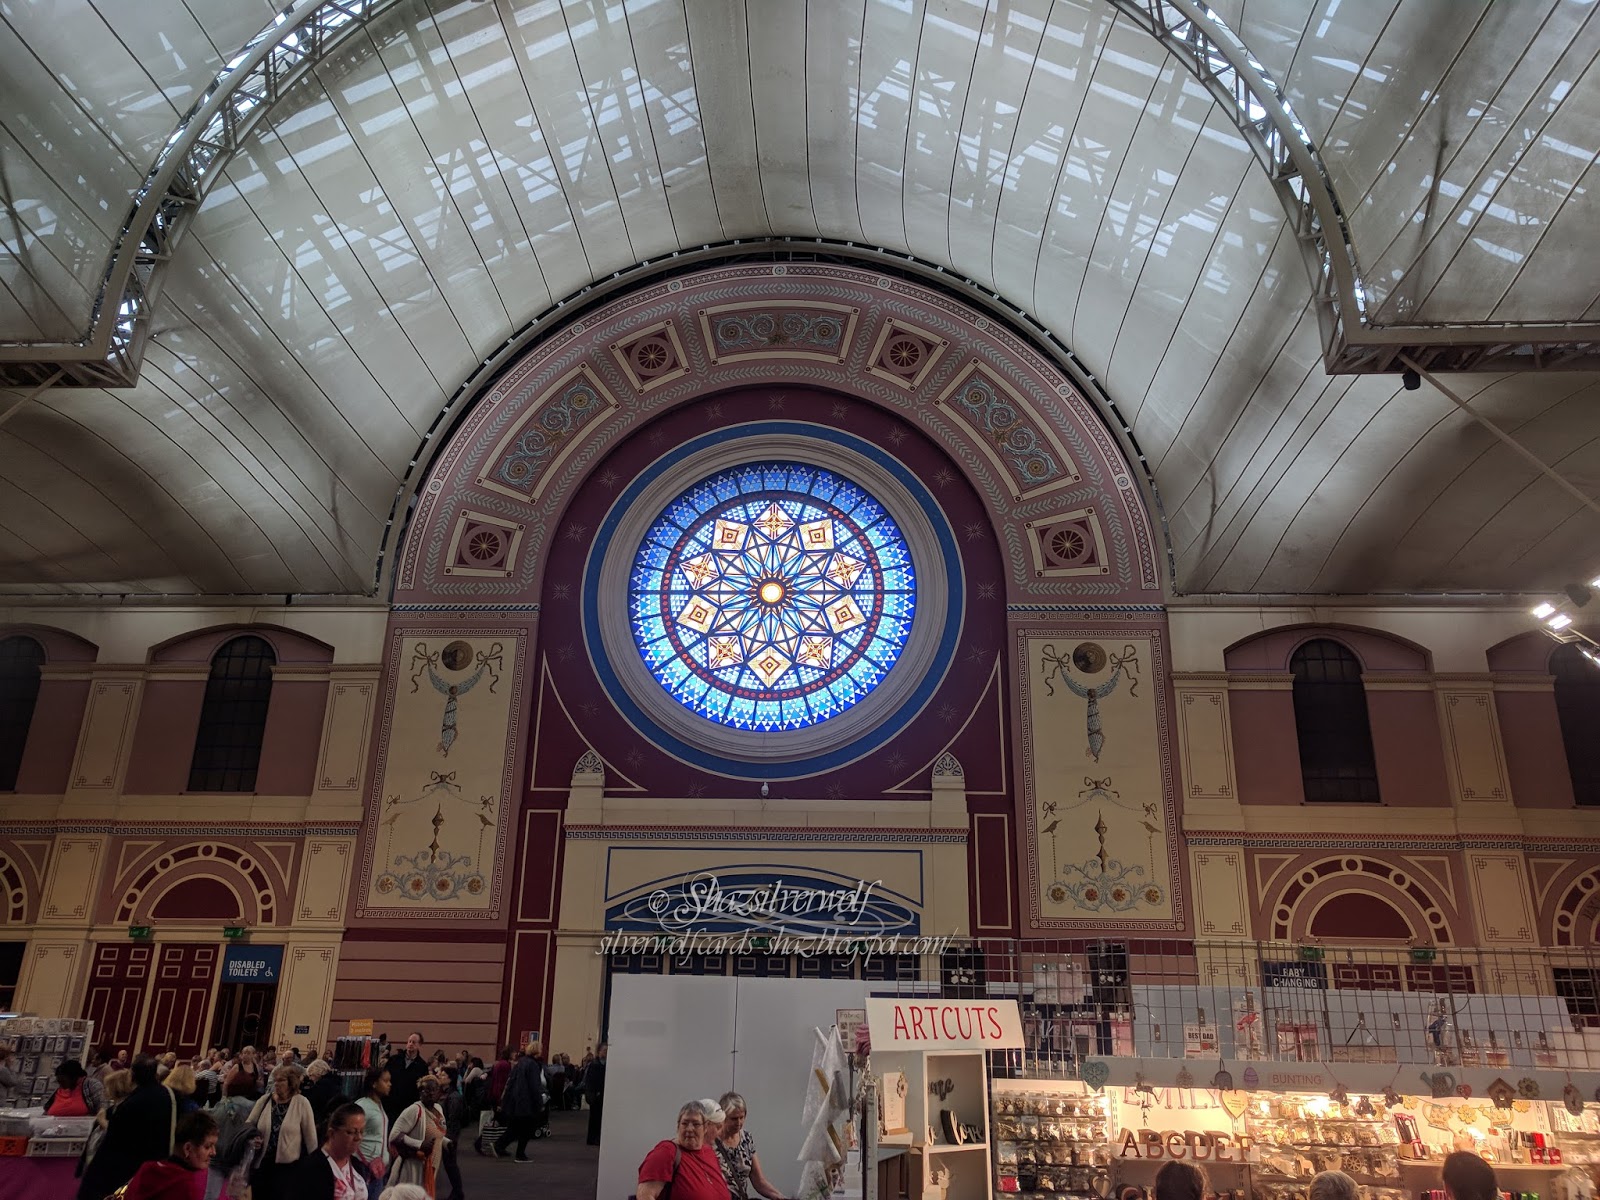
 'Twas indeed a great day out. Loved the show, all about papercrafting/stamping which I love. A very sensible ticket price, and free parking for everyone. Not a gigantic hall, but plenty big enough for stands to be well spread out with plenty of room to move about, unlike the NEC, which for all it's size, always feels like a sardine can!

This gives you a sense of the size- and that's an organ right at the far end.
This was taken about lunch time, and was still really busy, so you can see there was plenty of room to move about.

First lot of stamps bought- Visible Image, Lavinia and Card-io.

Some fab flowers from Paper Artsy, and some new Phill Martin releases.

Flipped one over here, you can see they are really big stamps.

Some really cool Woodware stamps, and the Sheena Douglas and Crafters Companion were all reduced.
The Owl stamp was sold on the strength of a Sample on display, as were the Quirky Birds at the end.

 The owl also had what looked like a Clear embossing paste through a stencil over the image, which you can't see in the photo.

Some Honey Doo stamps and an Inkylicious sentiment.
Was really shocked, whilst talking to Amanda, to hear how much trouble they'd been having from people stealing. And this was about lunchtime, so they'd only been open 3 or 4 hours! So much of a problem, they'd had to ask to have the security cameras pointed at their stand. Shameful behaviour.

Had to laugh about this one- Doug had gone to put the stuff we'd already bought in the car, whilst I went for a loo break. When he came back he said' I bought a stamp set on my way to the car! It was a really cool Pirate themed one, and was reduced in the sale too'.😇😇

This though had to be the show bargain. A grab bag of unmounted Rubbernecker stamps for £3 .
I've heard of them, but never seen them anywhere before.

So I had to empty them out to see how many were in the bag. 60 stamps, some image, some sentiment/quotes. I'll have to stamp them out to see what the wordy ones say!

Dies next- Doug spotted the top two, the skull is a Sheena Douglas one.
The two Sweet Poppy are part of a new range of dies for cutting out stencil images. The one on the left cuts sections from the Mehndi Flower stencil, and the Poinsettia die on the right goes with a new Poinsettia Stencil, which I watched a You Tube Video of Lucy making the other day. In fact, I watched a few, and most of my purchases were because of them, lol.

The Poinsettia stencil, ( I already have the Mehndi Flower), a Grid stencil, a Christmas one and a Magnolia flower, along with a couple of empty pots, for a Marbling Technique Lucy did in a video too.

These were a great find, and the find was due to a lady sat by us all when we met up for a sit down and some lunch. Tiny little blending tools and foams, on the Craft Habitat stand. So much so, Erika, Cindy and I all went and got some!
The foams are 3/4" wide, or 2cm.
Just had a look, and you can get them on E-Bay.


Some gorgeous 3-D embossing folders fell in the basket next!

A few packs of card, some more of the non shed glitter card and a pack of Weave effect black.

This is cardstock, with an amazing 'oil on water' effect.
A bit like those plastic type sheets that were around a few years ago.
Both items from Pink Frog Crafts.

Just a last few odds and ends, some plastic cups for Shaker cards- they'll work well with some Snow Globe stencils and stamps I have.
A Tidy tray, which I keep meaning to get. One of Lucy's techniques used glass micro beads, and when I've used them before they were a nightmare to collect up afterwards on paper.

Some sparkly gems, those plastic cups I forgot to move, some heat activated Puffy Paint and 3 more Clair inkpads.

Shopping over, now to meeting some of my crafting buddies!
Cindy and Erika doing a Lavinia Stamps make & take, with Amanda Branston, who I met back last year on the Eileen Godwin workshop.

Dolores and her Hubby Alan. WOYWWers know Dolores as
Cardarian.


By an amazing stroke of luck, as her phone wasn't working over here, Sylvie from the Christmas Card Club I'm part of spotted me! Not that I'm easy to miss, 😎😇😊. She'd flown here from Gibralter with a friend, and was going again on Sunday, as they make a weekend of it.
We also met up with Helen,( Stamping by H), but forgot to get a picture. Lots of pics from the day over on Helens blog.

Time to go home! Can you tell from my face I was done? This was about 4.30, and we'd been there since 10.30 ish. My feet were killing me, as were Dougs.


Finally, two pics from the night before. We'd driven down Friday afternoon, and stayed at the Travelodge in Wood Green. Across the road we found a great place to eat, beautiful food, and cocktails! What more could I ask for? Food was so nice, we had breakfast there Saturday morning too.
The pic on the right is of their tiled floor, how amazing is that? My first thought was 'I think I've got an embossing folder like that'😏.


