A warm welcome to all my visitors,

Thank you for taking the time to come and look at my blog, I really do appreciate it. I would love you to leave me a comment, even if it’s just to say Hi. It means I can come visit you!

All my designs are original, so copyrighted to me. If I have been inspired by someone elses work, I have named them in the post, and where able, I have provided a link.

Please feel free to use my designs for inspiration, I just ask you to credit me, and provide a link back to my blog.

Thanks, Shaz XX

Saturday 16 June 2012

Craft A Scene- A Little Sand & Sea

Shaz- June 17
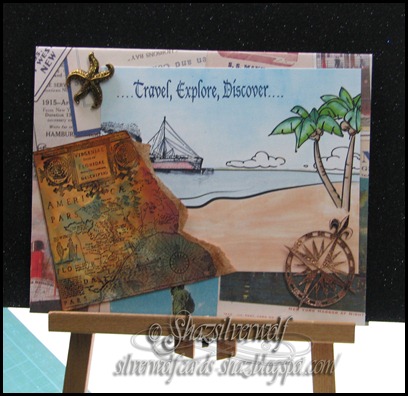
Back to using digi-stamps, this time from Make It Crafty. Called Tropical Beach, the image is the shoreline, palm trees, sea & clouds, with a couple of shells on the beach. The Ship in the background is a ‘real’ stamp, as is the Travel,Explore, Discover phrase. Most of the colouring on the image was done with Promarkers, with a little sponging on the sky.
The torn map is a stamp by Stamp & Go, called Antique Maps, SIFS65, a sheet of u/m stamps that has 3 large maps, 3 small and some ships.
To give you an idea of size, the largest map is just under 6"x4". Its a really good set for mens cards, I find.
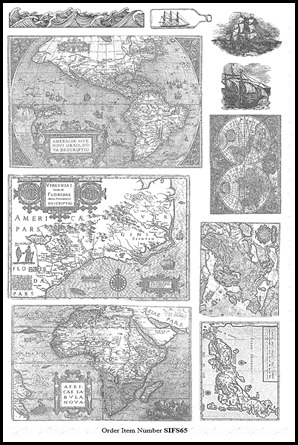
Full map sheet

  The map was stamped onto an alcohol inked background with Black Staz-on, then torn & the edges inked with Distress Ink Vintage Photo. The starfish charm is a jewellery embellishment, and the compass was cut out with my Silhouette and patted with Vintage Photo and a Copper Embossing ink, then had some Copper Embossing powder and some Black embossing Powder sprinkled randomly on before heating. I covered a base card with some vintage travel themed paper, then added the Sea & sand image. The map was matted on with some foam tabs and the two embellishments added with silicone glue. I added the phrase with Cracked Sapphire Distress ink, then added the dots either end with the Distress Marker in the same colour.

Wednesday 13 June 2012

WOYWW #158

Well. I'm back-ish! Bit of a mix of too much to do in the home, with our bedroom, too much time taken up doing Wedding Stationery for people, and a severe case of missing mojo. I think the Wedding Stationery and the missing mojo are actually cause & effect, to be honest. I've realised that for me, there is really nothing creative about making hundreds of the same thing, in various permutations. Didn't help that one of the Brides wanted hers ASAP, and the second one was slower than I expected  about getting me the names & numbers, so I ended up pretty much doing the two at once.
     Oh, and having a ridiculous amount of trouble getting Blogger to play ball & upload pics. I've been using Livewriter for the last few weeks as Blogger had become a joke, but am using Blogger today, and so far, so good.
Anyway, I made time to play today, in the hope of enticing Mr Mojo back. I think its working, because he was definitely peeping around the door, if not exactly sitting on my shoulder yet.
 So whats on my desk? Well, I bought the Tim Holtz Distress Markers, when they finally arrived over here, and apart from a little try out, I really haven't touched them. So I have done a bit of stuff with them, which is all in the previous post, as I've scheduled this one ready for Wednesday, and wanted to keep this post fairly short. So I shall enjoy hopping all over the world today, courtesy of our much loved Hostess, Julia at the Stamping Ground. Happy Wednesday everyone, see you later.

Tuesday 12 June 2012

Distress Markers- a little playtime.


IMG_6323 w
    I’ve had my Distress Markers for a while now, but only found a few minutes to have a go with them, so today I made a determined effort to do something more creative. I’ve watched the Tim video of him at the CHA, and loved what the pens will do,especially being able to colour straight onto the stamp. What really amazed me though was just how many impressions you can get from just one inking of the stamp.
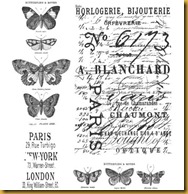
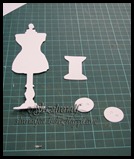
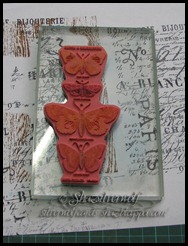
   I had also bought the Papillon (CMS106) stamp set, Tim Holtz/Stampers Anonymous, and wanted to have a play with that too.  61b8 MYpN8L._SS500_I had bought some Tim Die cuts on e-bay, dies that I haven’t got yet, and frankly, at the price, they’re a fantastic way to get a good selection. Loads of people are selling them on there, mine came from DIECUT HEAVEN, and I got the Sewing room set,some Weathered clocks, Cogs and Bird & Cage, and I think each set cost me around a £1, and the Sewing set for instance contained 10 each of the Mannequin, cotton reel and button.IMG_6299 w


 In the main, I used Clarity card for stamping on, again, only bought recently, but highly recommended by a lot of people I know. I can see why, having tried it. Its a silk coated card, and is indeed a beautiful surface to work on. Its A5 in size, and they pack it in either 25 or 100 sheets.
So back to my Tim Markers & stamping:
IMG_6304 w


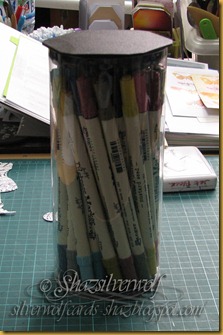
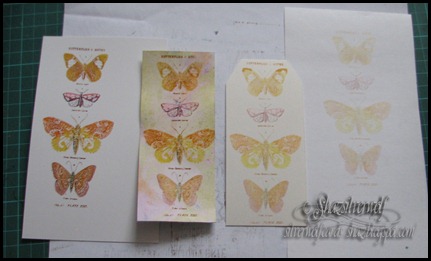
     This was the stamp I saw him using in his video, blending the inks on the stamp, then ‘huffing’ on it to re-wet the ink. So for my first go, I used :Mustard Seed, Spiced Marmalade, Fired Brick, Frayed Burlap,Tea Dye, Aged Mahogany , Brushed Corduroy, Spun Sugar, Barn Door and Rusty Hinge.
As he explains, you can take your time at this, there is no rush to get the ink on, because you reactivate it by breathing on it.
IMG_6321 w


You can see here that I got 4 impressions from just one inking, obviously getting paler each time, just by breathing on the stamp between impressions.The first one is on Clarity card, the second on a piece of white card that had been coloured by dipping into water that had had alcohol ink dropped into it, a technique from Andy Skinner, ( I’ve linked this to his video tutorial) the third onto a white pearlescent card tag, and the fourth onto a piece of white copy paper.
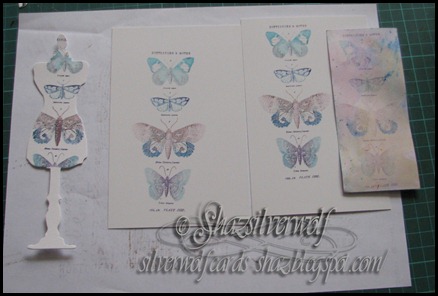
Being quite pleased with the success of this, I tried it again, using mainly Blues & Purples:
IMG_6322 w

  The first one I did onto one of the Die-cuts, which is just a plain white cardstock, the next two onto Clarity card again, and the final and palest onto a  piece coloured using the Andy Skinner technique.
   Looking at this picture now, I think I have  number two & three the wrong way round, but the imprints were so close together in colour I wasn’t sure which way round they were.
The pens blend together wonderfully, and even working dark to light, you just scribble the pen onto scrap paper and the colour returns to true.001887-0038
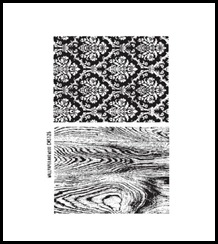
 Another stamp set I had was the Wallpaper & Wood set, also by Tim Holtz/Stampers Anonymous. I tried the Wood stamp using a combination of Distress Inkpads & Distress Markers.


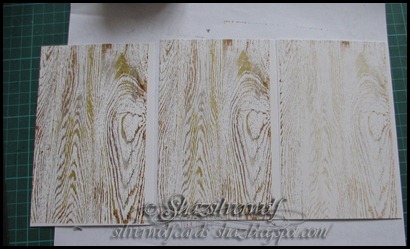
Again, I got three really good impressions, and would have got a fourth,really pale one. IMG_6320 wFor these, I first swiped all over the stamp with Pumice Stone Distress pad, then added Frayed Burlap and Vintage Photo in thinner swipes & patches. Finally I added Walnut Stain, Tea Dye and Brushed Corduroy with the brush end of the Markers. All three pieces were done on Clarity Card, which is just IMG_6315 wa tiny bit bigger than the stamp.
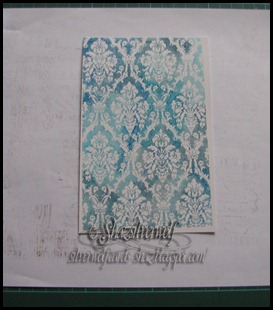
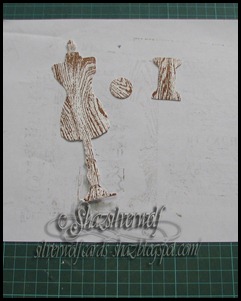
I  also stamped one of the mannequins with the Wood stamp using Walnut Stain Distress pad,and then using aIMG_6326 wnother piece of  Clarity card,I stamped the Wallpaper, this time using a blue selection of Distress pads; Stormy Sky, Faded Jeans, Broken China & Tumbled Glass. I applied the pads using a slight swiping and twisting motion, so I got more of a blend of colour without any sharp edges.


IMG_6327 w
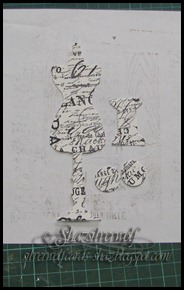
Finally I stamped yet another mannequin, this time using the Papillon background with Archival Black ink.


So I have a few nice pieces now, and something to expand on. I think I might get some nice tags from the Wood background, and I am also thinking that the Butterflies would look good stamped over the pale Wood background as a second impression, using the first Impression to cut them out and mount over the stamped image, slightly raised, like the sort of thing you see in museums.
And perhaps a dress for the mannequin, cut from the Wallpaper background? Now that reminds me that I have a box full of fabric swatches somewhere- maybe a nice silky/shimmery piece of fabric draped over the mannequin? Methinks that the Tim Holtz magic is working, because Mr Mojo is definitely edging closer than he was this morning!

Sunday 3 June 2012

By the Sea…Craft A Scene


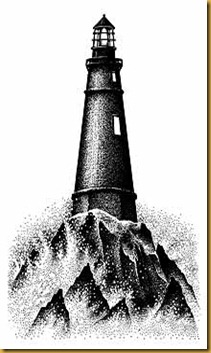
This was a bit of a panic moment, as I had the image in my head that I wanted to use- a lighthouse, from June 01 shaz wmStampscapes.
Trouble was, when I got my stamps out, I realised that this is not the lighthouse image I have, mine is the one from U/M set 4, and the one I thought I had is on U/M 12! As it is, I think the digi version probably worked better anyway.
design_220G 


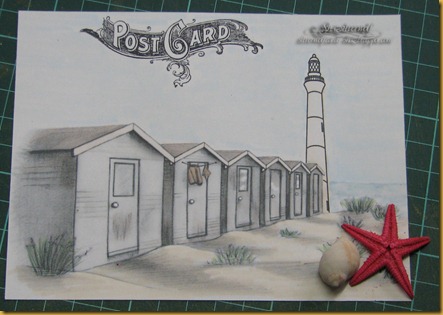
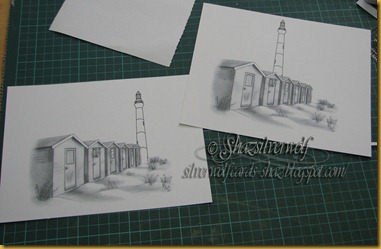
So this is my first project using Digi-Stamps – the only ‘real’ stamp here is the Postcard word, from Tim Holtz/Stampers Anonymous here (USA), and here (UK). The Beach Huts are from Stitchy Bear Digital Designs, and the Lighthouse, from Daisy’s Digi Doodles.
I merged the two with photo editing software, and tried a couple of combinations of lighthouse positions before I settled on this one. The scene immediately made me think of a postcard, so thats what it became.
I was nicely surprised to find that printer ink is quite compatible with Promarkers- I had visions of an icky mess! I had a watercolour type image in my head, but I don’t think that would have gone well with the printer ink, so I stuck to pale Promarkers, lots of blender, and only adding colour to small areas. I used Archival Black for the Postcard word, the shell is a found item from a beach, and the little starfish was in a basket of small shells bought on holiday once. Beach WMBoth added with silicone glue.
The image was printed onto Neenah Card, and when I printed out the image, I also printed another one onto cheap copy paper to give me a mask for the beach huts so I could stamp my lighthouse behind them! A project for another time when I have the right stamp, I thinkWinking smile.

An End of an era

An end of an era

I write this with a broken heart, that only time can heal My beautiful, wonderful wifelet Shaz (Silverwolf) passed away peacefully in the ea...