A warm welcome to all my visitors,

Thank you for taking the time to come and look at my blog, I really do appreciate it. I would love you to leave me a comment, even if it’s just to say Hi. It means I can come visit you!

All my designs are original, so copyrighted to me. If I have been inspired by someone elses work, I have named them in the post, and where able, I have provided a link.

Please feel free to use my designs for inspiration, I just ask you to credit me, and provide a link back to my blog.

Thanks, Shaz XX

Wednesday 29 July 2015

WOYWW #321

So, what have we all got to show for this weeks WOYWW, then? I managed a couple of posts about my Brusho playtime over the last few days- more than I've done for ages, lol. There has been crafting going on on my desk since then, but as it's a card for an upcoming birthday, I can't show it till after it's been sent and received. All I've got to show are a couple of gifts that arrived in the last week.


 First one is a gift from Beloved Hubby- another adult colouring book- that sounds quite saucy, doesn't it, lol- as he saw it and thought I'd really like the images.


Love The Cat in his Garden!


LLJ, you'll love this one- Two Hares.


   This one is called Dragonland.
There are only 8 images in the book, they are hand drawn then reproduced by a lady called Gwen Davies. From a slip in with the book, she is working on a second one.


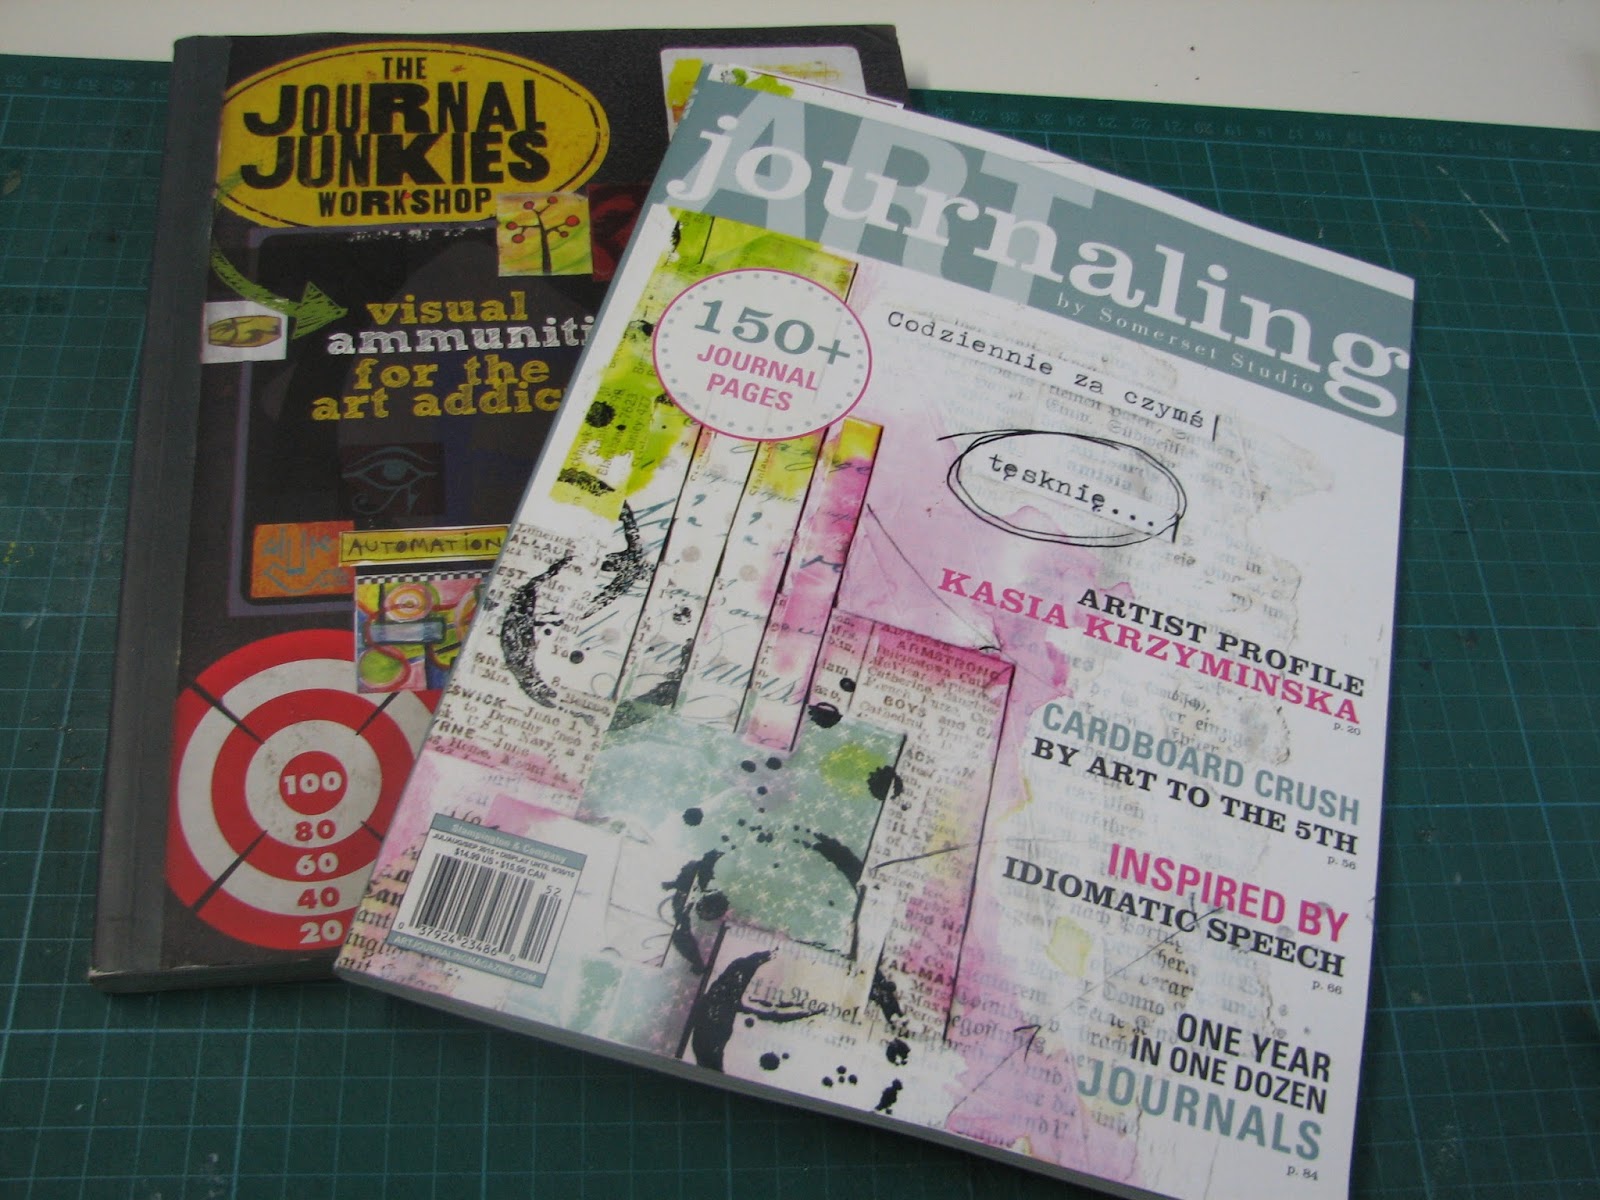
 Second gift I received is from Desker Diane Baker Williams, of A Focused Journey.
I'd commented on the Art Journaling magazine on her desk a couple of weeks ago, saying we had nothing like that over here, and the lovely lady offered to send me a copy. She also added a copy of The Journal Junkies Workshop, both look fabulous, and I know will give me many happy hours of reading. Diane, you are a true star, thank you so much.

Last weekend, we had a break away, and went to visit The Eden Project, in Cornwall. Been there once before, must be about 10 years ago, and it's amazing. For the non-Brits, the area was a disused clay pit, and has been reclaimed, has two enormous biomes, with sections featuring the various climates of the world and their plants. Outdoors is typical English plants, along with some foreign temperate ones.

 The whole project is as 'green' as possible- even the toilets use rainwater for flushing!


These are the 'biomes'- you can tell how vast they are,compared to the size of the people.


By the way, Bridget Larson, you'll be getting a postcard from here as soon as I can get to the post office.
In the main outdoor area, they have some giant sculptures- loved this bee.


They also have one made from the 33.5 tons of electrical waste the average person will discard in their lifetime.( T.V's, washing machines, etc)


Some glorious flowers inside.


Me with my favouritest plant in the whole world- Arabica Coffee beans!


Beloved Hublet admiring the cacti.


They also had an amazing display of Animated Dinosaurs, and they were incredibly well done.


I started off Tuesday morning in a bad mood- I had a letter from the surgeon I will be under at the QE, cancelling my Thursday appointment with him! He wants me to have a PET scan, and a new MRI first. I fully understand he wants up to date info, but why on earth didn't he arrange for these after we saw him last? I was expecting the need for these scans would push everything back by at least 6-8 weeks, which is why I was so angry. I was about to start organising going back to work for a few weeks, but that may not happen now.Anyway, a couple of hours later, I had a phone call from the PET dept, and I have an appointment for my PET scan on Thursday morning, at 10.00- really shocked me! I don't have a date for the MRI yet, I phoned earlier to ask if they could tell me the date. She did say that they hadn't had a request yet, but that they usually came in late in the day and went onto the system overnight, so if I call again on Wednesday, they should be able to tell me.I did explain I wasn't being pushy, but that Beloved Hubby works nights, so usually needs to juggle his shift a bit to take me to appointments, and still get enough sleep. I'm guessing he has requested them as a priority, as I've got the PET scan so fast, so hopefully it won't be too long. The only upside to the cancellation is that it means I definitely won't be in hospital now for mine and Dougs birthday, on the 14th, which had been bothering me- I didn't want to spend my 60th in hospital, or even worse, under anaesthetic!It takes around 5 days for the info to get back to the surgeon, she told me, then they will still need the MRI results before they have an MDT meeting, so it looks to be at least 2-3 weeks before I'll get called to see him again. And make no mistake, I will be telling him in no uncertain terms how badly he handled the last appointment!After all, effectively, I'm putting my life in his hands, and it's not going to go too easily if I have misgivings about him. So hopefully that will get straightened out, and he'll understand how to tell me things properly. Anyway, time to let you go to Julias place, The Stamping Ground, and carry on your visiting.

Thursday 23 July 2015

Playing with Brushos, Day 2

Okay, back after the coffee break, lol. This post will also be picture heavy, I warn you now.
Yesterday, ( Previous Post) I used the Brushos on Smooth watercolour paper, and some Canvas sheet. Now I wanted to see the results using ordinary cardstock, bearing in mind the water involved. I used some Neenah cardstock, some Stamping card from Hunkydory, some generic white card, and some coated cardstock. However, first thing out today was some disposable gloves!


These are both done on Neenah cardstock, on the left, crystals first, then spritzed. On the right, water first, then sprinkled in the crystals. Both were taped down with Artists low tack tape to stop them curling.


 This is Hunkydory Stamping card,on the left, and so far, all the cardstock seems to be coping well with the water.
On the right is the coated cardstock. Not affected by the water, but you don't get the same sort of colour intensity you get with uncoated.


Another thing you can do with the Brushos is the same technique you use with Distress Inkpads- swiping some onto a craft mat and spritzing. In this case, you sprinkle on some crystals, and spritz.
Here I've sprinkled them onto my Inking mat.


 Spritzed with water....


...added some more orange and spritzed again.


Took some blank tags- just standard generic white card-


- and swiped the tags through it.


Here I've sprinkled some red crystals on top. You can see how they start to wick and spread in the water.


Blues and purples on this one.....


...Then throw a little red on top again, and spritz a bit more.


Now another piece of coated cardstock to mop up the colours on the sheet. You get this strange 'resist' pattern appear.


 Now I thought I'd try the clingfilm trick. Sprayed a sheet of generic card with yellows, greens and browns. Gave it a good spritzing.


Scrumpled up some cling film, that opened it out.


Remember to tear your cling film much bigger than your cardstock, so you can crumple it up again on top.


Lay your cling film on top, and add as many creases to it as you can with your fingers. Put it aside to dry.


Not a total success- you can see some markings from the creases, but I think I didn't have enough water on there.Possibly the card soaked up too much. Maybe I should have spritzed the cling film too? Something to try next time.


Final thing I wanted to try-there seems to be a divide on the subject of heat setting. Some say don't it fades the colours, others say it's fine. So, to test it out, I sprinkled two pieces of Neenah card with approximately the same amount of colour, and gave them a spritz. The top one I put aside to air dry, the bottom one I heat set with my heat gun.


And here they are, both dry, side by side. The one on the left is the one I air dried, and the one on the right got the heat gun. To be honest, looking at this, I'd say there is very little to call it either way.


Now a round up- here are a couple of shots of the tags.


And some of the cardstock sheets.


And a few things I discovered:
 1. They're messy- gloves are a good idea, as is an apron, or old clothes.
2. Next time, I'll cut the bottom off a black bin liner, slit it down the side, open it out and put that over my table!
3.It's a good idea to tape your cardstock down, whatever you use, to stop it curling.
4. I think you would get paler colours with less powders. They really are very strongly pigmented, although they do fade a tad when they dry.There is also a white in the box, so I'll be trying that with some of the colours later to see what it does.
5. You can use them like paints, and if you mix them in a palette, you can let them dry out, then revive later with a little water.
6. You need to remember your Colour Theory, in order to not make mud, lol.

7. If you add powder first, then spritz, it will affect where the colour goes- the spritzing pushes it around.
8. If you have pools of wet colour you want to remove, do it with the corner of a paper towel. If you try blotting it with a whole sheet, you'll lift off a lot of the colour.Equally, you can take the colour down a number of notches this way

....

Playing with Brushos- Day 1

So, the promised post about Brushos. I had far too many pics to put them all in the WOYWW post, along with my findings/thoughts etc. I'm actually going to do this as two posts- there are a huge number of pictures, and the post will go on forever! I did them over two days anyway, so we'll start with Day 1.
They come in individual pots, in sets, or a pack of the full 24 colours. I believe there may now be some new colours too.


The lids have a pull-off plastic seal, and all the Internet wisdom is that you don't use this to open your tubs. Instead, what is recommended is to poke a few holes in the lid itself, then use it like a salt shaker. You can also see I colour coded the lids with a small self-adhesive dot. I just sprinkled a tiny amount of the powder out of the tub, and picked it up on a wet cotton bud, then rubbed it on the dot. Much easier to find the colour you want, when faced with a box full of white lids!

Point No 1: the size of the crystals in the tubs does seem to vary from colour to colour- for instance, the Turquoise is very, very fine, almost like dust, whilst the Ost. Blue crystals are much larger. So you may need to enlarge the holes after you try it out, or even add a couple more (I started with 3 holes per pot, just using a pokey tool).

Next, on to paper.  A while back, whilst browsing in The Works, I spotted a Canvas art pad, so picked one up thinking I might do some stamping on them one of these days. At the Hobbycrafts show in November, one stand had lots of art pads, buy one, get one free, and I saw some smooth watercolour pads, so got a couple of those, as you'll get a much clearer image when stamping on smooth watercolour paper than you would on the more traditional, rougher one. I took a sheet from each, and cut them into 4 pieces- the watercolour pad is an A4 one, the canvas pad is just a little larger.
I put a blending mat on my desk, as there was going to be a lot of water involved, and got down to playing.
I hope you can see here the amount of Brusho crystals I've applied. You may need to enlarge the image. It really is a very small dusting of colours, you can see why they say these pots will last a very, very long time. This is one of the quarter Canvas sheets, by the way.
You can either put the crystals down, then add water, or you can do it the opposite way round, and cover your surface with water, then sprinkle in crystals. I've done it both ways, during this try out.
 Anyway, now it's time for the water misting.
 This was the result, just from that tiny amount of powder.The more you spray, the more the colours blend and run together. I then took a second piece of the canvas, and laid it on top, to see what would transfer.

Pressed it down well.


 This was how it came out. OK, but lacking detail now. So, I wondered what would happen if I added more crystals and misting.


Surprisingly, the additional colour does not just get absorbed into the background, which was what I'd expected, to be honest.


 So, put them aside to dry, and a little later, this is what they looked like.


The colours continued to blend and merge a little, but I really like how they've dried. Make a nice landscape type background, I think. In fact, I have a plan for at least one of them, based on that thought.


Next piece of canvas, and again, I've tried to show how little powder is put down to get these colours this strong.


Water misted over the powder- the more water you add, the more fluid it all becomes- it's a case of stop when it looks good! I'm only using one of the Tim Holtz mini- misters here, and probably spritzing less than a quarter of one over the crystals.

So, not knowing when to stop, lol, I added some more water.


And just lifted the paper from end to end to let the water slide.Then put that aside to dry.


For the last quarter, I spritzed the canvas with plenty of water. Then sprinkled on the Brushos.
Red for starters.......
 .....followed by orange and yellow.


 Now I swapped to the Smooth watercolour paper, and back to crystals first.


Needed a little more colour at the bottom, methinks. So I added some more. And spritzed some more too. The brown at the bottom- and it was only brown- look like roaring flames, don't they?


Point No 2:   Everyone who has done the spritzing with Distress Inks will know that the big thing with them is that the colour stays true, it does not break down at all. This is not the case with Brushos. When wetted, all sorts of strange colours become apparent. As I said, the bottom of this background was only sprinkled with the two shades of brown- yet you can see yellow and orange in there too now. Depending on what you are trying to achieve, that may be good or bad!


  Still on the watercolour paper, and this time water first again. The blue here demonstrating the multi- colour effect, you can see purple appearing too. Then some green added, and left to dry.
Another watercolour paper, this time done powder first.


 You remember that sheet I did earlier, letting the colours run from one side to the other?( I've put it below so you can compare dry to wet).  The colours became much more muted after drying, and while it was nice, lacked a certain amount of 'oomph', shall we say. So I wondered  now what would happen if I added more colours and re-spritzed- would they just merge in to make mud?


 Only one way to find out!


 Amazingly, no you do not get mud. The yellows and oranges still maintain their colours, which really did surprise me. I didn't expect to see the yellow so clearly. So you can layer colours on top of each other, as long as you let them dry.


So this was the first days experiments, which brings me rather neatly up to-
 Point 3:  These are very messy! You need a well covered work area- my blending mat was nowhere near big enough. Although they are called crystals, they are more powdery, and as I said earlier, some of them are extremely fine dust-like powder, so as soon as you spritz, they get scattered. The higher up you mist from the better, but that only cuts it down a little.
This is my desk, and its 30" wide- the colour is all over the side and back of my desk. And it takes a lot of shifting too. Babywipes do not cut it. I had to get some spray kitchen cleaner up here.
 Also, hands! 3 days later the colour is still on my fingers, and you really do not want to see what my nails look like. Actually, that's the worst bit- inky fingers is one thing, but when under your nails look like you haven't cleaned them for the last 6 months- that's a bit too far.
So that's Day 1. Off for a coffee, and then I'll write up Day 2.
 

An End of an era

An end of an era

I write this with a broken heart, that only time can heal My beautiful, wonderful wifelet Shaz (Silverwolf) passed away peacefully in the ea...