

Back on my WOYWW post, I had some shadow stamps on my desk, and Queen Lightwell asked what that was about, so I thought a little (?) post was in order.
This particular one is by Whispers (Do-Crafts), but a number of companies make them.
What made me get them out was seeing a few cards on Pinterest using them, mainly Clean & Simple ones.


This is a perfect example, and you can see more on Kris McIntoshs' blog, HERE.
I spent some time playing , just stamping onto an A3 paper pad. I like to have one of these to hand, its only a cheap one from a pound shop, but its a great way of trying things out without wasting 'good' card & paper.

This was the print from just tapping the ink on.


This one was brayered, which gave a smoother, paler impression.
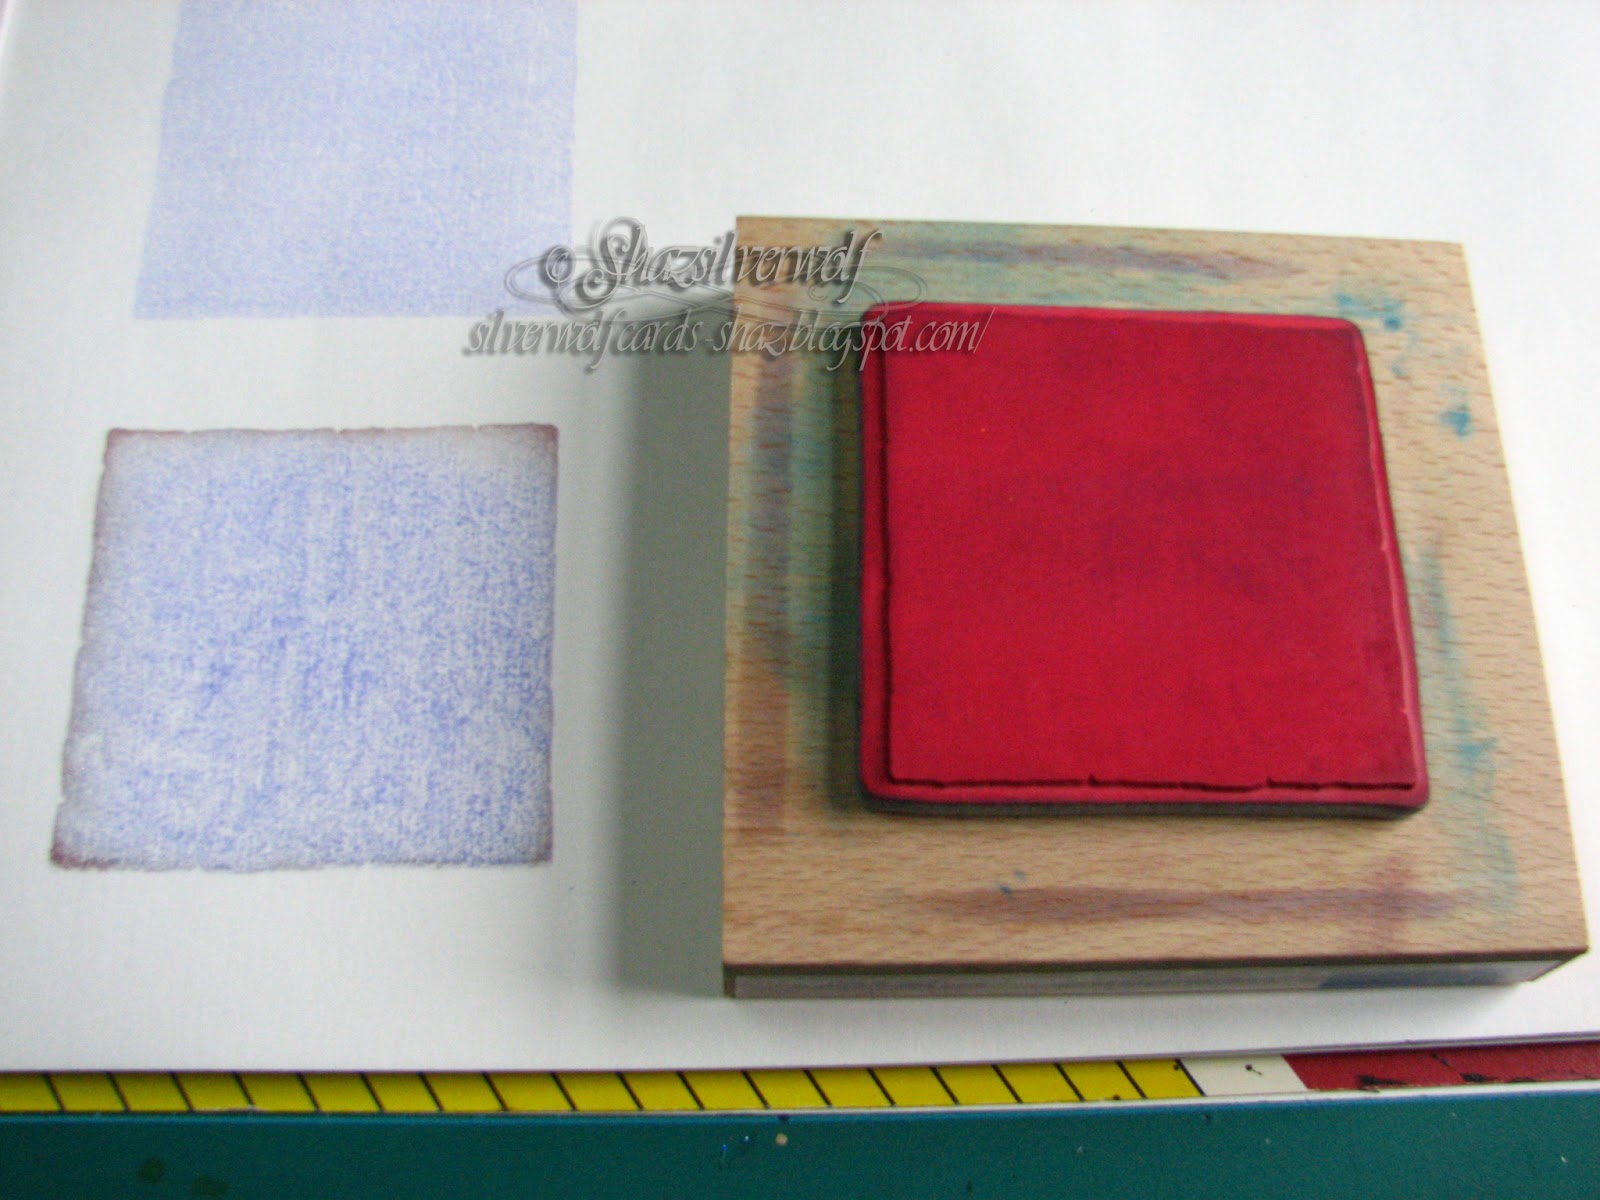
This one has the Blue Marvy tapped on, then DI Walnut Stain gently dragged around the edge.

This is my favourite- DI Mustard seed & Spiced Marmalade. I put the yellow on first, then dragged the orange around the edge- obviously not too cleanly, as I got Orange in the middle too- but I like how it came out. Of course, I have zero chance of recreating it, but never mind.

I overstamped this with a Penny Black flower stamp, using Walnut Stain DI.

 Another thing you can do with Shadow stamps, is put colour on them, then overstamp with another stamp, in a darker colour.
I said earlier that brayering gives a smoother finish- on this image I've dragged the inkpad across the stamp, not sure if it shows up well enough to see, but this is the print you get from it:

Another technique for shadow stamps is also called the 'kissing' technique. Using an un-inked stamp, you 'kiss' it against the inked shadow stamp, to remove ink.


I tried this with the Adirondack & DI, but it didn't do so well. I thought maybe a thicker ink would work better, as both of those are very 'wet' inks. I used a Brilliance Pearlescent Crimson pad, which is a Pigment Ink.
The stamps are 4 leaves from a Judikins cube stamp, and you can see the impression here after I pressed them against the inked shadow stamp.

Coming up in the next post, I had a bit of inspiration for making my own shadow stamps!


5 comments:
Oh love this technique and thank you for the link too. I don't have any shadow stamps s will have to watch your space to see what you come up with to make some. I do have some pieces of funky foam so I could use that, also Kris used cut out circles so that is another way. Makes a fab clean and simple card. Many thanks :)
Lynn x
Hi Shaz,
Great post on shadow stamps. I had forgotten all about them, I even have some I made years ago, thinking I might dig them out and have a play.......Thanks for reminding me! LOL
Hi Shaz,
Will need to get mine out and have a play, thanks for the inspiration
Rosie x
This is all new to me. I really enjoyed reading your post and learning something new. Visiting from WOYWW
Ha! I just found this post! Silly, right? But I have been avoiding the computer for several days now...tennis elbow in both elbows and what feels like carpel tunnel, too, only when I'm on the computer too much, though. Just lets me know I need to go play! lol :) And try out that last technique first! Loved that one the most, I think. Thanks for doing this post and explaining the whole thing so well. I don't think I have any shadow stamps or fun foam but I have regular foam, suppose it will work? I'm going to experiment anyways. Thanks, again, for all the posts on how to shadow stamp. I've been appreciating them! :) Hugs~Deeyll
Post a Comment