A warm welcome to all my visitors,

Thank you for taking the time to come and look at my blog, I really do appreciate it. I would love you to leave me a comment, even if it’s just to say Hi. It means I can come visit you!

All my designs are original, so copyrighted to me. If I have been inspired by someone elses work, I have named them in the post, and where able, I have provided a link.

Please feel free to use my designs for inspiration, I just ask you to credit me, and provide a link back to my blog.

Thanks, Shaz XX

Tuesday 31 May 2011

WOYWW #104

At last I seem to have Blogger working properly,yay!!!!! I haven't been able to log in, let alone post for a couple of weeks. This week I updated to the new Firefox4, and Blogger seems to be working fine again.So if you use Firefox as your browser & are still getting Blogger problems, this may help.
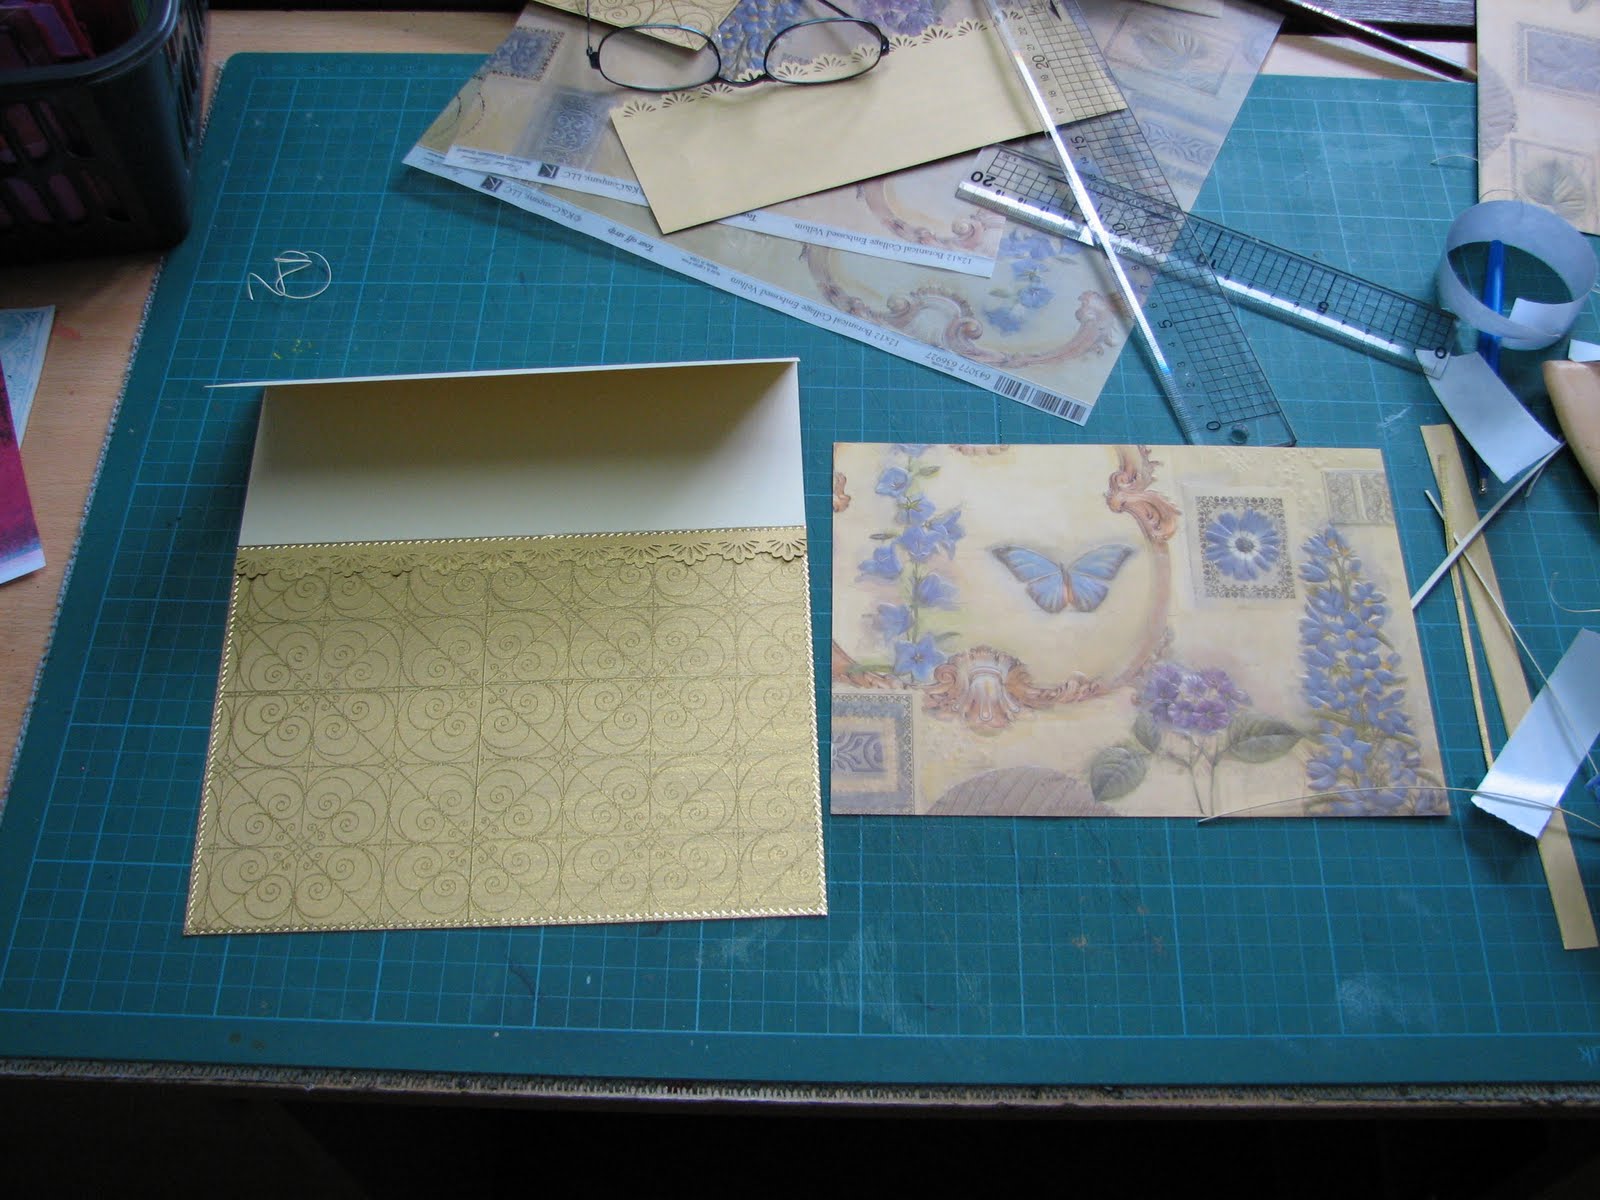
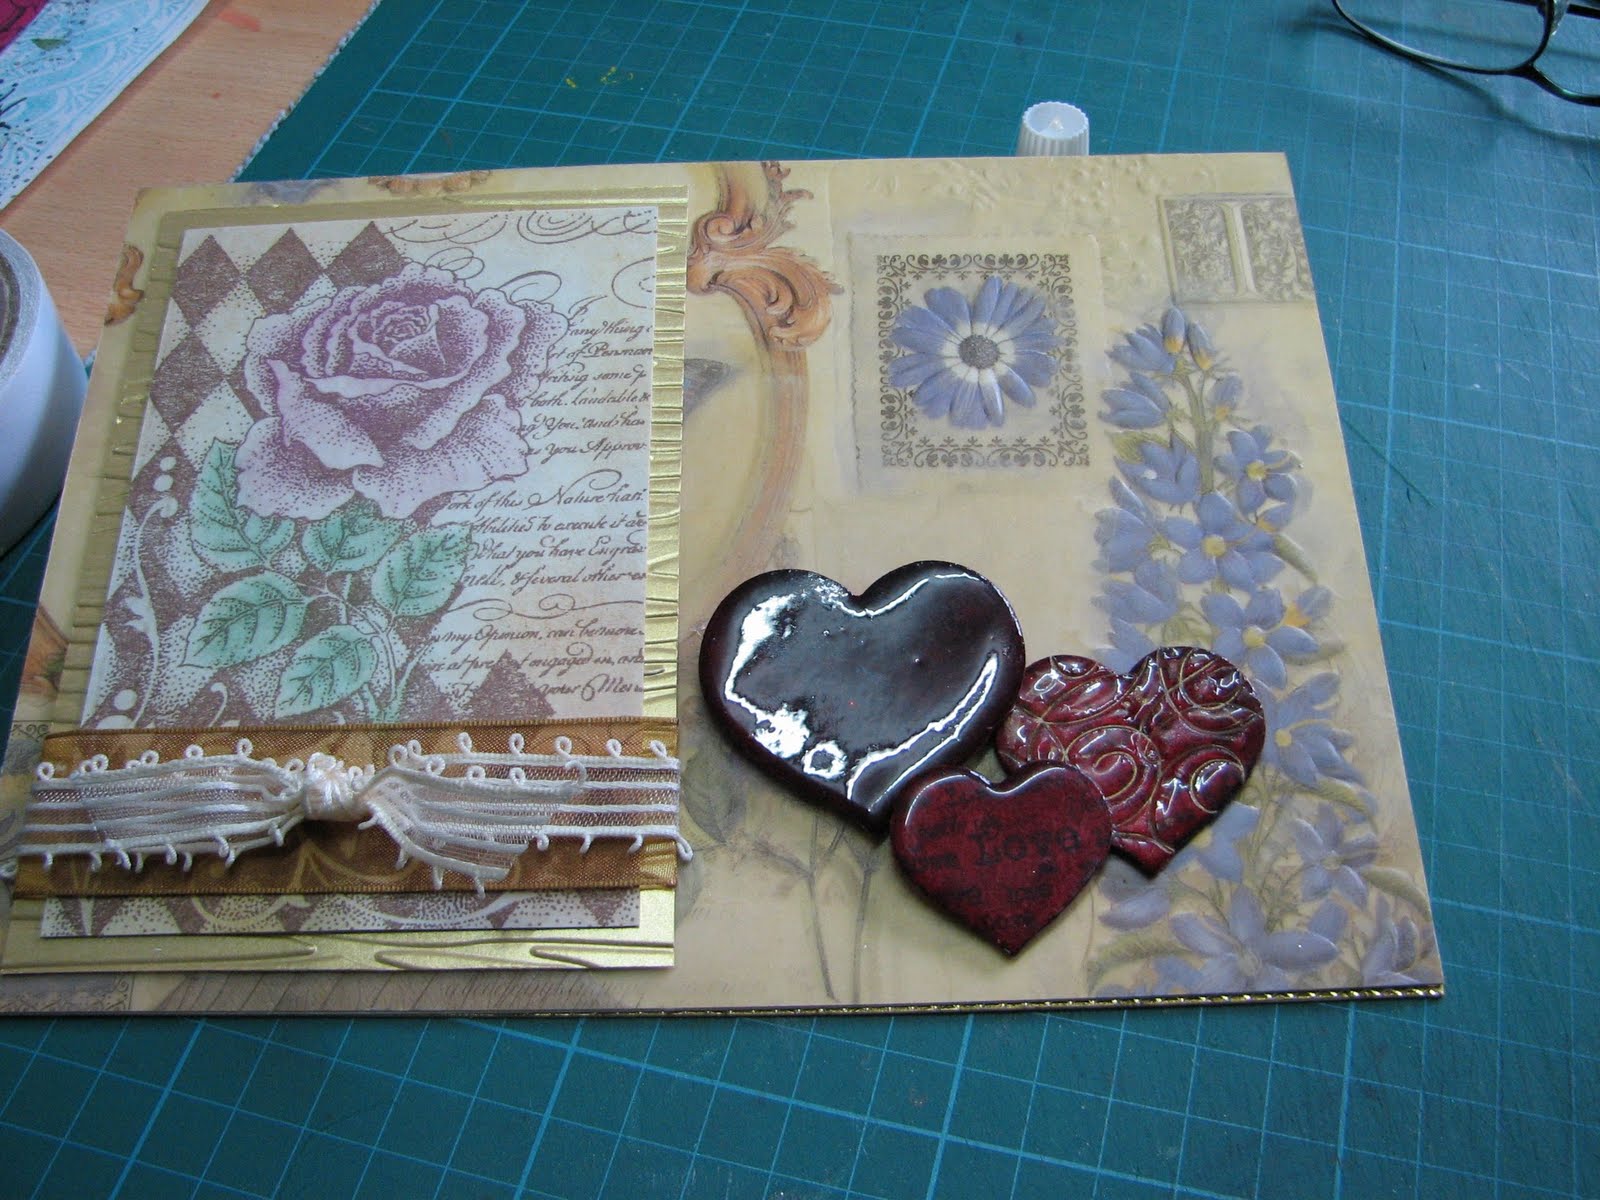
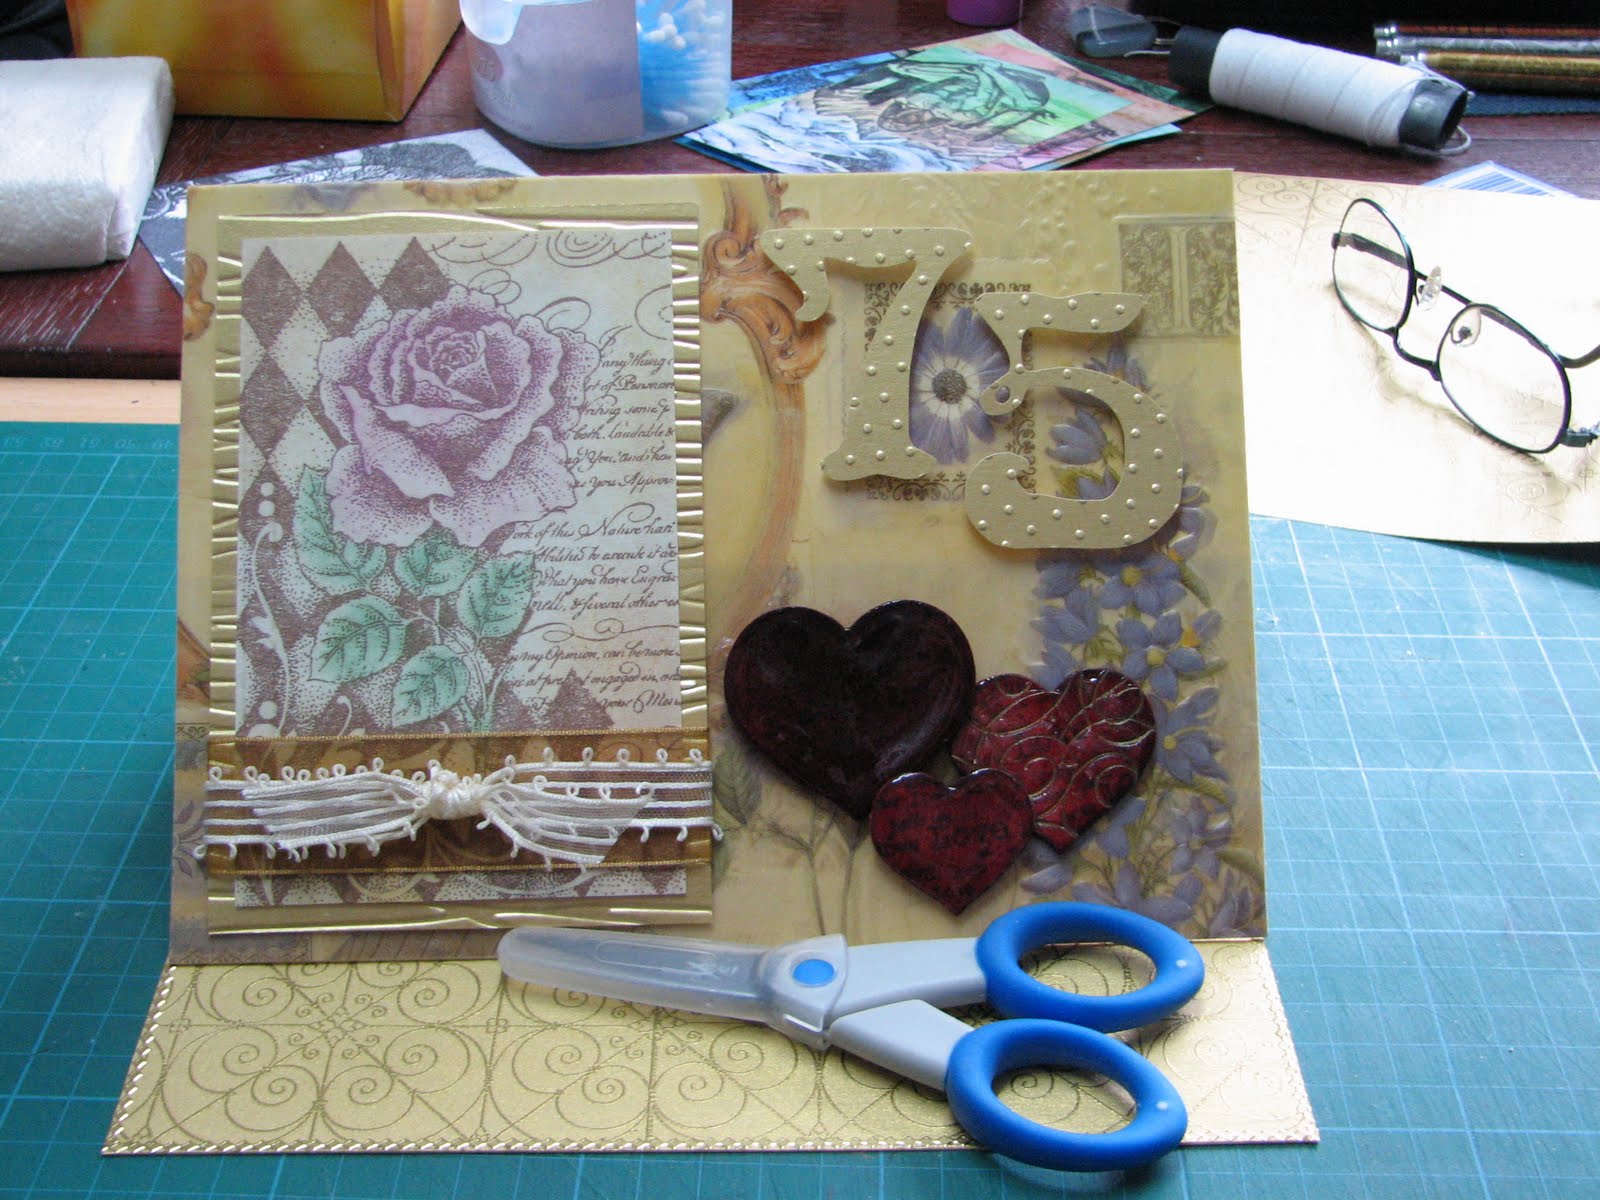
I'm on a bit of a mission to use up some of the images that I have stamped in the past, so the last few posts use up stuff you have probably seen on my desk at one time or another.
 So, on my desk this week are a couple of cards:

 I used three versions of the Crafty Individuals Treeline stamp, and the base card was covered with a sheet of Papermania paper from the Simply Elegant pad, which I overstamped with a tree from Crafty Individuals Elements plate CI 209, in Adirondack Espresso. The three versions are: brayered background using Latte & Sandal  (top left), oil pastel in oranges and yellows (centre) and sponged Adirondack ink in Sunset Orange and Red Pepper, with a Post-it mask for the setting sun (bottom right). The sentiment was stamped onto a scrap of brayered card ( Latte &  Hazelnut) in Black Soot then heat embossed. It is all one stamp, I masked off one half of the sentiment with low tack tape, inked the part I wanted, peeled off the tape and stamped. That way I could place them separately.

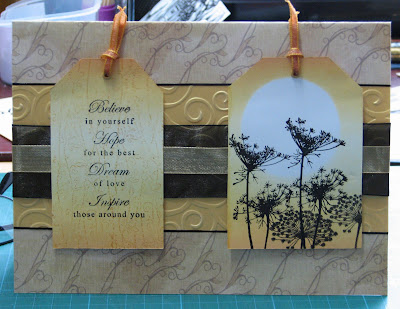
 I brayered white card with Adirondack Lemonade and Distress ink Wild Honey, with a Post it mask. The Fennel Heads stamp was stamped in Black Versafine, and I added a Dandelion head from Lavinia Stamps, part of a set of three, all slightly different, called Dandelions, lol. I cut the image to a tag shape, added an eyelet & some narrow gold ribbon. From the leftover piece I cut another tag shape, and overstamped this with an Artifacts Stamp, from the Stamp Bug, called Darting Dragonflies. I used Wild Honey again, but stamped off first, to get a paler imprint.The sentiment was stamped over the top in Black Versafine- this is another e-bay buy, so I don't know the maker, sorry. The base card uses some free paper with Making Cards magazine, a strip of gold vellum run through the D'vine swirls folder, and a strip of Black organza ribbon, then gold  organza ribbon over the top. The tags were mounted with sticky tabs.


For quite a lot of years I worked in the Retail trade, so I know only too well that people are quick to complain, but very rarely praise service they receive. So I try to give praise when its due, and to this end I want to say a big Thank You to Inkylicious. You will have seen I use a lot of Adirondack & Distress inks, and this is where I buy them from. For two VERY good reasons. Firstly, their prices - Adirondacks are £3.79 and Distress inkpads are £3.90- best prices I have found anywhere. Also, their postage is a very reasonable £1.50 for orders under £50, free above that. Secondly, their service is second to none. I ordered four pads last week, on Thursday evening at 5.15. As it was evening, and a Bank Holiday weekend as well, I expected ( and would have been happy) to get them during this week. I was astounded then, when I got home from work at midday on Saturday, to find them lay on the mat waiting for me! This is definitely a retailer who will get my custom time & time again- so Thanks again guys! Oh, they do lots of stuff besides inkpads too!
Talking of inkpads, I thought this might be useful. I downloaded the inkpad labels from Ranger inc, for Adirondack pads & Distress pads, then printed then out onto a label sheet- I used one that has 4 labels on an A4 sheet. I cut them down to size, then before I stuck them on the pads I swiped each label across the inkpad it was meant for.I really recommend wearing gloves to do this bit!  Now I don't have to unstack them to find the one I want. The two links take you to the respective Ranger pages for the pads- you can click on a link on the page to download the labels template. You can also download the colour charts, and ones for the Alcohol inks too.

Monday 30 May 2011

Tri-fold in Orange


 An A4 sheet of card was tri-folded, then a triangle cut away from the top of the first two sections, leaving the back section whole. Each of the layers were covered in paper, the front with K & Co from the Hydrangea Stripe pad, the middle from Papermania Antique cream pad and the back from Papermania Earth Tones pad.


 The two tags were cut from brayered card, using Sunshine Yellow and Sunset Orange, with Post-it note masks. Lavinia Stamps 'Ducks' were stamped over the masked sun. The larger tag uses a stamp from the Chocolate Baroque Autumn Hedgerow u/m plate, and the smaller one is stamped with Fennel Heads, from The Craft Fairy. All were stamped in Black Versafine. Each tag has an eyelet placed at the top, and threaded with some fancy wool. The tags are mounted with sticky tabs to raise them slightly.

4 Birds

This one is really quick & simple. I made 4 squares of embossed card, Cuttlebug Script and  Quickutz diamonds and attached these opposite each other onto light blue card. This was matted onto mid blue then dark blue card. I attached this panel to the front of a square cream card. The 4 Birds, Crafty Individuals CI 184, were stamped in Black Staz-on onto an oil pastel background, made in blues. I mounted this on top of the matted card, then tied a dark blue ribbon around the spine.

Friends


I decided it was time to start using some of the backgrounds I had brayered & stamped a while ago.This background uses just Shell Pink and Stonewashed brayered in from opposite sides of the white card. There is a Post-it note moon on one part of the panel behind  Lavinia Stamps 'Birds', the Teasel heads are from Autumn Hedgerow u/m DL plate, from Chocolate Baroque (formerly Elusive Images), and the little dragonfly is from Crafty Individuals Crafty Elements plate CI 207. All were stamped in Archival black.  I trimmed the image down, and on the spare piece I stamped the words, also in black. This stamp is one bought off e-bay, so I have no idea of the maker, sorry. I felt this panel still needed a little something, so I stamped a swirl in Shell Pink & Stonewashed on the respective parts of the brayering, having stamped off once first. Next it as matted on pale blue, pale pink then lilac card.
 I covered the base card with a sheet of paper from a Dovecraft 8x8 paper pack, Amethyst Floral Print. Final touch was 5 flatback acrylic stones in the top right.

Wednesday 18 May 2011

WOYWW #102

Happy WOYWW to all, lets hope that Blogger decides to let us play this week! I shall try to get around everyone over the next few days- overtime at work, so I am up at 5.00am, not getting home till 4.30 pm, then shower, do lunches, cook dinner, collapse! Anyway, here is my offering for the weekly stalk, lol.

This is what was on my desk this week- a 75th Birthday card for a work colleagues Mom.


  This is how it came together- some gold paper overstamped with an ornate background stamp for the bottom, and some gorgeous embossed vellum by K & Co to 
go on the main panel.

 
 Harlequin Rose panel, Elusive Images, was matted onto Gold card embossed with a Cuttlebug and Forest Branches folder.I wrapped a band of gold organza ribbon round this, then knotted some cream ribbon over it.
Then mounted it onto the front panel.
  I added some triple embossed hearts.
   
   
Then the numbers 75, cut from gold card on my Silhouette, and embossed with the Swiss Dots folder.


My Silhouette.
The finished card, with sentiment cut out with the Silhouette, along with a matt for it. 

Sunday 15 May 2011

Blogger !!!!!!

What a nightmare week for Blogger! I have re-posted the pictures in the WOYWW #101 post, for at least the third time. Lots of peoples comments have vanished, and I know that many of us have had the same problem. So, lets hope they have fixed it, but I am waiting a couple of days before posting anything else, lol.

Wednesday 11 May 2011

WOYWW #101

Lots of stuff all over my desk this week- I have been doing a Tutorial page for my blog on Scenic Stamping & Stampscapes. Link here, or in the pages list on the right.  Its really a lot easier than it looks- and I can spend hours on the Stampscapes website looking at other peoples artwork.


Had to clear a bit of space to make a New Baby card for my nephew & his girlfriend- a baby girl who is named Madison Lily.  


The base card is covered with  some New Baby vellum, then a strip of pink mulberry paper is topped with a narrower strip of pink gingham vellum. I cut some slits in this & threaded organza ribbon in pink through this, and tied a bow.The baby picture is from a Joanna Sheen cd, matted onto gold card embossed with Forest Branches embossing folder. I just have to print off the parents names, along with babys name & date of birth, which I shall do onto embossable printer paper.
Now its off to the magnificent Julias place for this weeks blog stalk- Happy WOYWW all.


Wednesday 4 May 2011

WOYWW #100

Not a new card,more of a follow up from our Wedding Invitations three or four posts down, but I have been having a tidy up and came across this Thank You card.  I made this for our work colleagues, for the wedding gift they bought us,a digital photo frame.
I made the basic card up before the wedding, then chose a Wedding photo for the front when we came back from our honeymoon.I used a wide band of Burgundy ribbon across the front, which was the same as the ribbon we used on our car, then added two narrow black ribbons across it, which was the ribbon used in the invitations. I made a matt of  burgundy,black then burgundy card ready to place the photo on. I added the Thank You in a peeloff sentiment. Quick, easy & personal.

My now reasonably tidy desk looks like this:
The two plastic tubs are cutlery drainers- they hold scissors, rulers,mini misters,wire cutters stencil brushes,water brushes etc. There are gold,silver & copper Krylon pens on the desk and a roll of cotton string that I am going to try the do-it-yourself bakers twine with.( See the Post below).You can also see cocktail sticks, cotton buds and tubs of pens, pencils & paintbrushes. Trust me, this tidy will not last long, lol.
Last picture for today is not my desk, but my windowsill. There are a couple of  chunks of Amethyst and a Clear Quartz crystal, a snowy quartz rabbit on the right, a snowy Quartz wolf on the left, an Apache Tear penguin and an Obsidian dinosaur amongst others, most of which are presents from my Beloved Husband.
So off to The Stamping Ground I go, to see what everyone else has been posting. Happy WOYWW,

Sunday 1 May 2011

Making your own Bakers Twine

The Wonderfully clever UKMaryanne has done a great tutorial on her site, for making your own Bakers Twine.The beauty, of course, is that you can have as much or as little as you want, and to perfectly match your project. The link will take you to her,and she has so many fabulous tutorials on her site, gorgeous artwork and cool inspiration, you will be there for ages! lol. Thanks so much for sharing this, and for letting others share your link, Maryanne.

Flower Tiles

Started out at a bit of a loss for what to do with these tiles I had on my desk from the WOYWW 99 post- I have done so many square cards this week, and of course, that was the first thing to mind, looking at the image. So instead I went with a vertical strip, matted first onto black. Decided I didn't like that, so un-matted them, and went with dark green instead. Then I had trouble finding the right backing paper- everything seemed too busy for these images. Finally came across a pad of papers, Laura Ashley Traditional,and the very pale green with the white flower seemed to work, and also made me think of lace- so went digging in my box of lace pieces, and added a strip of this to the front.
I've enlarged & cropped the picture here, the lace is a little difficult to make out against the pale background. I used spray glue to attach the lace. I lay anything I need to spray in my bin, on top of a scrap piece of paper, then spray it. No mess anywhere else,lol.
While digging around for the lace (which prompted me to find it a box of its own), I spotted a roll of pearl string, which I bought from a discount warehouse in Birmingham, from their florists dept.
     By the way, thats a good place to visit if you have one of these places near you- you'd be amazed at what you can find, especially the floristry part- lots of Bridal stuff, which is what this pearl string was for, masses of paper flowers, petals, ribbons, all a lot cheaper than you will get  anywhere else.
Anyway, back to the card! I wrapped the pearl string round a couple of times and knotted it towards the top.

Now the top right looked empty!
This card was really starting to feel like a battle of wills- I was determined to finish it, and it was fighting me every step of the way- normally I would put a project to one side when it feels like this, but I really think that if I had, I would keep putting off going back to it- besides, I refuse to be beaten by a piece of paper, (I was in a stubborn mood). I probably needed coffee, lol.
Off on an embellishment hunt then. Didn't want too big, or too fussy, and finally I came across these little pearl hearts. I bought these a few years ago, at one of the Hobbycrafts shows at the NEC, thinking ' ideal for Wedding cards' , and I think I have only ever used a couple. So, I attached these with a little silicone glue. I also used silicone glue to attach the stamped panel to the front, because of the lace.
Final bit was a sentiment, and I used a Whispers Words stamp, by Docrafts, 49701 Birthday Wishes. The Ink I chose was a ColorBox Catseye Pigment Pad, in Verdigris and stamped this along the front edge of the card.
At Last! Finished. Yay!!!

An End of an era

An end of an era

I write this with a broken heart, that only time can heal My beautiful, wonderful wifelet Shaz (Silverwolf) passed away peacefully in the ea...